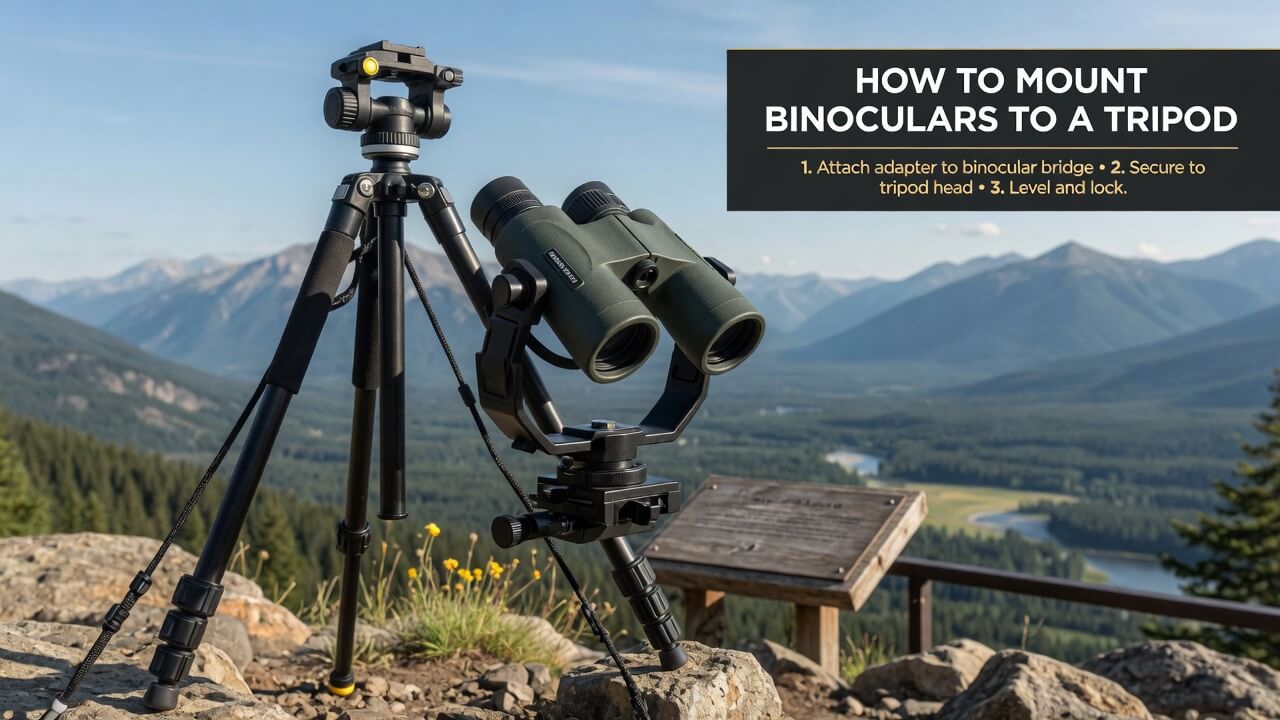
How to Mount Binoculars to a Tripod: A Complete Setup Guide
Mounting binoculars to a tripod sounds like a small upgrade until you actually try it.
The first time most people notice the difference is not during casual daytime viewing. It usually happens when they are trying to hold 10x or 12x binoculars steady on a distant bird, a ridgeline, a moon crater, a ship on the horizon, or a deer standing half-hidden at the edge of timber. The image looks sharp for half a second, then your hands breathe, your elbows shift, and the detail disappears.
That is exactly where a tripod changes the experience.
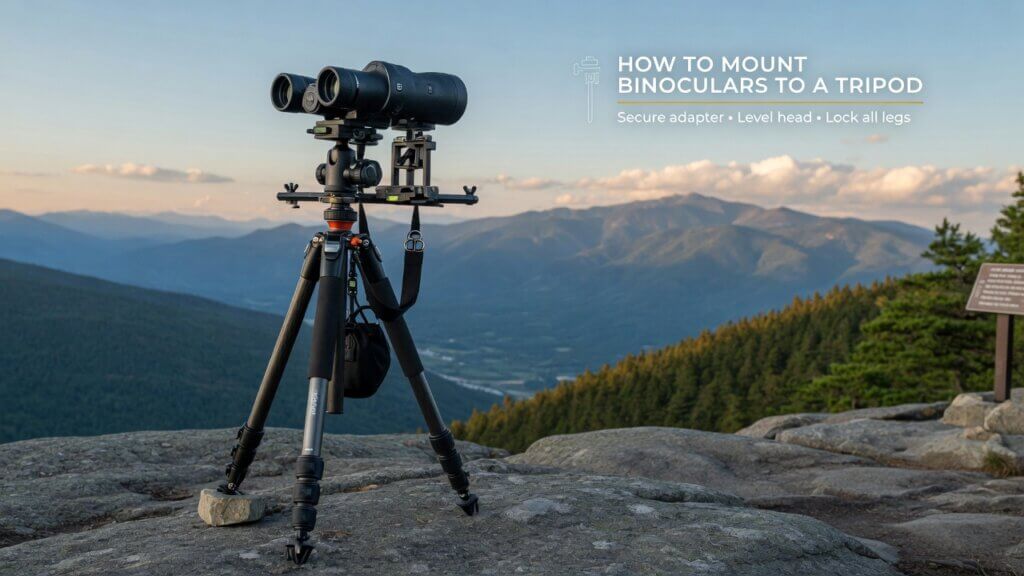
Learning how to mount binoculars to a tripod is not only about attaching a screw into a socket. It is about choosing the right adapter, understanding whether your binoculars are tripod-ready, balancing the binocular body properly, setting the correct viewing height, and avoiding the annoying wobble that ruins the whole point of using a tripod in the first place.
A good tripod setup can turn ordinary binoculars into a much more comfortable long-session viewing tool. For astronomy, glassing from a viewpoint, ocean watching, backyard birding, range observation, or extended wildlife scanning, tripod-mounted binoculars feel calmer, sharper, and less tiring.
This guide walks through the complete setup in a real-world way, not just a quick “screw this into that” explanation. You will learn what parts you need, which tripod adapters are worth buying, when a quick-release mount makes sense, and how to avoid the common mistakes that make binoculars shake even after they are mounted.
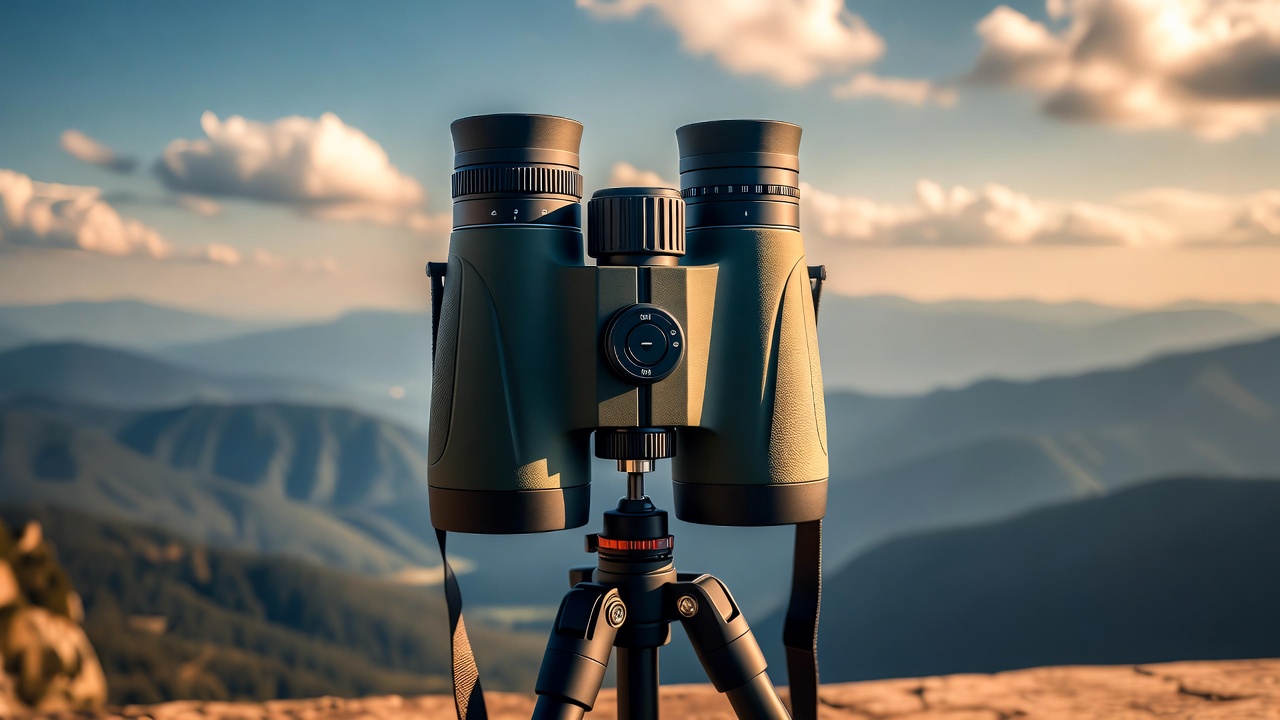
Why Mount Binoculars to a Tripod in the First Place?
Handheld binoculars are convenient. That is their biggest strength. You can lift them quickly, track movement, scan a trail, or follow something across the sky without thinking about equipment.
But convenience has a trade-off: movement.
Even with good technique, your hands create micro-shakes. At 8x magnification, those shakes are usually manageable. At 10x, they become noticeable. At 12x, they can get irritating. At 15x and above, handheld viewing becomes more like fighting the binocular than enjoying the view.
A tripod removes most of that shake. The image settles. Your eyes relax. Small details become easier to separate from the background.
This matters more than beginners expect.
When binoculars are handheld, you may think the optics are not sharp enough. In reality, the glass may be fine — your hands are just not stable enough to let the optics perform. Mounting binoculars to a tripod often makes the same pair feel sharper, brighter, and more premium because you are finally seeing what they can actually do.
Real Situations Where a Tripod Makes a Big Difference
A binocular tripod setup is especially useful when:
| Use Case | Why a Tripod Helps | Best Setup Style |
|---|---|---|
| Astronomy | Stars, moon details, and planets are hard to hold steady by hand | Tall tripod with smooth pan head |
| Bird watching from one location | Lets you observe nests, shorebirds, or feeders without arm fatigue | Lightweight tripod with quick-release plate |
| Hunting and scouting | Helps scan ridges, fields, and timber lines for long periods | Sturdy tripod with fluid head |
| Ocean or lake viewing | Stabilizes boats, buoys, waves, and distant movement | Medium-to-heavy tripod |
| Sports and events | Keeps the image steady during long watching sessions | Compact tripod or monopod |
| Range observation | Makes bullet impacts and target details easier to check | Solid tripod with stable adapter |
| Travel viewpoints | Lets you enjoy scenic detail without shaky hands | Foldable tripod with compact adapter |
Here is the thing I have noticed after using binoculars both handheld and tripod-mounted: a tripod does not just improve steadiness. It changes your viewing behavior. You stop rushing. You scan more carefully. You notice small things you would normally miss.
That is why serious glassers, stargazers, and long-distance observers often care as much about the mount as they do about the binocular itself.
Can All Binoculars Be Mounted on a Tripod?
Not every binocular is ready for tripod mounting, but many modern binoculars are.
Most full-size binoculars have a hidden tripod adapter socket at the front hinge. It is usually covered by a small plastic or metal cap between the two objective barrels. Unscrew that cap, and you will often find a threaded hole underneath.
That threaded hole is where a binocular tripod adapter connects.
If you are not sure whether your model supports tripod mounting, this supporting guide explains the compatibility question clearly: [can binoculars be mounted on a tripod]. It is a useful read before buying any adapter, especially if your binoculars are compact, roof-prism, or older models.
Where to Find the Tripod Socket
On most tripod-adaptable binoculars, the mounting socket is located:
- At the front center hinge
- Between the two objective lenses
- Under a small removable cap
- In line with the central bridge of the binocular
Do not force anything. Some caps are tight, especially on waterproof binoculars. Others are decorative and not meant to be removed. If the cap does not unscrew with normal finger pressure, check the manual before using tools.
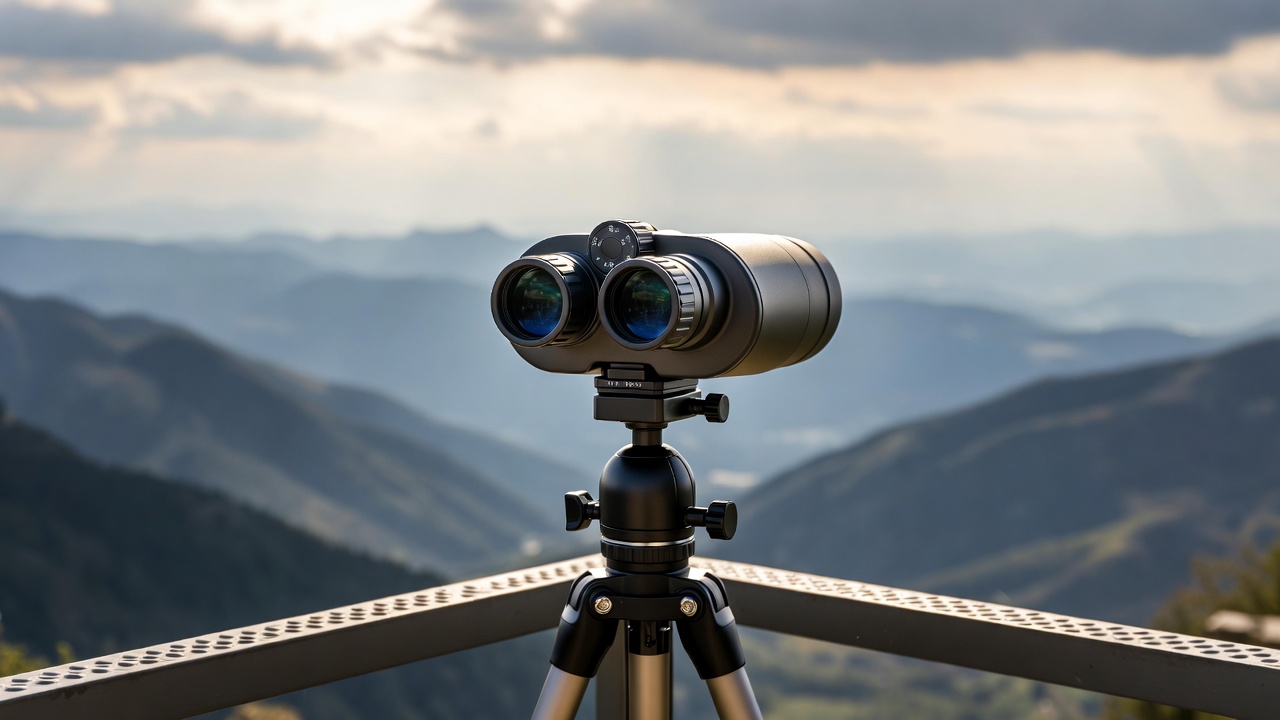
Binoculars That Usually Work Well on a Tripod
Tripod mounting is common on:
- 10×42 binoculars
- 10×50 binoculars
- 12×50 binoculars
- 15×70 astronomy binoculars
- 20×80 astronomy binoculars
- Large marine binoculars
- Long-range hunting binoculars
- Rangefinding binoculars with tripod adapter support
Compact binoculars, such as 8×25 or 10×25 models, may not have a tripod socket. Some can still be mounted with clamp-style adapters, but honestly, it is not always worth the trouble unless you have a very specific use case.
What You Need to Mount Binoculars to a Tripod
To mount binoculars to a tripod properly, you usually need three things:
| Item | Purpose | Important Buying Tip |
|---|---|---|
| Binoculars with tripod socket | Provides the attachment point | Check for front hinge thread |
| Binocular tripod adapter | Connects binoculars to tripod plate | Metal adapters are more stable |
| Tripod with head | Supports and controls movement | Choose height and load capacity carefully |
The adapter is the part many beginners overlook. A camera tripod alone usually cannot connect directly to binoculars. You need an adapter between them.
The Standard Binocular Tripod Adapter
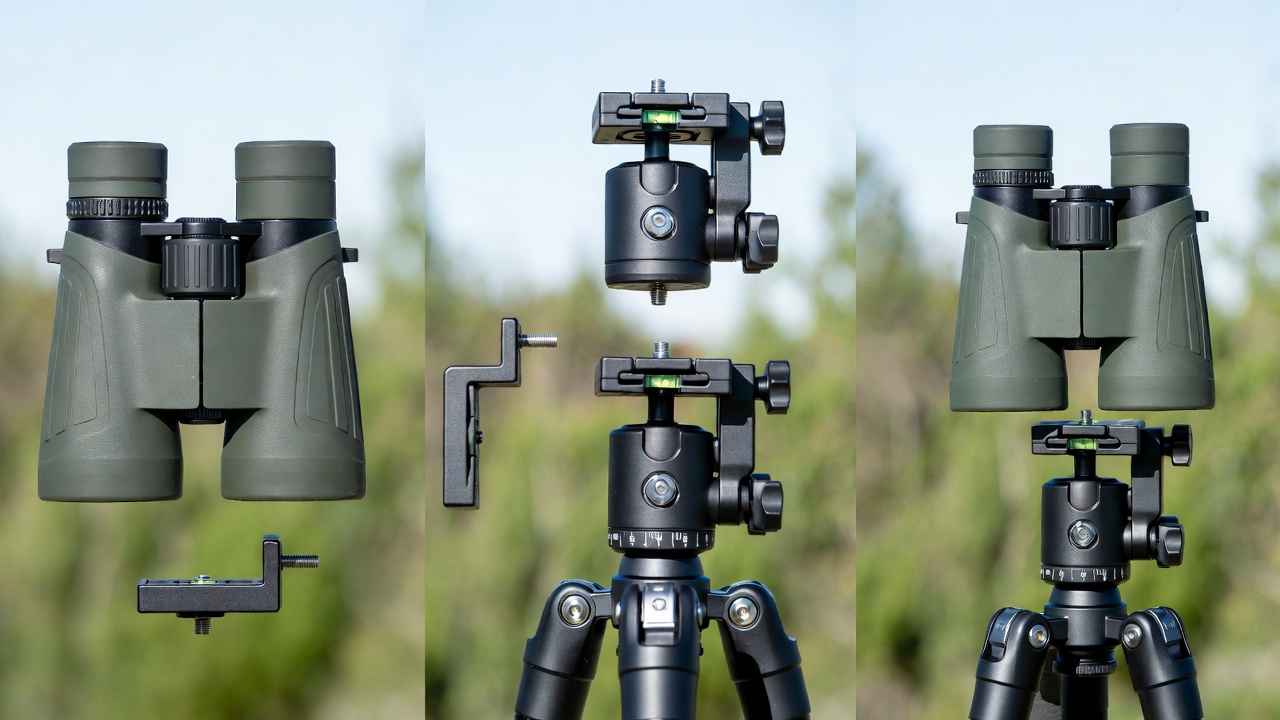
The most common adapter is an L-shaped metal or plastic bracket. One end screws into the binocular’s front hinge socket. The bottom of the adapter attaches to the tripod plate using a standard 1/4-inch tripod screw.
For most people, this is the simplest and best solution.
Metal adapters are usually better than plastic ones because they flex less. Flex matters. Even a small bend in the adapter can create vibration at higher magnification. That tiny shake becomes very visible when you are using 12x, 15x, or larger binoculars.
The Tripod
A tripod does not need to be expensive, but it does need to be stable.
For 8x or 10x binoculars, a decent travel tripod can work. For 12x, 15x, or large astronomy binoculars, a heavier tripod is much better. A weak tripod defeats the purpose because the binoculars will still wobble every time you touch the focus wheel or pan the view.
For standing observation, height matters too. Many camera tripods are too short for comfortable binocular use unless the center column is fully extended. The problem is that raising the center column often reduces stability. A tripod that reaches your eye level without needing much center-column extension is usually more comfortable.
The Tripod Head
The tripod head controls movement. For binoculars, a smooth pan-and-tilt head or fluid head usually feels better than a ball head.
A ball head is fast for photography, but binocular viewing benefits from controlled horizontal and vertical movement. When scanning a hillside or following a shoreline, a fluid head feels more natural. You can move slowly, stop cleanly, and avoid jerky adjustments.
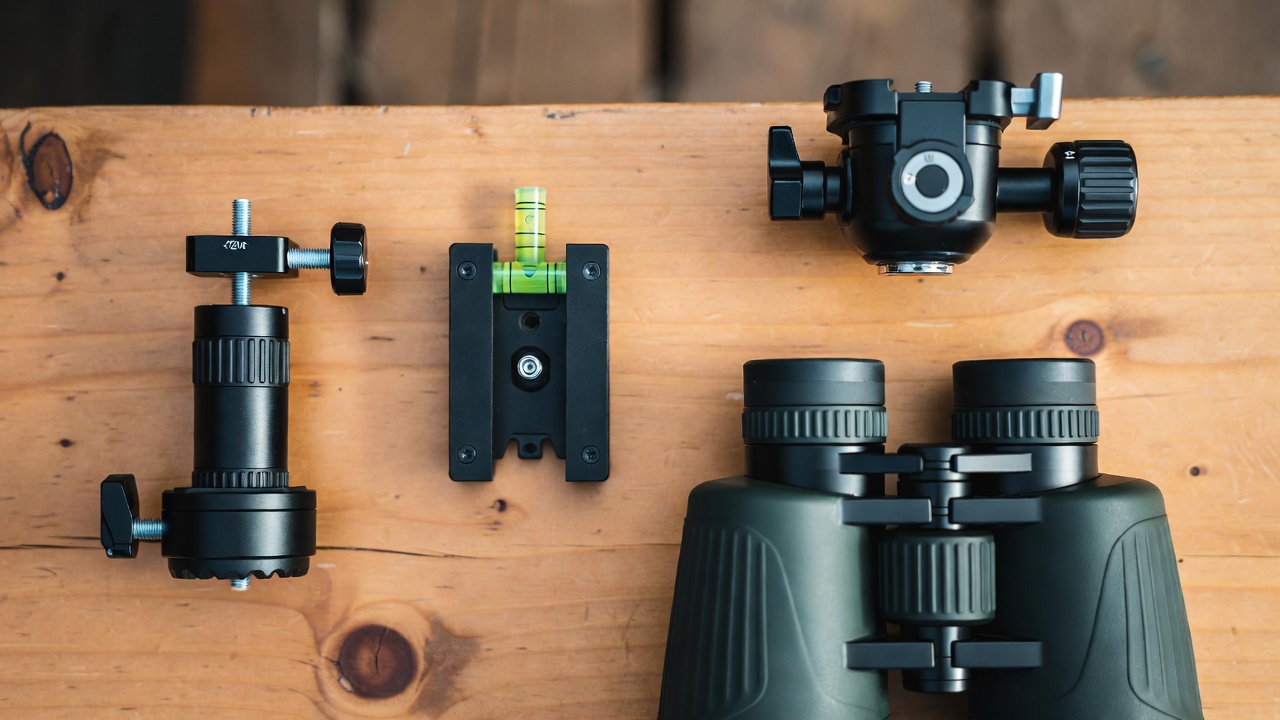
How to Mount Binoculars to a Tripod Step by Step
The basic process is simple, but the small details determine whether the setup feels solid or frustrating.
Step 1: Check the Binocular Tripod Socket
Look at the front hinge of your binoculars. Find the small cap between the objective barrels. Unscrew it gently.
If there is a threaded socket underneath, your binoculars are tripod-adaptable. Keep the cap somewhere safe. Those little caps disappear easily in backpacks.
If there is no socket, you may need a clamp-style mount, but that is a less ideal solution.
Step 2: Attach the Binocular Tripod Adapter
Take the top screw of the L-shaped adapter and thread it into the binocular socket.
Tighten it firmly with your fingers. Do not overtighten. You want it snug enough that the binoculars do not twist, but not so tight that you risk damaging the threads.
A good adapter should sit straight and centered. If it leans or flexes, the image may shake when you focus.
For a more detailed adapter-only walkthrough, read [how to use binocular tripod adapter]. That supporting article is especially useful if your adapter has washers, spacers, or a narrow clearance design.
Step 3: Attach the Adapter to the Tripod Plate
Remove the quick-release plate from your tripod head. Screw the plate into the bottom of the binocular adapter using the tripod’s 1/4-inch screw.
Make sure the plate is tight. This is one of the most common weak points in the setup. If the plate is loose, the binoculars may slowly rotate or wobble.
Step 4: Lock the Plate Back onto the Tripod
Slide or clip the quick-release plate back into the tripod head. Lock it securely.
Before lifting the tripod or adjusting height, gently test the binoculars with one hand. They should not shift, swing, or tilt unexpectedly.
Step 5: Adjust the Tripod Height
Set the binoculars at eye level. Try not to force your neck downward or stretch upward. Comfort matters more during long sessions than people expect.
For astronomy, you may need a taller tripod or an angled viewing setup. Straight-through binoculars pointed high into the sky can become uncomfortable quickly. That is one reason some astronomy users prefer parallelogram mounts, but for most general users, a tall tripod with a smooth head is enough.
Step 6: Balance and Tighten the Head
Adjust the tripod head tension so the binoculars move smoothly but do not flop forward.
Large binoculars can be front-heavy. If the head tension is too loose, they may tilt down suddenly. If it is too tight, tracking becomes jerky.
This is where a fluid head earns its keep. It gives enough resistance to control movement without locking everything into place.
Step 7: Fine-Tune Focus and Eye Position
Once mounted, adjust:
- Interpupillary distance
- Eyecup position
- Diopter setting
- Central focus
- Tripod height
- Head angle
A stable mount makes focus easier, but it also makes bad eye positioning more obvious. Take a minute to get comfortable before judging the view.
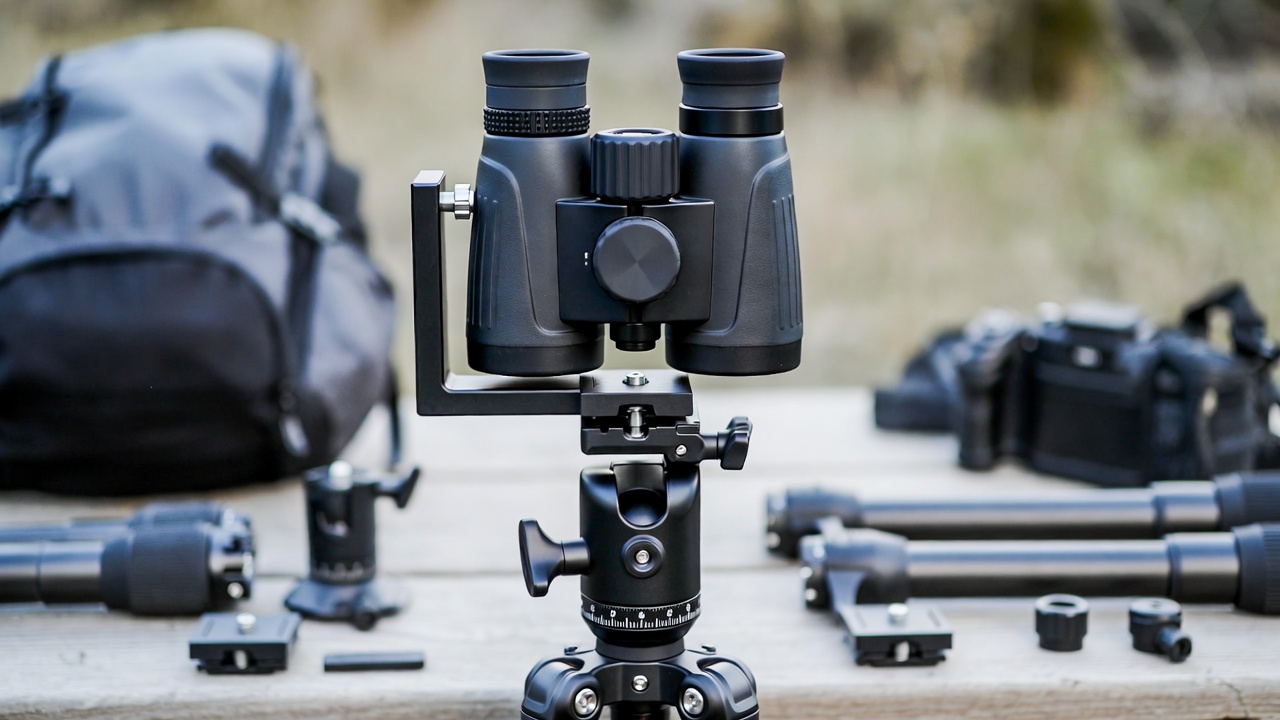
For readers who want a tighter setup process from socket to final lock, this supporting guide goes deeper into the attachment sequence: [how to attach binoculars to tripod].
Binocular Tripod Adapter Types Compared
Not all adapters are the same. The right choice depends on your binocular size, tripod head, and how often you remove the binoculars from the mount.
Standard L-Shaped Adapter
This is the most common option. It works with most tripod-ready binoculars and is affordable.
Pros
- Simple to use
- Widely compatible
- Easy to pack
- Usually inexpensive
- Good enough for most 8x, 10x, and 12x binoculars
Cons
- Cheap plastic versions can flex
- Some are too thick for narrow-hinge binoculars
- Not always ideal for heavy astronomy binoculars
Best for: general birding, travel, casual astronomy, backyard viewing, and spotting from fixed locations.
Heavy-Duty Metal Adapter
A heavy-duty adapter is usually made from machined aluminum or steel. It is more rigid and better for larger binoculars.
Pros
- More stable
- Less vibration
- Better for 12x and above
- Longer lifespan
- Feels more secure
Cons
- Slightly heavier
- Costs more than basic adapters
- May still not fit some tight roof-prism designs
Best for: 10×50, 12×50, 15×70, hunting binoculars, astronomy binoculars, and long glassing sessions.
Clamp-Style Adapter
A clamp adapter grips the binocular body instead of using a front hinge socket. It is useful when binoculars do not have a threaded mounting point.
Pros
- Works with some non-tripod-ready binoculars
- Useful for compact models
- No front socket required
Cons
- Can block controls
- May not hold evenly
- Can slip if poorly designed
- Not ideal for expensive binoculars unless padded well
Best for: compact binoculars without tripod sockets, occasional use, or unusual binocular designs.
Quick-Release Binocular Mount
A quick-release setup lets you move binoculars on and off the tripod faster. This matters if you switch between handheld and tripod viewing often.
Pros
- Fast setup
- Useful for birding and hunting
- Reduces repeated screwing and unscrewing
- More convenient in the field
Cons
- More parts to manage
- Cheap systems can introduce wobble
- Usually costs more
Best for: users who move often, switch optics frequently, or want a faster field workflow.
If speed is important for your setup, read [binocular quick release mount setup]. A quick-release mount can feel like a small luxury at first, but in cold weather or fast-moving viewing situations, it becomes genuinely practical.
Binocular Mount vs Tripod Adapter: What Is the Difference?
This is a common point of confusion.
A tripod adapter is the small part that connects your binoculars to the tripod. A binocular mount can mean a broader support system, such as a parallelogram mount, window mount, monopod mount, or specialized astronomy mount.
For most users searching for how to mount binoculars to a tripod, a tripod adapter is what they need.
But if you are using large 20×80 astronomy binoculars, a regular tripod adapter may not be enough for comfortable sky viewing. The binoculars may technically attach, but the viewing angle can strain your neck, especially near the zenith.
Quick Comparison
| Option | Best For | Stability | Comfort | Portability |
|---|---|---|---|---|
| Standard tripod adapter | Most full-size binoculars | Good | Good for level viewing | Excellent |
| Heavy-duty adapter | Large or high-power binoculars | Very good | Good | Good |
| Clamp mount | Binoculars without socket | Fair to good | Depends on fit | Good |
| Quick-release mount | Frequent setup/removal | Good to very good | Very convenient | Good |
| Parallelogram mount | Astronomy binoculars | Excellent | Excellent for sky viewing | Poor to fair |
| Window mount | Vehicle-based glassing | Good | Good from vehicle | Excellent for car use |
For a deeper side-by-side explanation, this article helps separate the terms clearly: [binocular mount vs tripod adapter].
My practical take: start with a quality metal tripod adapter unless you already know you need something more specialized. Most people do not need a complicated mount on day one. They need a stable adapter, a tripod that does not wobble, and a head that moves smoothly.
Best Tripod Setup by Binocular Size
The heavier and more powerful your binoculars are, the more your tripod setup matters.
For 8×42 Binoculars
An 8×42 binocular is easy to handhold, so a tripod is optional. But it still helps for long viewing sessions, especially bird feeders, wetlands, and scenic overlooks.
Recommended setup:
- Lightweight tripod
- Standard metal adapter
- Simple pan head
- Quick-release plate if you move often
You do not need a heavy tripod unless wind is an issue.
For 10×42 Binoculars
This is where tripod mounting starts to feel more useful. 10x binoculars show more hand shake than 8x models.
Recommended setup:
- Medium travel tripod
- Metal L-adapter
- Smooth pan-and-tilt head
- Tripod height near eye level
For birding, scouting, and general outdoor use, this is one of the most balanced setups.
For 10×50 Binoculars
A 10×50 binocular benefits strongly from a tripod because it is larger and often used in lower light.
Recommended setup:
- Medium-sturdy tripod
- Heavy-duty metal adapter
- Pan head or fluid head
- Stable center column position
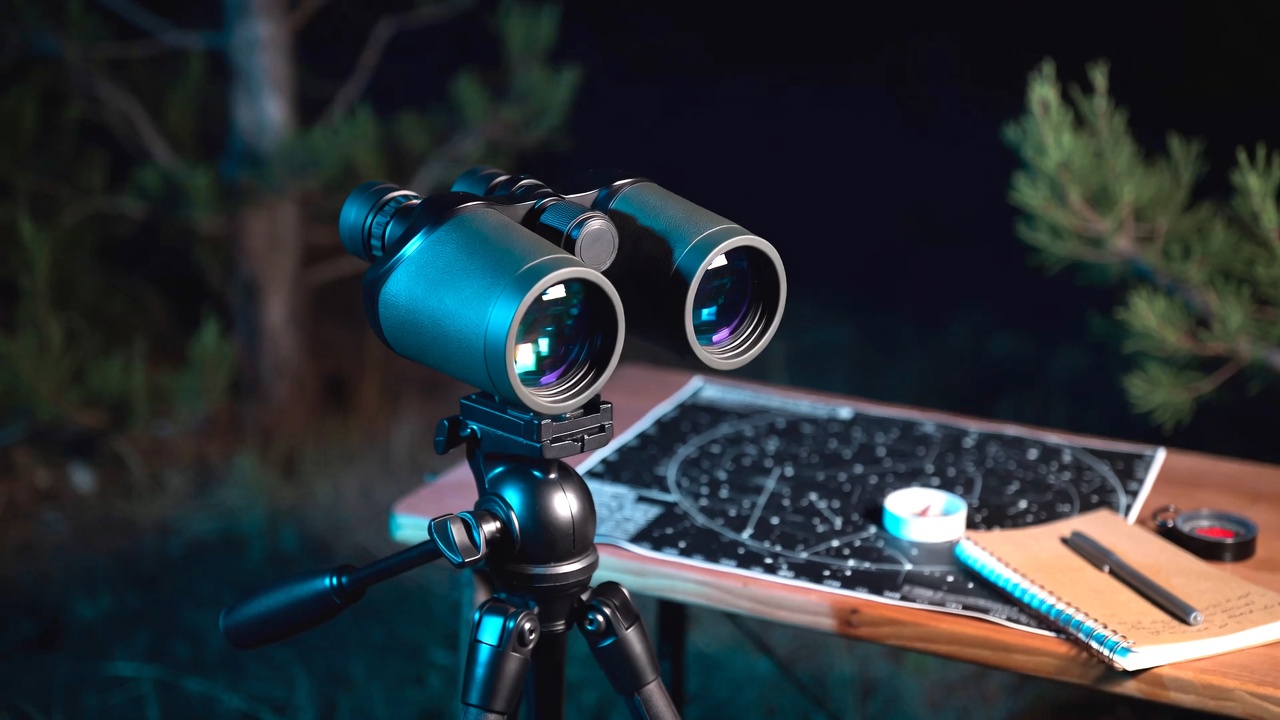
This setup works well for moon viewing, coastal scanning, and low-light nature observation.
For 12×50 Binoculars
A 12×50 binocular is usable handheld for short looks, but a tripod makes it much better. Small shakes are obvious at 12x.
Recommended setup:
- Sturdy tripod
- Heavy-duty adapter
- Fluid head preferred
- Avoid fully extending center column
This is a good setup for open-country hunting, long-distance viewing, and astronomy.
For 15×70 Binoculars
A tripod is not optional here. It is part of the system.
Recommended setup:
- Heavy tripod
- Strong metal adapter
- Fluid video head
- Consider parallelogram mount for astronomy
With 15×70 binoculars, cheap adapters become a problem quickly. Flex, vibration, and poor balance are much more noticeable.
For 20×80 Binoculars
These are large binoculars and need serious support.
Recommended setup:
- Heavy-duty tripod or astronomy mount
- Strong mounting bracket
- Fluid head with high load capacity
- Parallelogram mount for comfort
A basic travel tripod is not enough. It may hold the weight on paper, but in real use the view will shake and sag.
How to Reduce Shake After Mounting Binoculars
A tripod helps, but it does not magically remove all vibration. Poor setup can still create a shaky view.
Use a Sturdy Adapter
The adapter is the bridge between binocular and tripod. If it flexes, everything moves. Thin plastic adapters are fine for lightweight binoculars, but they are not ideal for higher magnification.
For 10x and above, I prefer metal. For 15x and above, I consider metal essential.
Keep the Center Column Low
The center column is convenient, but it reduces stability when extended too far. Think of it like raising a pole in the wind. The higher it goes, the more movement you get.
If possible, adjust tripod legs first and use the center column only for small height changes.
Hang Weight from the Tripod Hook
Some tripods have a hook under the center column. Hanging a backpack or small weight can improve stability outdoors, especially in wind.
Do not overload it. The goal is gentle downward tension, not turning the tripod into a swinging pendulum.
Touch the Focus Wheel Gently
Even on a tripod, rough focusing causes vibration. Use light pressure and let the image settle after adjusting.
This becomes especially important for astronomy and high-magnification viewing.
Use a Fluid Head for Scanning
A stiff or cheap head can make binocular viewing annoying. You move the binoculars, the head sticks, then suddenly jumps. That jump makes it harder to scan smoothly.
A basic fluid head is often one of the best upgrades for tripod-mounted binoculars.
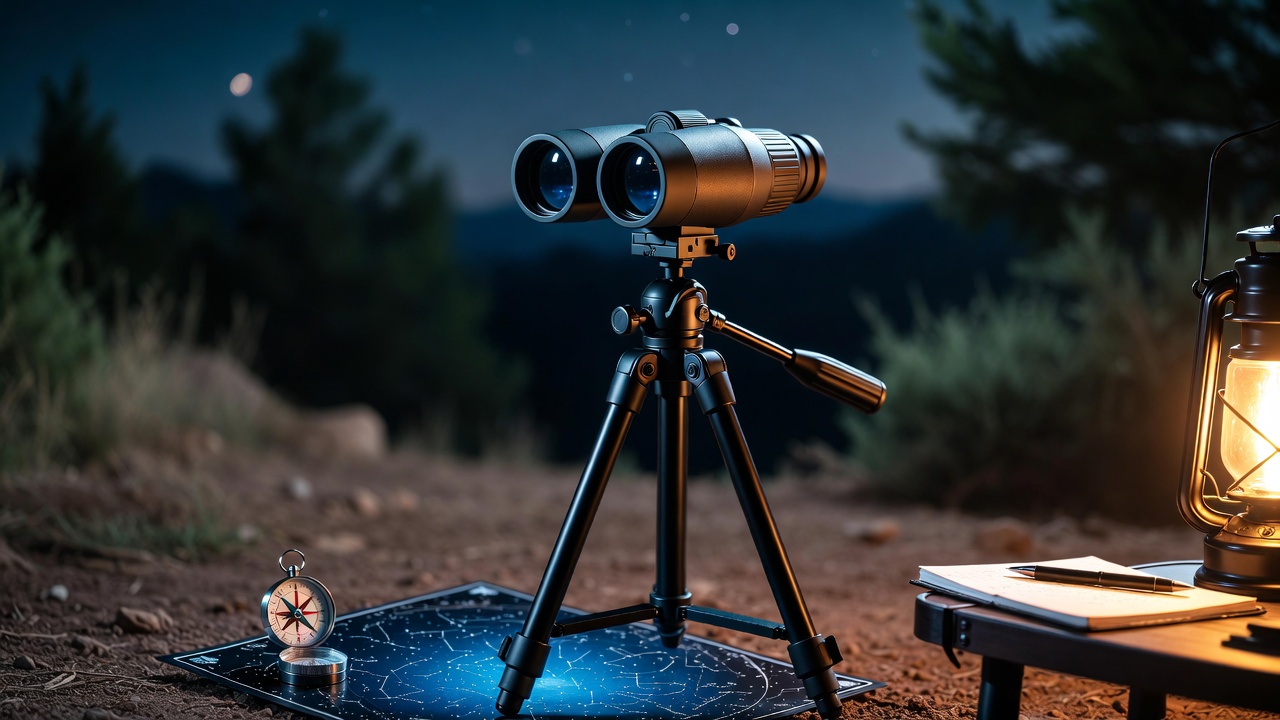
For a complete setup checklist that focuses on balance, height, and field stability, see [binocular tripod mount setup].
Common Mistakes When Mounting Binoculars to a Tripod
Small mistakes can make a tripod-mounted setup feel worse than handheld use. Here are the ones I see most often.
Mistake 1: Buying the Cheapest Plastic Adapter
A cheap adapter may work for small binoculars, but it often flexes. Flex creates vibration. Vibration ruins detail.
If your binoculars cost more than a basic dinner out, it makes sense to use a decent metal adapter.
Mistake 2: Using a Tripod That Is Too Light
Many compact camera tripods are designed for small cameras, not long binocular bodies. Binoculars create different balance problems because the weight extends forward.
A tripod can technically “hold” binoculars but still perform badly.
Mistake 3: Extending the Center Column Too High
This is probably the most common stability mistake. It feels like the easy way to reach eye level, but the setup becomes shaky.
A taller tripod is better than a short tripod with a fully raised center column.
Mistake 4: Ignoring Tripod Head Quality
The head matters as much as the legs. If movement is jerky, scanning becomes frustrating.
For binoculars, smooth control beats fancy features.
Mistake 5: Leaving the Adapter Slightly Loose
A tiny bit of looseness at the socket or plate can cause the binoculars to twist. Tighten each connection carefully.
Check three points:
- Adapter to binoculars
- Plate to adapter
- Plate to tripod head
Mistake 6: Not Testing the Setup Before Field Use
Do not wait until you are at a dark-sky site or a windy viewpoint to test your mount. Set it up at home first. Make sure the adapter fits between your binocular barrels, the tripod plate locks properly, and the viewing height feels comfortable.
Product Recommendations: What to Buy Without Overbuilding the Setup
You do not need to buy the most expensive tripod system to mount binoculars well. The right setup depends on your binocular size and viewing style.
Best Basic Setup for Most Users
Choose this if you use 8×42, 10×42, or 10×50 binoculars.
Recommended items:
- Universal metal binocular tripod adapter
- Medium travel tripod
- Pan-and-tilt head
- Quick-release tripod plate
Why it works: it is affordable, portable, and stable enough for normal outdoor viewing.
Best Setup for Bird Watching and Nature Observation
Choose this if you scan wetlands, feeders, open fields, or shorelines.
Recommended items:
- Lightweight carbon or aluminum tripod
- Smooth pan head
- Metal adapter
- Quick-release plate
Why it works: birding often involves movement, so the setup needs to be quick and comfortable. A heavy astronomy tripod may be stable, but it is annoying to carry.
Best Setup for Hunting and Long-Range Scouting
Choose this if you glass ridges, valleys, fields, or distant tree lines.
Recommended items:
- Sturdy tripod
- Fluid head
- Heavy-duty adapter
- Optional quick-release binocular mount
Why it works: long glassing sessions punish weak gear. A stable tripod helps you spot tiny movement and reduces fatigue.
Best Setup for Astronomy Binoculars
Choose this if you use 15×70, 20×80, or other large binoculars.
Recommended items:
- Heavy-duty tripod
- Fluid video head
- Strong metal adapter
- Optional parallelogram mount
Why it works: astronomy requires stability and comfort. A shaky mount turns stars into dancing dots.
Best Setup for Travel
Choose this if pack size matters.
Recommended items:
- Compact travel tripod
- Low-profile metal adapter
- Lightweight pan head
- Small carrying pouch
Why it works: travel setups are about compromise. You want enough stability without carrying a full-size field tripod everywhere.
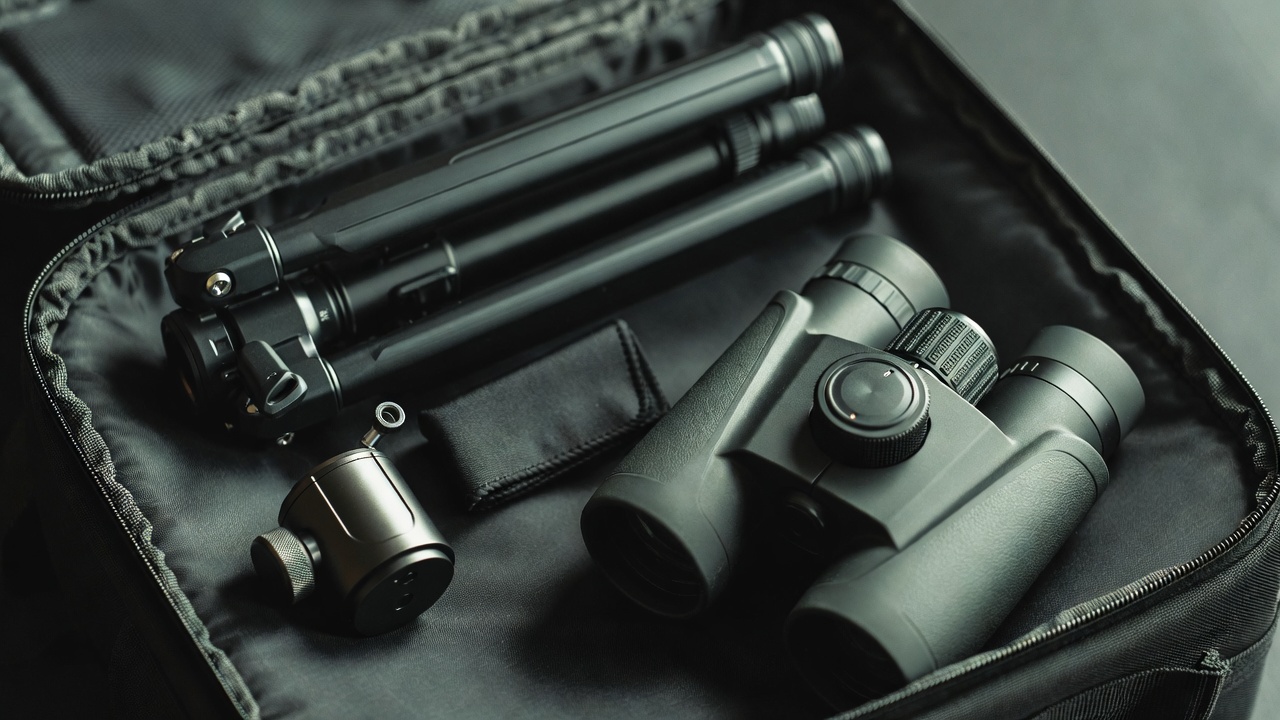
Why the Right Mount Feels Like an Optics Upgrade
People often want to upgrade binoculars when the real problem is stability.
That is not always the case, of course. Better glass, coatings, field flattening, and low-light performance matter. But if your current binoculars are decent and the image still feels disappointing at distance, hand shake may be the hidden issue.
A tripod can make you more patient. It gives your eyes time to study the scene. It helps your brain notice contrast, shape, movement, and fine detail.
This is especially true when:
- Watching distant wildlife
- Comparing small objects across a wide field
- Looking at the moon
- Scanning in low light
- Sharing binocular views with another person
- Observing from a fixed position
There is also a comfort factor. Holding binoculars for five minutes is easy. Holding them for forty minutes is different. Shoulders tighten. Wrists shift. Eyes get tired.
A tripod turns binocular viewing from “holding gear up to your face” into “looking through an observation system.”
That is a real difference.
Field Setup Tips for Better Viewing
Once your binoculars are mounted, a few habits will improve the experience.
Set the Tripod Before You Start Observing
Adjust the tripod height and stance first. Spread the legs evenly. Make sure the ground is stable. On soft soil, press the legs gently into the surface.
Do not attach expensive binoculars to a tripod that is standing awkwardly on loose rocks or uneven steps.
Face the Tripod into the Viewing Direction
This sounds obvious, but it helps. Position one tripod leg forward toward the subject when possible. It gives better support in the direction the binocular weight is pulling.
Use the Neck Strap Carefully
If the binocular neck strap is still attached, make sure it does not catch on the tripod handle or blow around in wind. A moving strap can create vibration.
For windy conditions, wrap or secure the strap loosely.
Keep the Tripod Head Slightly Tensioned
Do not leave the head completely loose. Set enough tension that the binoculars stay where you point them.
This is especially important when looking upward.
Use Both Eyes Relaxed
One of the best things about tripod-mounted binoculars is that you can relax your face. Do not press hard into the eyecups. Let your eyes settle behind the glass.
A stable view should feel easy.
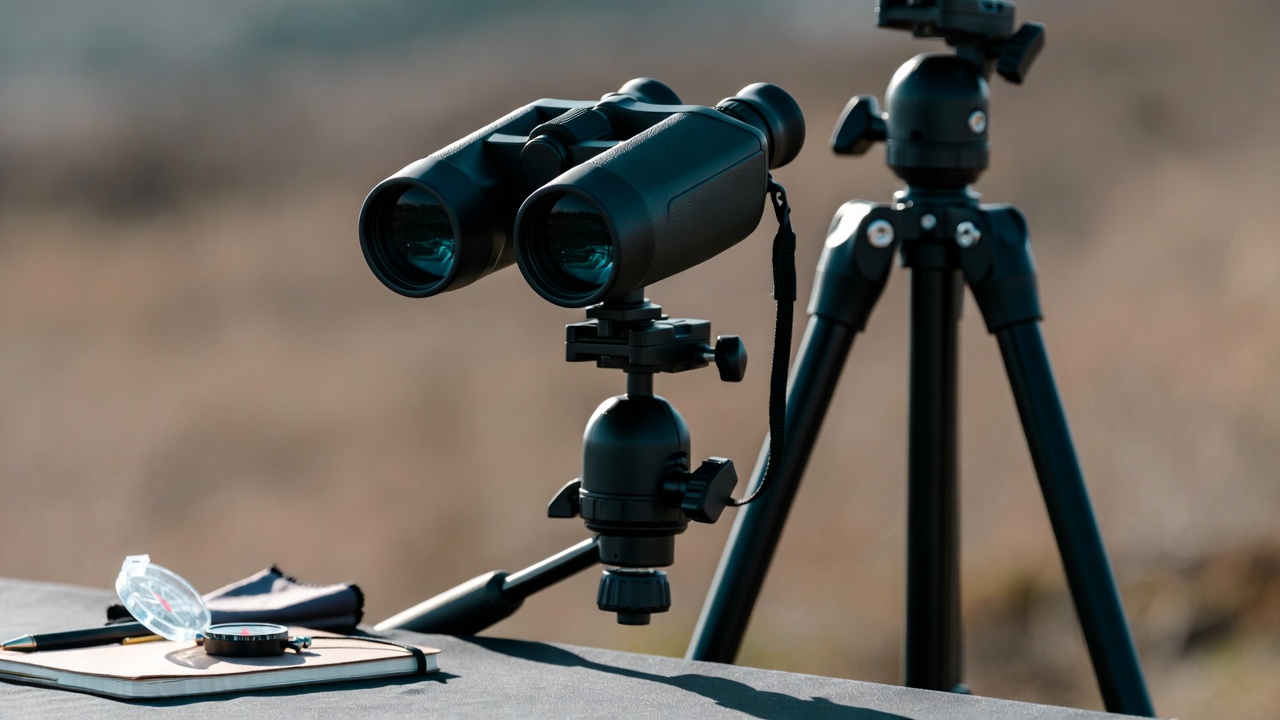
When a Tripod Is Better Than Image Stabilized Binoculars
Image stabilized binoculars are excellent, but they are not always the better choice.
A tripod usually wins when:
- You already own good binoculars
- You observe from a fixed location
- You want long-session comfort
- You use large astronomy binoculars
- You need a shared viewing setup
- You want a lower-cost stability upgrade
Image stabilized binoculars win when:
- You need handheld mobility
- You are on a boat or moving platform
- You travel light
- You follow fast-moving subjects
- You do not want to carry a tripod
For many users, a tripod adapter is the better first purchase because it is inexpensive and works with binoculars they already own.
Tripod Mounting for Different Viewing Styles
Backyard Birding
For feeder watching, nesting boxes, or a fixed garden view, tripod mounting is excellent. You can leave the binoculars aimed at a known area and check activity without constant refocusing and hand shake.
A light tripod is usually enough.
Shorebird and Wetland Viewing
This is one of the best real-world uses. Shorebirds are often distant, small, and active. A stable binocular view helps separate one bird from another by posture, bill shape, and movement.
A smooth pan head helps here because you may scan slowly across mudflats or reeds.
Mountain and Ridge Scanning
For big landscapes, stability helps your eyes detect small movement. Handheld scanning often skips over details. A tripod lets you work a scene carefully, section by section.
Hunters and wildlife watchers benefit most from a sturdy tripod and fluid head.
Stargazing
Tripod-mounted binoculars are fantastic for the moon, star clusters, bright nebulae, and sweeping the Milky Way.
But comfort is the challenge. Straight-through binoculars on a normal tripod can strain your neck when pointed high. For casual moon viewing, no problem. For long sky sessions, consider a reclining chair setup, taller tripod, or parallelogram mount.
Range and Target Observation
A spotting scope is better for very long-range target work, but binoculars on a tripod are useful at moderate distances. The stable image makes it easier to see impacts, contrast, and target edges.
Installation Details That Matter More Than You Think
A good installation feels boring — and that is the point. Nothing twists, slips, rattles, or fights you.
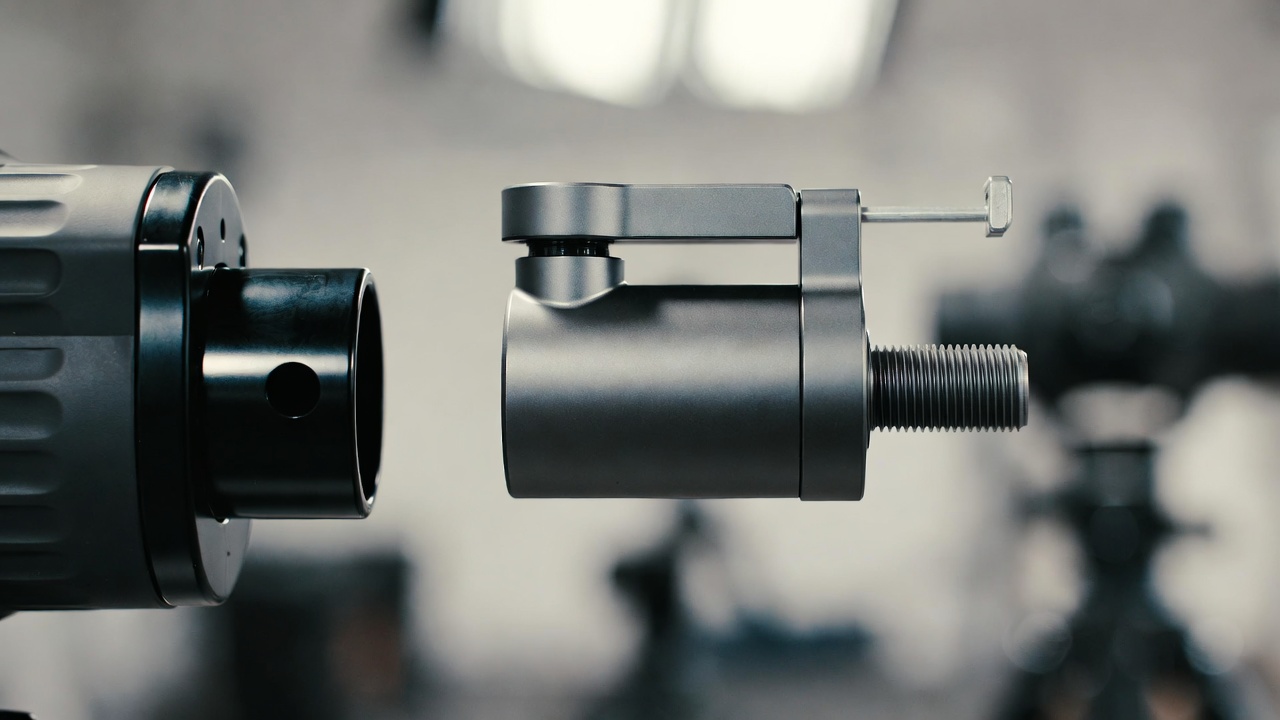
If your setup feels unstable, check the adapter installation first. Sometimes the problem is not the tripod at all. It is a washer missing, a plate not tightened, or an adapter that does not fit the hinge clearance correctly.
For a focused installation walkthrough, read [binocular tripod adapter installation]. It covers the small fit and tightening details that usually separate a clean setup from an annoying one.
Check Adapter Clearance
Some roof-prism binoculars have narrow spacing around the front hinge. Thick adapters may not fit properly.
Low-profile adapters are better for tight hinge designs.
Watch for Rubber Armor Compression
Many binoculars have rubber armor around the hinge. If the adapter presses unevenly into soft armor, it may loosen over time.
Tighten gently, observe, then recheck after a few minutes.
Do Not Cross-Thread the Socket
Start the screw slowly. If it feels rough or crooked, back it out and try again.
Cross-threading can damage the binocular socket, and that is not a fun repair.
Quick Troubleshooting Guide
| Problem | Likely Cause | Fix |
|---|---|---|
| Binoculars wobble after mounting | Loose adapter or weak tripod plate | Tighten all connection points |
| View shakes when focusing | Flexible adapter or light tripod | Use metal adapter and reduce center column height |
| Binoculars tilt forward | Tripod head tension too loose | Increase tilt tension or use better head |
| Adapter does not fit between barrels | Adapter too thick | Use narrow-profile adapter |
| Binoculars rotate on adapter | Socket screw not tight enough | Tighten gently and check washer placement |
| Tripod feels unstable outdoors | Wind or uneven ground | Lower tripod, add weight, spread legs wider |
| Neck hurts during astronomy | Tripod angle uncomfortable | Use taller tripod or parallelogram mount |
| Quick-release plate slips | Plate not secured | Tighten plate screw and locking mechanism |
Is Mounting Binoculars to a Tripod Worth It?
Yes, if you use binoculars for anything more than quick handheld viewing.
For casual trail walking, maybe not. For serious observation, absolutely.
Mounting binoculars to a tripod gives you:
- A steadier image
- More visible detail
- Less eye strain
- Less arm fatigue
- Better long-distance scanning
- Improved low-light performance perception
- A more comfortable shared viewing experience
It is one of the cheapest ways to improve the real-world performance of binoculars you already own.
The main thing is not to overcomplicate it. Most users need a tripod-ready binocular, a good metal adapter, and a stable tripod. That is enough to make a noticeable difference.
If you are still building your full optics setup, you can explore more buying guides, field-use tips, and comparison resources from [bestbinocular.net].
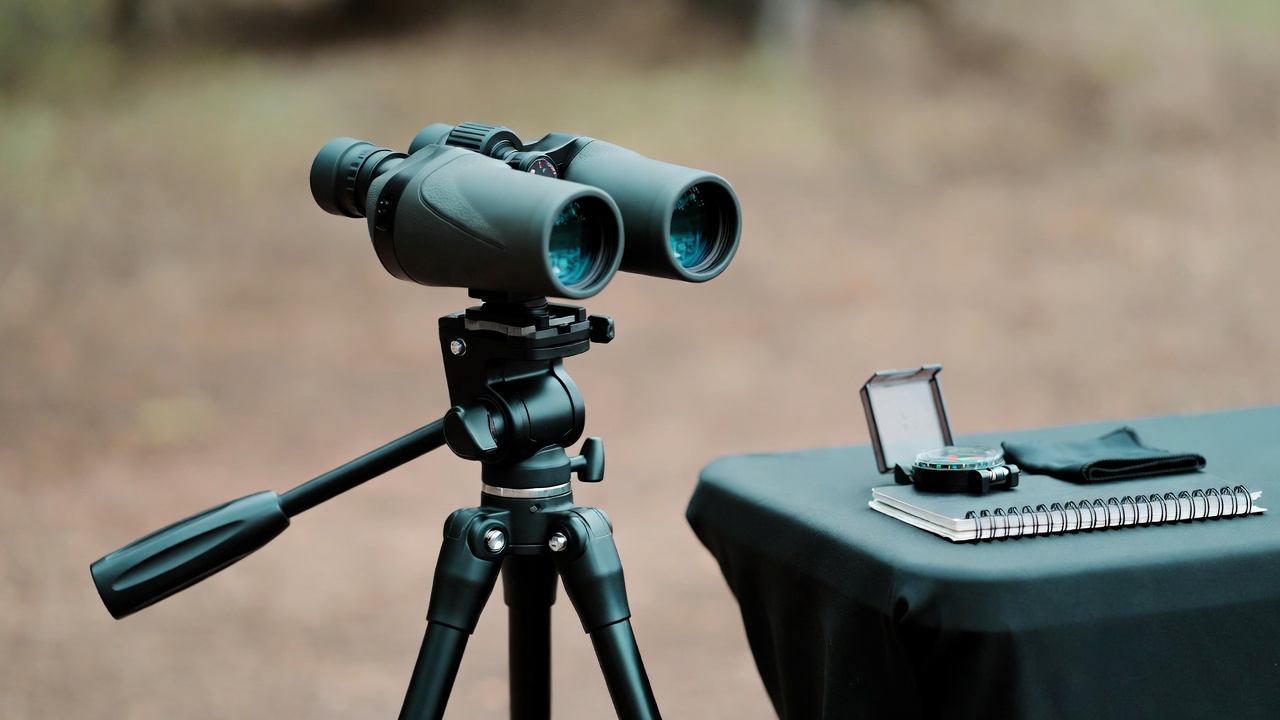
Final Recommendation
For most readers learning how to mount binoculars to a tripod, I would keep the setup simple:
Start with a metal binocular tripod adapter, not a plastic one. Use a tripod that reaches your eye level without relying too much on the center column. Choose a smooth pan head if you plan to scan landscapes, birds, wildlife, or the night sky. Add a quick-release system only if you regularly switch between handheld and tripod viewing.
A tripod will not make poor binoculars perfect. But it will let decent binoculars show what they are capable of. And once you get used to that calm, locked-in view, going back to shaky handheld observation for long sessions feels a little rough.
FAQs About Mounting Binoculars to a Tripod
Can you mount binoculars to any tripod?
You can mount binoculars to most standard camera tripods if you use a binocular tripod adapter. The tripod must have a standard 1/4-inch mounting screw or quick-release plate. The binoculars also need a tripod socket, usually located under a small cap on the front hinge.
Do all binoculars have a tripod adapter socket?
No. Many full-size binoculars have a front hinge tripod socket, but compact binoculars and some older models may not. If your binoculars do not have a socket, you may need a clamp-style binocular mount.
What size screw is used for binocular tripod adapters?
Most binocular tripod adapters use a standard 1/4-inch thread for connecting to a tripod plate. The adapter’s top screw connects to the binocular socket, while the bottom connects to the tripod.
Is a metal binocular tripod adapter better than plastic?
A metal binocular tripod adapter is usually better because it flexes less and provides a steadier image. Plastic adapters can work for lightweight binoculars, but they are not ideal for high-magnification or heavy models.
Why do my binoculars still shake on a tripod?
Your binoculars may still shake if the adapter is flexible, the tripod is too light, the center column is extended too high, or the tripod head is loose. Tighten all connections and use a sturdier adapter if needed.
What tripod head is best for binoculars?
A pan-and-tilt head or fluid head is usually best for binoculars. These heads allow smoother scanning than many ball heads, especially when watching birds, wildlife, landscapes, or the night sky.
Can I use a camera tripod for binoculars?
Yes, a camera tripod can work well for binoculars as long as it is stable enough and accepts a binocular tripod adapter. For heavy binoculars, choose a stronger tripod with a higher load capacity.
Are 10x binoculars worth mounting on a tripod?
Yes. 10x binoculars can be handheld, but a tripod makes the image steadier and more comfortable for longer viewing. It is especially helpful for birding, astronomy, hunting, and long-distance observation.
Do I need a tripod for 15×70 binoculars?
Yes, a tripod is strongly recommended for 15×70 binoculars. The magnification and weight make handheld viewing difficult. A sturdy tripod and heavy-duty metal adapter will give a much better experience.
What is the best tripod height for binoculars?
The best tripod height places the eyepieces comfortably at your eye level without fully extending the center column. For standing use, choose a tripod tall enough to match your viewing posture.
Can binoculars be mounted sideways or upside down?
Binoculars should normally be mounted upright through the front hinge socket. Sideways or upside-down mounting is not recommended because it can affect balance, comfort, and safety.
Is a quick-release mount useful for binoculars?
A quick-release mount is useful if you frequently remove binoculars from the tripod or switch between handheld and mounted viewing. It is especially helpful for bird watching, hunting, and travel.