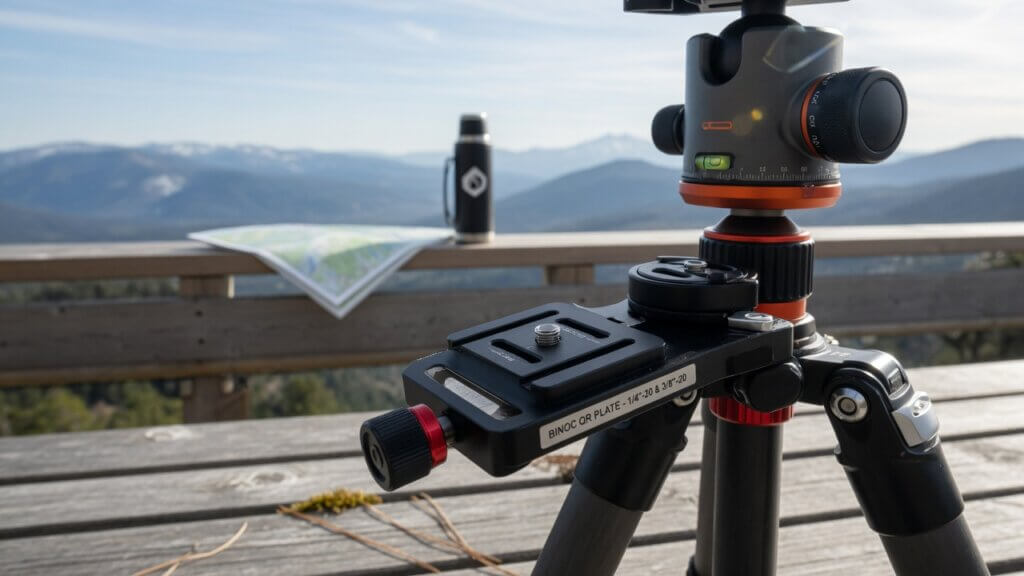
A binocular quick release mount setup saves you from unscrewing your binoculars every time you take them off the tripod. You might want a steady view of a distant bird, then lift the binoculars to follow it as it moves. A removable plate, locked into a matching clamp on the tripod head, makes that change easier.
The catch is that all the parts need to fit. The adapter must suit your binoculars, the plate needs to sit flat beneath it, and the clamp must accept that particular plate. If one connection is wrong, you may end up with a mount that twists or feels awkward to use.
Start by checking the tripod you already own. It may have a removable plate, in which case you are closer to a working setup than you think. Below, we will work through fit, attachment, balance, and the checks that help when the view still shakes.
How a Binocular Quick Release Mount Setup Works
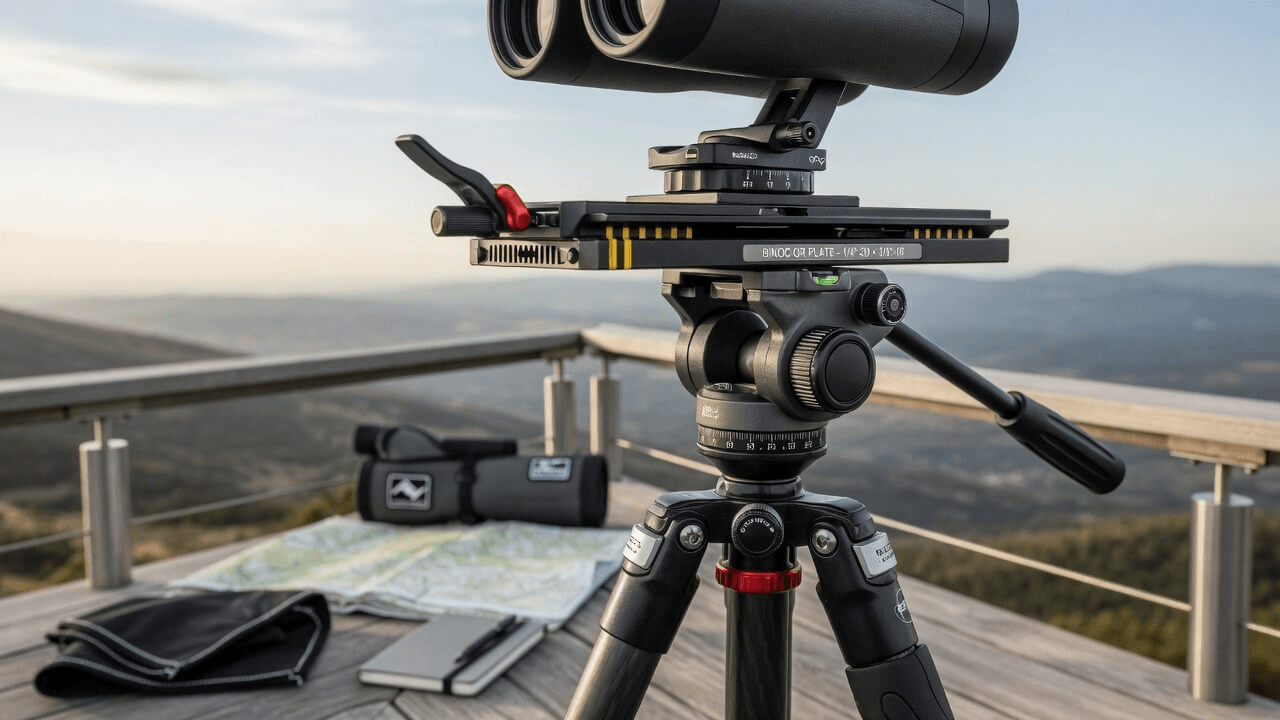
In a common arrangement, a binocular adapter connects to the binocular mounting socket. The adapter base attaches to a removable plate, and that plate locks into the tripod head. Releasing the clamp separates the plate from the head while leaving the adapter attached to the binoculars.
That last detail is easy to overlook. If you want to switch to handheld viewing, the adapter may still project beneath the binoculars. Check whether it interferes with your fingers, clothing, or carrying case. Fast removal from the tripod does not automatically mean comfortable handheld use.
Some dedicated adapters release near the binocular body, leaving more hardware on the tripod. Check which parts stay attached before buying.
Think of quick release as an easier way to attach your equipment. A steady view still depends on the support underneath it.
Inspect Your Equipment Before Buying Accessories
Start With the Tripod Head
Look for an existing removable plate. If your head already includes one, you may only need a suitable binocular adapter. Stacking another quick release clamp on top adds height and another connection that can loosen or flex.
Find the head model and check its specified plate system. Do not rely only on the tripod brand because one manufacturer can sell several incompatible systems. Also inspect the existing plate for damaged edges, missing screws, or a worn contact surface.
Identify the Binocular Mounting Point
Many tripod-adaptable binoculars have a threaded socket beneath a cap at the front of the central hinge. Other designs use a mounting post, sliding support bar, or dedicated fitting. Follow the binocular manual rather than assuming every central cap hides a usable thread.
Binoculars without a suitable socket may need an approved cradle or strap-style support. Avoid improvised attachments that squeeze moving parts or obstruct the focusing mechanism.
Check Barrel Clearance
Adjust the binoculars to your normal eye spacing before checking adapter fit. A bulky adapter may fit between widely separated barrels but prevent them from closing enough for comfortable viewing.
Check access to the focus wheel and other controls. If you are still selecting binoculars, explore our best overall binocular buying guides and confirm the mounting arrangement of your chosen model before ordering accessories.
Choose Compatible Parts
Choose an adapter that holds your binoculars without noticeable flex. Metal construction can be useful, but look at the shape and fit too. Even a metal adapter may bend at its upright section or sit poorly against the binocular body.
Many photographic accessories use a 1/4-inch-20 mounting connection. Verify both the thread and screw length for your equipment. A screw can reach the bottom of a socket before pulling the plate firmly against the adapter, creating a connection that feels tight but still rotates.
| Component | Main check | Problem to avoid |
|---|---|---|
| Binocular adapter | Correct fitting and barrel clearance | Restricted eye spacing or unwanted rotation |
| Removable plate | Secure contact and suitable screw | Plate twisting beneath the adapter |
| Clamp | Compatibility with the specific plate | Incomplete seating or slipping |
| Tripod head | Suitable support and movement range | Uncontrolled tilt or limited upward travel |
| Tripod legs | Stable footing and comfortable height | Vibration or awkward posture |
Consider the complete mounted load, including the adapter and plate. Binocular dimensions and mounting position also affect handling; magnification and objective size alone cannot tell you whether a head will control the assembly comfortably.
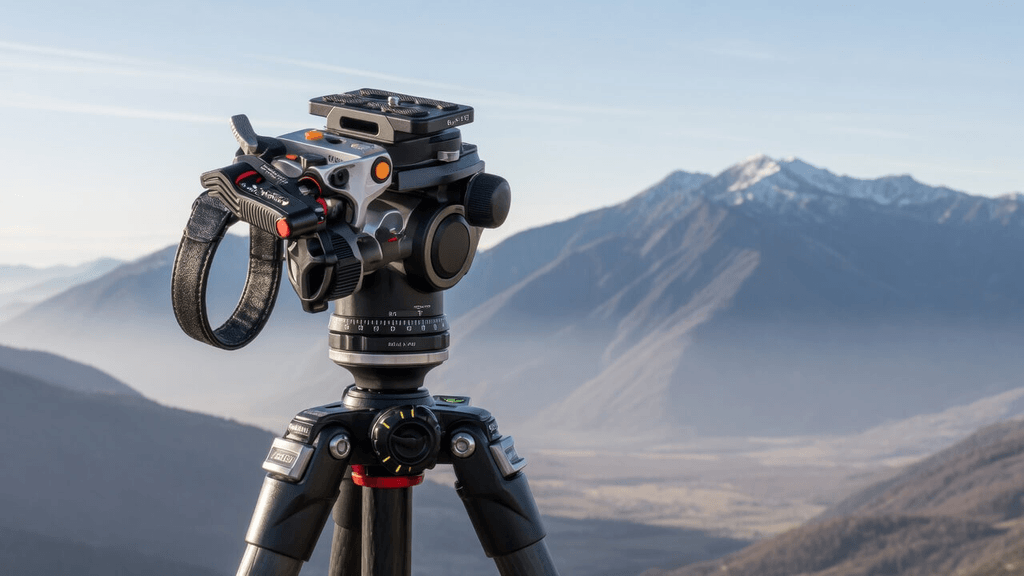
Arca-Style, RC2, or a Proprietary Plate?
The simplest choice is often the system already fitted to your tripod. If its plate attaches securely to the adapter and the head works well, changing systems may provide little practical benefit.
Arca-style dovetail plates can be handy if you move equipment between compatible supports. Check that your particular plate works with the clamp, especially if it uses a locking lever. Two plates can look similar without fitting equally well.
Manfrotto RC2 is another option when the head explicitly accepts that system. Do not assume every Manfrotto plate fits every Manfrotto head. Tripod-specific plates can also work perfectly well when correctly matched to their intended clamp.
Learn how your clamp and any safety catch work. Plates may slide or drop into place; follow the instructions for your head.
Step-by-Step Mounting Instructions
1. Position the Tripod
Spread the legs on firm ground and secure the leg locks. Keep the head controlled so it cannot tip suddenly while equipment is being attached. Start at a manageable height where you can support the binoculars without stretching.
Carry out the first fitting in daylight. Small seating errors are easier to identify when the clamp and plate edges are clearly visible.
2. Fit the Binocular Adapter
Locate the mounting point using the binocular manual. Remove its protective cap if instructed, and put the cap in your case. Hold the binoculars steady as you start threading the adapter screw into the socket.
The screw should turn smoothly at first. Stop if it catches immediately or enters at an angle. Tighten according to the manufacturer’s instructions, then check that the adapter is secure and the barrels still adjust freely.
Do not apply extra force to compensate for a mismatched fitting. If the adapter cannot seat properly, resolve the fit before proceeding.
3. Attach the Plate
Check that the adapter base and plate contact surface are clean. Attach the plate with the specified screw, following any orientation markings supplied with the head.
The plate should sit flat and resist gentle rotation against the adapter. If it still turns after the screw feels tight, check screw length, thread engagement, and contact between the surfaces. Continuing to tighten may damage the connection without securing it.
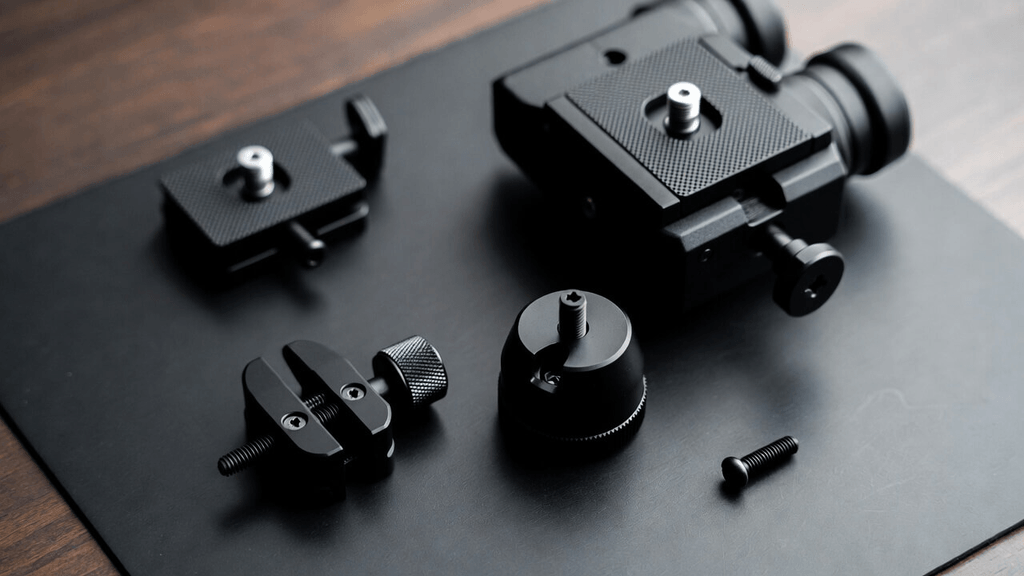
4. Seat and Lock the Plate
Hold the binoculars securely while inserting the plate according to the head instructions. Confirm that the plate enters the clamp properly instead of resting on one edge.
Close the locking mechanism and engage any secondary catch. A closed lever does not, by itself, confirm correct seating. While still supporting the binoculars, gently check for lifting, rocking, or sliding at the clamp connection.
If movement is present, remove the assembly and inspect the fit. Do not let the binoculars hang unsupported while experimenting with the locking mechanism.
5. Adjust Balance and Tilt Resistance
Keep supporting the binoculars while easing the head controls. Notice whether the assembly pulls forward or backward. If the mounting system provides a sliding balance adjustment, reposition it within the permitted range and lock it again.
A longer plate helps only when its adjustment direction and travel allow useful repositioning. It cannot correct a flexible adapter or make an unsuitable head support the load reliably.
Set tilt drag or counterbalance where available, following the head manual. Check the intended observing angles rather than testing only with the binoculars level.
6. Set the Eyepiece Height
Bring the eyepieces to a position where you can observe without hunching, stretching, or leaning against the instrument. Adjust the legs or your seating position as needed.
If extending the center column increases vibration, lower it and reassess the arrangement. A comfortable seated position may work better than raising the entire assembly for standing use.
7. Test the View
Focus on a stationary subject and remove your hands from the controls. Observe whether the image settles promptly or continues moving. Repeat after a pan or tilt.
This checks the assembled support during normal use. A plate can be locked correctly while vibration originates elsewhere in the tripod, head, or adapter.
Change one thing at a time and look at the same subject through the same binoculars. For example, lower an extended center column, then check the view again before adjusting anything else. Watch for the difference between a brief shake after focusing and a view that slowly drifts as the head tilts. Those clues help you find the right connection to inspect. If you discover a comfortable height or a useful plate position, note it so you can return to that setting next time.
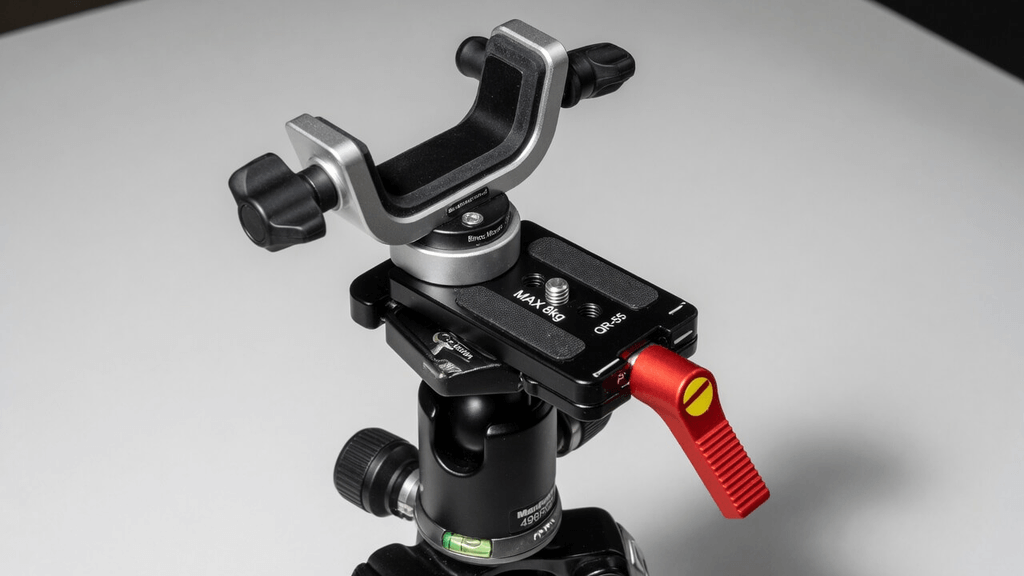
Find the Source of Wobble
Inspect connections from the binoculars downward, supporting the equipment throughout. Watch which parts move relative to each other rather than tightening everything at once.
| Symptom | Possible cause | First check |
|---|---|---|
| Binoculars rotate above the adapter | Loose or poorly seated fitting | Inspect the binocular mounting connection |
| Adapter turns above the plate | Screw or contact problem | Check plate seating and screw length |
| Plate rocks inside the clamp | Incompatibility or incomplete seating | Remove and reseat the correct plate |
| Assembly slowly tilts | Balance or head-control problem | Adjust balance and tilt resistance |
| Image vibrates after focusing | Flex somewhere in the support | Inspect adapter, head, column, and legs |
Wind can introduce movement even when every connection is secure. Try a sheltered position and check the ground beneath the feet. Avoid using extra tightening force as a substitute for stable footing or adequate support.
If a component is damaged or cannot lock as intended, stop using that connection until the problem is resolved.
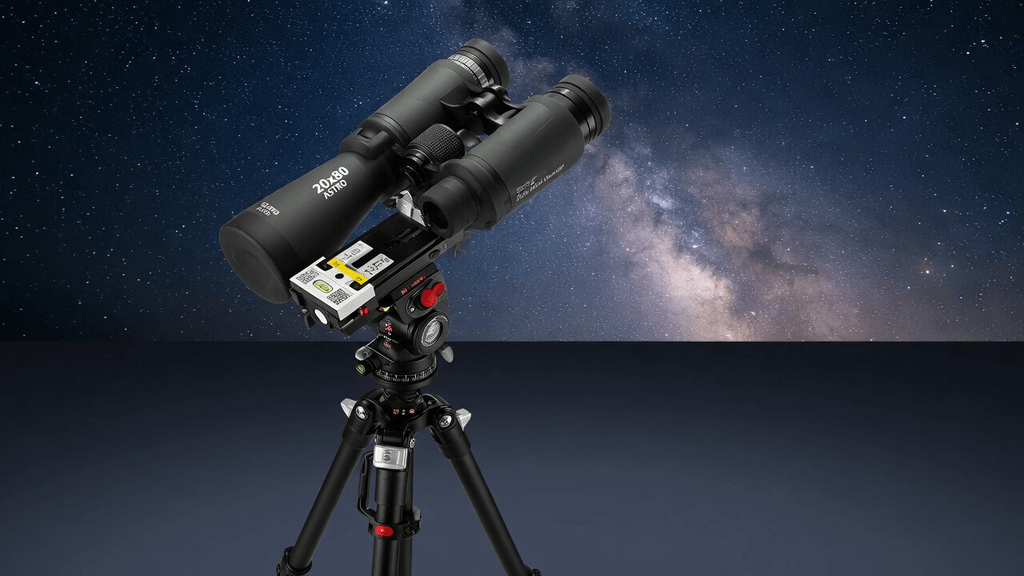
Adapt the Setup for Stargazing
Astronomy places different demands on a mounting system because the binoculars may need to point high above the horizon. Check upward travel and eyepiece access before taking the equipment outside at night.
A head that works comfortably for distant landscapes may reach its tilt limit when aimed upward. Straight-through binoculars can also create an awkward neck position near the zenith, even if the tripod is tall enough.
A suitable parallelogram mount can improve positioning, although it does not change the binocular eyepiece angle. Large instruments may need their own mounting post, support bar, or dedicated assembly rather than a general-purpose L-adapter.
Practice attachment and removal in daylight, maintaining a grip on the binoculars throughout. For observing preparation and target selection, read our guide on how to use binoculars for stargazing.
Build a Repeatable Field Routine
Before each session, check the adapter connection, plate screw, clamp lock, and head controls. Familiar equipment still needs inspection, especially after transport or changing supports.
When attaching the binoculars, keep a hand underneath them until the plate is seated and you have checked the lock. To remove them, take their weight in your hand first, then open the release. Make that sequence a habit.
Keep loose straps away from the clamp and controls. After removal, place the binoculars somewhere secure rather than leaving them balanced on the projecting adapter.
You can often leave the plate attached between sessions, provided the assembly fits its case and does not press against the binocular housing. Inspect the connection again before using it.
Common Purchasing Mistakes
Buying a plate before identifying the tripod head creates avoidable compatibility problems. Start with the exact head model, then confirm the adapter connection and binocular clearance.
Another mistake is assuming that larger binoculars simply require a longer plate. Their support requirements depend on weight, geometry, viewing angle, and the mounting system specified by the manufacturer.
Avoid buying several adapters to solve a problem you have not located. If the plate is secure but the center column vibrates, changing the plate will not address the main source of movement.
Check that you can reach the locking control with the binoculars mounted. A clamp that works easily on its own may be awkward when an adapter sits directly above it.
FAQs
Can I Use a Camera Quick Release Plate?
Yes, if it fits the tripod head and attaches securely to the binocular adapter or built-in mount. Check the screw, contact surface, clearance, and clamp compatibility before loading it.
Is Quick Release More Stable Than a Direct Screw Connection?
Not inherently. Either arrangement can work well when properly fitted. Quick release mainly simplifies attachment and removal, while introducing a clamp connection that needs checking.
Should Every Binocular Use an L-Adapter?
No. Some binoculars use mounting posts, support bars, or dedicated fittings. Others require an approved cradle. Select the attachment intended for the particular binocular design.
Can I Leave the Adapter Attached for Handheld Viewing?
Often, but check your grip and control access first. A projecting adapter can feel awkward or catch on clothing. Convenience depends on the shape of the actual assembly.
Will a Quick Release Mount Remove All Image Shake?
No. The plate provides a detachable connection. Adapter rigidity, tripod stability, head control, wind, and contact with the eyepieces all affect movement during observation.
How Do I Remove the Binoculars Safely?
Support their weight, keep the head controlled, and operate the clamp and safety catch as instructed. Lift or slide the plate out while maintaining your grip on the binoculars.
Your Final Setup Check
Before observing, confirm that the adapter fits correctly, the plate cannot rotate against its base, and the clamp holds it without movement. Check balance through the angles you plan to use, then adjust eyepiece height and barrel spacing for comfort.
Once everything fits, practice taking the binoculars off and putting them back a few times while supporting their weight. You should be able to find the release easily, seat the plate correctly, and reach the eyepieces comfortably. That is a setup worth taking into the field.