If you buy through an affiliate link on this page, we may earn a commission.
The best binoculars for backpacking need to be useful enough to justify carrying them all day. You might want a closer look at an animal across a valley or a bird just off the trail. In either case, you need a pair that is comfortable to use and easy to reach without unpacking half your bag.
I would start with an 8×30 if you regularly stop to watch wildlife, or an 8×25 if keeping your pack light matters most. The Nikon MONARCH M7 8×30 is my first option to compare for general use. For smaller pockets and lighter loads, I would look at the ZEISS Terra ED Pocket 8×25.
There are good reasons to choose something else, though. Open ridgelines favor different compromises from wooded trails. Glasses can change which eyepieces feel comfortable. And binoculars that seem wonderfully small indoors can become fiddly when your hands are cold.
These recommendations use published manufacturer specifications and the practical demands of backpacking. They are research-based selections, not results from a hands-on comparison. Before buying, check how the binoculars fit your eyes and hands; that is something a specification sheet cannot settle.
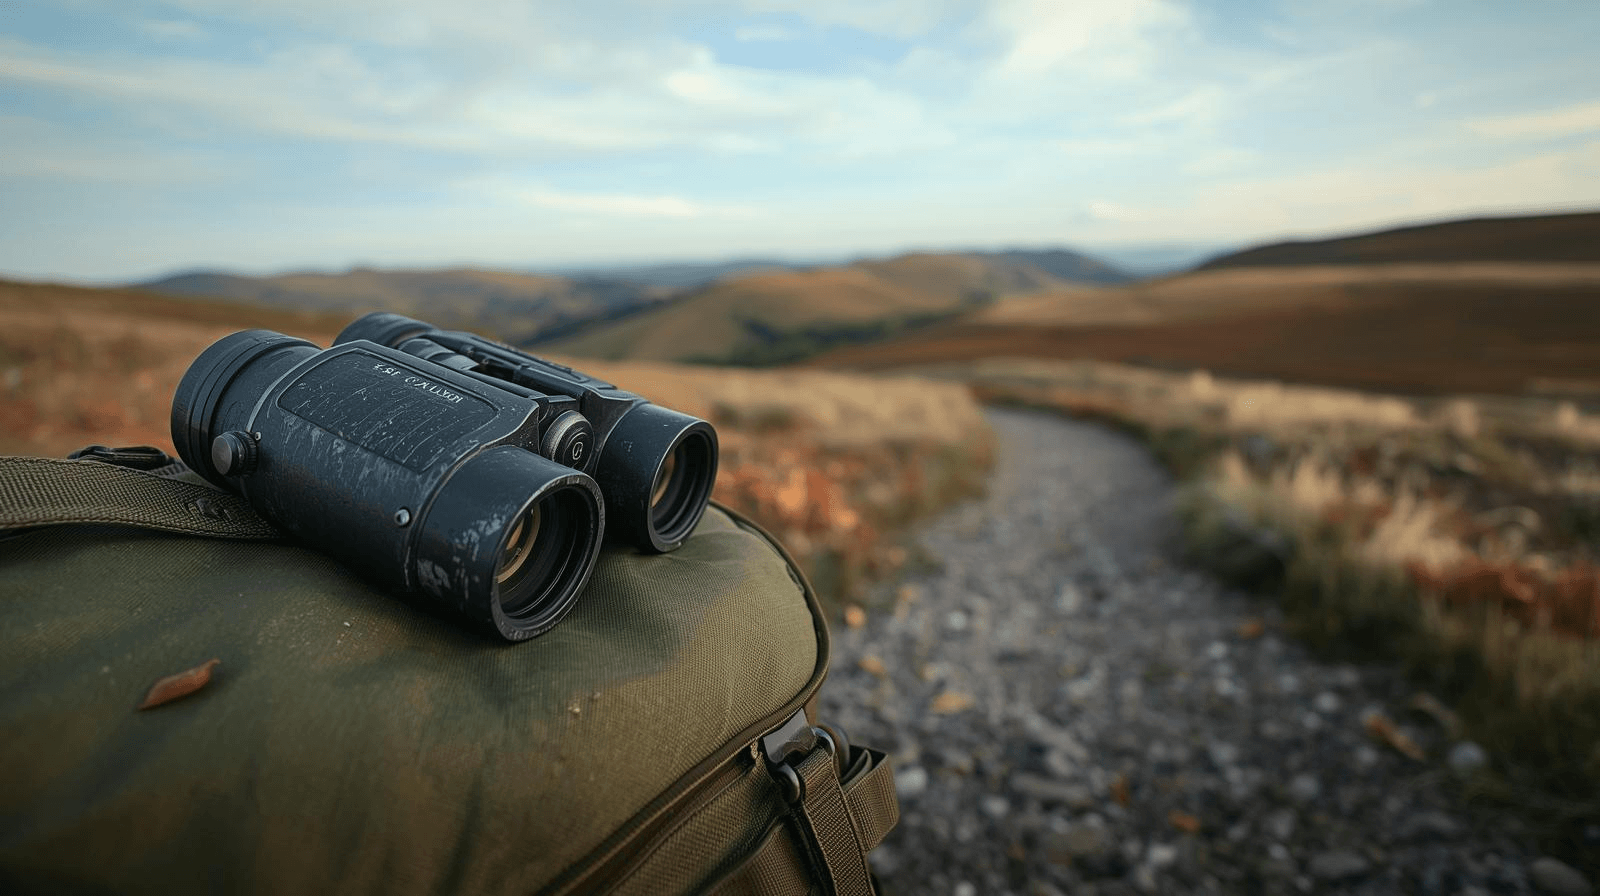
Best Binoculars for Backpacking at a Glance
Start with the kind of walking you actually do. These five options cover pocket carry, regular wildlife observation, lower-magnification viewing, and distant subjects without moving into full-size expedition optics.
| Binocular | Recommended role | Published weight | Field of view at 1,000 yards | Main compromise |
|---|---|---|---|---|
| Nikon MONARCH M7 8×30 | Overall choice for frequent wildlife stops | 16.4 oz / 465 g | 435 ft | More weight than a pocket model |
| ZEISS Terra ED Pocket 8×25 | Lightest option on this shortlist | 10.9 oz / 310 g | 357 ft | Smaller exit pupil than an 8×30 |
| Nikon PROSTAFF P7 8×30 | Value candidate with a wide view | 17.1 oz / 485 g | 456 ft | Slightly heavier than the M7 |
| Maven B.3 6×30 | Lower magnification and generous eye relief | 16.1 oz / about 456 g | 446 ft | Less enlargement of distant subjects |
| Nikon MONARCH M7 10×30 | Open terrain and deliberate distance viewing | 16.6 oz / 470.6 g | 351 ft | Narrower view and more visible hand shake |
Figures come from the manufacturers’ model-specific specifications: Nikon M7 8×30, ZEISS Terra ED Pocket, Nikon P7 8×30, Maven B.3, and Nikon M7 10×30. Maven’s gram weight is converted and rounded. Allow additional weight for your chosen case, strap, and accessories.
The lightest model here is not necessarily the lightest available anywhere. Prices also change, so compare the actual offers before deciding whether the P7 saves enough money to suit your budget.
What Makes Binoculars Worth Their Pack Weight? 🎒
It is tempting to choose binoculars by the view alone. On a backpacking trip, you also carry them through the hours when you are not looking through them. Size and access deserve a place in the decision from the start.
Imagine two otherwise similar hikers. One stops at every meadow and listens for birds. The other covers long distances and occasionally checks a hillside. The first may get considerable use from a comfortable mid-size binocular. The second may be better served by a folding pocket model that stays out of the way.
I would make that decision before comparing coatings or brand names. How often will you raise the binoculars? For how long? In what light? Those answers narrow the choice more effectively than deciding you need the highest specification you can afford.
Count the Carrying System, Too
Weigh the binoculars with the case and strap you intend to use. A padded harness can add more bulk than expected, especially under backpack straps. You still need suitable protection, though, particularly if the binoculars share a pocket with other equipment.
Try the intended pocket or pouch while wearing your loaded pack. Can you reach it without removing a shoulder strap? Does it interfere with the hip belt? Does it bounce when descending steps? These small inconveniences determine whether an otherwise useful purchase gets used.
The Best Binoculars for Backpacking by Use Case
Nikon MONARCH M7 8×30: My Starting Pick for Regular Wildlife Stops
The M7 8×30 combines a 435-foot field of view with 465 grams of published weight. Nikon specifies ED glass, waterproof and fogproof construction, and a locking diopter. Its listed eye relief is 15.1 mm, so glasses wearers should check their actual view through it. Manufacturer specifications.
I would shortlist this for a mixed route with woodland, open slopes, and frequent wildlife stops. Its appeal is the balance of size and viewing width, rather than being the smallest option.
Pros: Wide view; ED glass; a manageable middle ground between pocket and full-size binoculars.
Cons: Heavier than the ZEISS pocket model; eye relief may not suit every glasses wearer.
Choose it when observation is part of the trip. If binoculars are mostly an occasional extra, consider pocket carry first.
ZEISS Terra ED Pocket 8×25: For Weight-Conscious Daylight Viewing
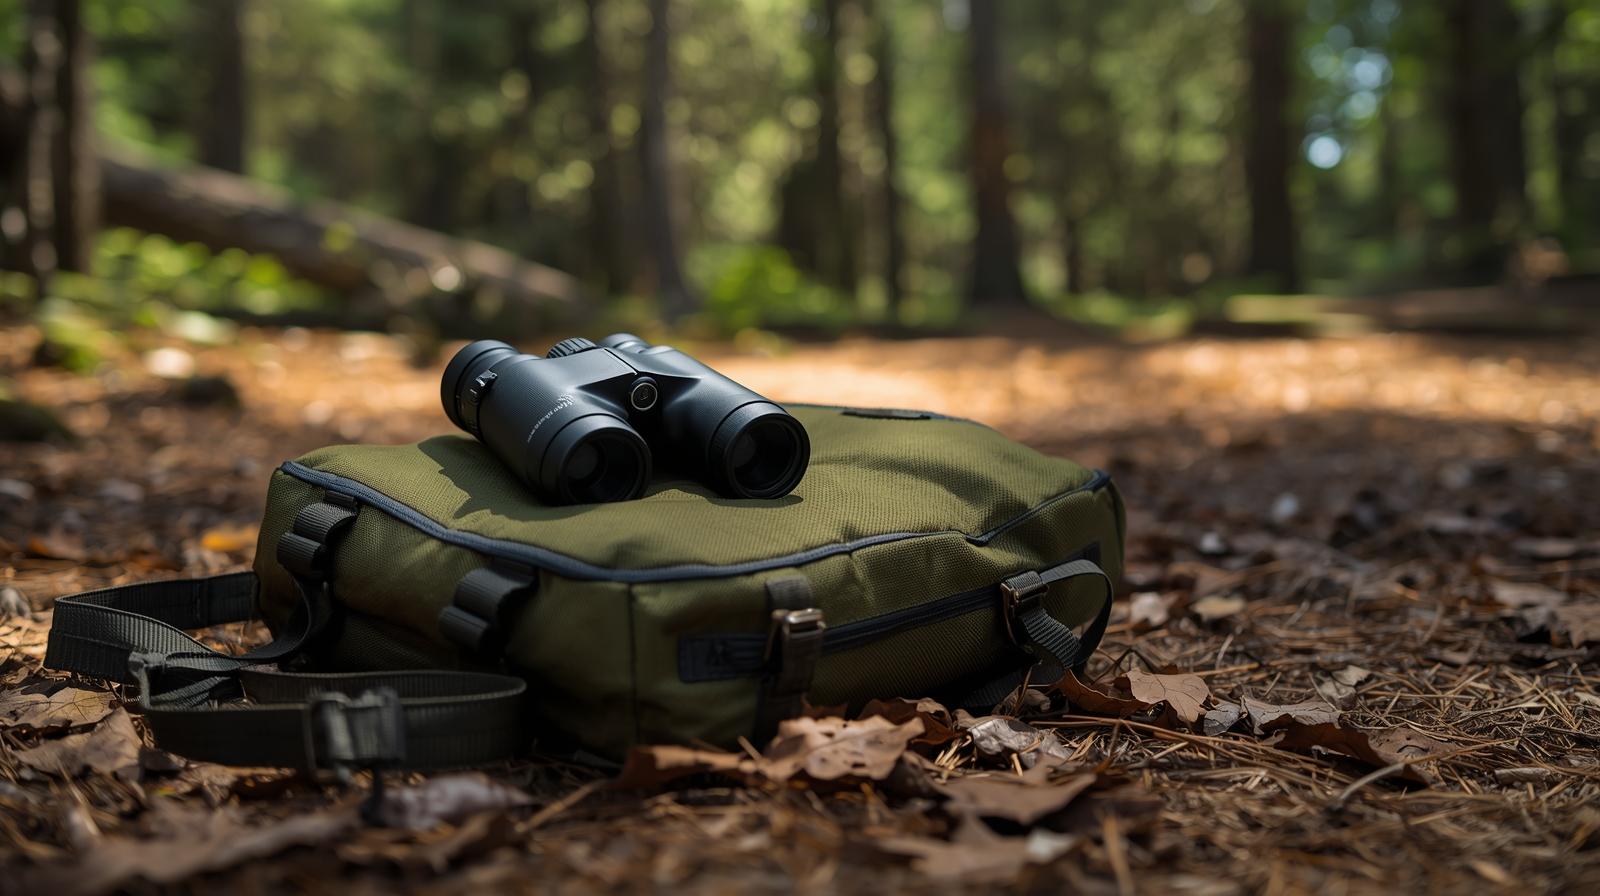
At a published 310 grams, the Terra ED Pocket 8×25 is the lightest choice here. ZEISS lists a 357-foot field of view at 1,000 yards and a 3.1 mm exit pupil. Check the exact 8×25 model when shopping; the Terra family includes several larger binoculars. Manufacturer specifications.
This is the option I would consider if heavier binoculars keep getting left at home. It suits short wildlife stops during daylight, provided you are comfortable giving up some of the advantages of larger objectives as the light fades.
Pros: Lowest listed weight in this comparison; pocket-oriented size; practical 8x magnification.
Cons: Less generous exit pupil than an 8×30; compact handling deserves an in-person check.
Choose it when easier packing matters more than spending long periods watching in dim light.
Nikon PROSTAFF P7 8×30: A Value Candidate for Wide Views
The P7 8×30 has a listed 456-foot field of view, 485-gram weight, and 15.4 mm eye relief. Nikon also specifies waterproof and fogproof construction and a locking diopter. Its published viewing width exceeds that of the M7 8×30, illustrating why one specification cannot determine overall optical quality. Manufacturer specifications.
Compare it with the M7 if you want an 8×30 but need to keep spending down. Check the price difference first. If the saving is small, take time to compare how both fit and handle before choosing.
Pros: Broad viewing window; weather protection; worth comparing before spending more.
Cons: Heaviest option here; a wide field alone does not establish edge sharpness or glare control.
For mixed hiking and birdwatching, find birdwatching binoculars that fit a smaller budget before settling on your spending limit.
Maven B.3 6×30: An Alternative When Steadiness Matters More Than Reach
The 6×30 version of the Maven B.3 deserves attention because it makes a different compromise. Maven lists a 5 mm exit pupil, 18.3 mm eye relief, a 446-foot field, and a weight of 16.1 ounces. The B.3 range also includes 8x and 10x versions, so confirm the magnification. Manufacturer specifications.
Lower magnification can make handheld observation more forgiving. I would consider this for nearby wildlife and wooded routes, especially if 8x already feels difficult to steady.
Pros: Generous listed eye relief; larger exit pupil; lower power for relaxed viewing.
Cons: Less distant detail than higher magnification can provide under stable conditions; not a pocket-weight option.
Its appeal is comfort, not maximum reach. Check face fit before assuming the eye-relief specification guarantees compatibility with your glasses.
Nikon MONARCH M7 10×30: For Open Slopes and Distant Subjects
Nikon lists the M7 10×30 at 470.6 grams, with a 351-foot field of view and 3 mm exit pupil. Compared with the 8×30 version, you gain enlargement but lose viewing width. Manufacturer specifications.
I would consider it for open country where you regularly stop, brace your arms, and study distant animals. It is a more specific choice than the 8x model, not an automatic upgrade.
Pros: More enlargement without moving to a full-size body; useful for deliberate distance viewing.
Cons: Narrower field; hand movement is more apparent; smaller exit pupil than the 8×30.
Choose it if distant subjects make up most of your viewing and you can keep the image steady. Otherwise, the 8x version is the more sensible starting point.
8x vs 10x Binoculars: What Changes on the Trail?
Magnification makes hand movement more noticeable along with the subject. After an uphill stretch, pause and put your trekking poles aside before comparing the view. The extra reach of 10x is less useful if you cannot settle the image.
An 8x binocular is my default recommendation for general backpacking. It usually offers an easier balance between finding a subject, keeping it in view, and holding the image steady. The exact field of view still depends on the model; magnification does not determine it by itself.
A 10x binocular earns its place when viewing is more deliberate. Think of a long stop above an open basin rather than a brief look at a bird crossing the trail. Bracing your elbows or sitting down may help you benefit from the additional enlargement.
| Trail situation | Starting choice | Why |
|---|---|---|
| Birds moving through nearby branches | 8x | Easier general-purpose tracking |
| Long-distance daylight observation | 10x | More enlargement if you can steady it |
| Hand shake is the main frustration | Consider 6x | Less magnification of movement |
| One binocular for varied routes | 8x | A balanced starting point |
The best binoculars for backpacking should match your viewing habits. Buying extra reach for a rare situation can make every ordinary sighting less comfortable.
8×25, 8×30, or 8×42: Choose the Size Before the Brand
Pocket Binoculars for Long Days
An 8×25 makes sense when you want binoculars available without building your packing system around them. The compromise is not simply “less brightness.” Small bodies can be more sensitive to hand position, and small exit pupils leave less room for imperfect eye alignment.
In bright conditions, your pupils may be smaller than the exit pupil of either compact option. Under those circumstances, a bigger objective does not automatically produce a dramatically brighter-looking image. Optical transmission and image quality also matter.
Mid-Size Binoculars for Regular Observation
An 8×30 or 8×32 is often the sensible middle ground. You accept more weight in exchange for a larger exit pupil and a body that may provide more room for your hands.
This is where I would start for birding-focused backpacking, especially if you expect to observe throughout the day rather than only during occasional scenic stops.
Full-Size Binoculars for Specific Priorities
An 8×42 may be worth carrying when dawn, dusk, or prolonged observation is central to the trip. But calculate the complete weight and decide where it will ride before buying.
A larger binocular that stays in camp is not necessarily helping you see more along the route. Choose it when you can explain what the extra size contributes to your usual outings.
Exit Pupil, Eye Relief, and Other Specifications That Matter
Exit Pupil Explains Part of the Comfort Difference
Exit pupil is objective diameter divided by magnification. An 8×25 produces about 3.1 mm, an 8×30 produces 3.75 mm, and an 8×42 produces 5.25 mm.
A larger exit pupil can make eye placement more forgiving and can help in dim conditions when your own pupils expand sufficiently. It is not a complete brightness score. Coatings, transmission, optical design, and your eyes all influence the view.
That is why I would avoid calling every 25 mm binocular unsuitable for shade, or every 42 mm binocular automatically superior in practice.
Eye Relief Requires a Fit Check
If you wear glasses, try the binoculars with those glasses on. Look for a full circular field without pressing the eyepieces against your lenses. Published eye relief is useful for narrowing choices, but eyecup shape and the distance between your eyes and glasses affect the result.
Check the hinge adjustment as well. A binocular that cannot match the distance between your pupils will remain uncomfortable regardless of its reputation.
A Wide Field Helps You Find the Subject
Viewing width matters when you know a bird is somewhere in a tree but have not located it through the eyepieces. A wider field provides more surrounding context.
It does not tell you how sharp the outer image looks. Compare field width, focus behavior, and overall comfort together rather than crowning a winner from the widest published number.
Match the Binoculars to the Backpacking Trip 🥾
Multi-Day Routes With Strict Weight Targets
If you weigh every optional item, start with a pocket model and think about the sightings you expect. A route with frequent wildlife stops gives binoculars a clearer purpose than a trip focused entirely on covering distance.
If you do carry one, make it accessible. A small binocular in a reachable protective pouch has a clearer purpose than a more capable model packed where every sighting requires a stop and unpack.
Forest Trails and Birdwatching Stops
In woodland, finding the bird quickly often matters more than making it look larger. You may be searching among nearby branches rather than across a valley. Start with a comfortable mid-size 8x, or consider lower power if hand shake repeatedly spoils the view.
Spend time checking the focus wheel with the hand position you naturally use. A control that forces you to shift your grip can become irritating during repeated short observations.
Open Mountain Country
Higher magnification becomes more attractive when subjects are distant and the landscape provides a clear line of sight. Still, wind and unstable footing can cancel the advantage. Try watching from a seated position before assuming you need more power.
If your trips center on prolonged wildlife scouting, compare higher-powered hunting binoculars for more distant observation while accounting for the extra support and weight those uses may involve.
Backpacking Combined With Travel
If your holiday combines train journeys, coastal walks, and a few nights on the trail, one pair may cover all three. A compact binocular is easier to keep in a day bag between the backpacking parts of the trip.
Before buying separate pairs, compare travel binoculars that can earn their place beyond the trail. Shared use can justify a purchase more convincingly than a feature you might need once a year.
Campsite Stargazing
A compact binocular can provide enjoyable casual views of the Moon and bright star fields. It is still a compromise when astronomy becomes the main purpose.
For trips planned around dark skies, find beginner astronomy binoculars for more rewarding campsite viewing, then weigh their carrying requirements against your route. Dedicated night-sky priorities can lead to a different size than daytime backpacking.
Never look at the Sun through ordinary binoculars.
Weather Protection and Carrying Comfort
Waterproofing and internal fog resistance are useful outdoors, but they address different problems. Sealed construction helps keep moisture out; internal gas filling helps prevent condensation inside the instrument. Neither means the outside surfaces cannot fog or collect rain.
Read the model’s stated water-resistance conditions rather than treating “waterproof” as permission for unlimited immersion. Also remember that a weather-resistant binocular can still suffer impact damage.
For carry, test the strap with your backpack already adjusted. Two comfortable systems can become uncomfortable when stacked over the same shoulder. A chest pouch may stabilize the binoculars, while a simple strap may feel less restrictive on a warm day.
There is no universal winner. Choose the arrangement that protects the instrument, allows easy access, and does not interfere with breathing, pack adjustment, or foot placement.
How Much Should You Spend?
Set a budget for something you will actually take outdoors. If the cost makes you reluctant to use the binoculars in ordinary trail conditions, a less expensive model may give you more enjoyment. Include a suitable case or pouch in that budget.
Spending more can bring a better view, smoother controls, or better construction. Whether those differences help you depends on the problem you are trying to solve. If your glasses prevent you from seeing the full field, better-fitting eyepieces deserve attention before any other upgrade.
I would spend first on a binocular that fits, focuses predictably, and suits the route. Then compare optical differences you can actually notice. Avoid sacrificing essential backpacking equipment to reach a higher optics tier.
Compare the Exact Version at Checkout
Product families often contain multiple magnifications and objective sizes. Check that the listing matches the model you chose, including its size and generation. A discount is less helpful if you accidentally order the heavier version.
Look at the seller, included accessories, return conditions, and regional warranty terms. If two suitable binoculars are close in price, the ability to check fit and return an unsuitable pair may be worth more than a small saving.
A Practical Check Before Your First Trip
Take your shortlisted binoculars outside and look at several subjects: fine branches against the sky, a bird-sized object in shade, and detail across an open space. These are useful checks, not a substitute for a controlled optical test.
Adjust the hinge and eyecups first, then set the diopter following the manual. Poor setup can make good equipment seem uncomfortable or soft.
Hold the view for longer than a quick glance. Notice whether you keep repositioning your eyes, squeezing the barrels, or searching for the focus wheel. Repeat with your backpack on and, if relevant, with thin gloves.
Then put the binoculars away and take them out again with your pack on. A pair that feels comfortable at eye level still needs to be easy to reach, protect, and carry between sightings.
Upgrade Your Backpacking Experience
👉Don’t just walk through nature—explore it. Choose the best binoculars for backpacking and turn every trail into a visual adventure.
FAQs
What Are the Best Binoculars for Backpacking Overall?
An 8×30 is a strong starting point for regular wildlife observation, while an 8×25 suits hikers who prioritize low weight and compact storage. The best choice depends on face fit, carrying comfort, viewing conditions, and how often you expect to use it.
Are 8x or 10x Binoculars Better for Backpacking?
For general backpacking, 8x is usually the easier starting point because it balances enlargement and steadiness. Choose 10x when distant subjects are common and you can hold the binoculars steadily enough to benefit from the additional magnification.
Are Compact Binoculars Good Enough for Wildlife?
Yes, compact binoculars can be useful for daylight wildlife observation. They are less specialized for prolonged viewing in dim light than larger designs. Choose a compact model you can align comfortably with your eyes and keep readily accessible.
How Heavy Should Backpacking Binoculars Be?
There is no universal limit. Compare the complete carrying weight with how often you will use them. On this shortlist, published binocular weights range from 310 to 485 grams before your chosen carrying accessories are added.
Do I Need Waterproof Binoculars for Hiking?
Waterproof construction is a worthwhile priority for wet or unpredictable conditions. Check the manufacturer’s stated protection rather than relying on the label alone. Keep the lenses protected and dry the exterior before storing the binoculars after a wet outing.
Can I Use Backpacking Binoculars While Wearing Glasses?
Yes, if the eye relief, eyecups, and hinge adjustment suit you. Test with your own glasses and confirm that you can see the full field without pressing hard against the eyepieces. Published eye relief alone cannot guarantee a comfortable fit.
Is a Monocular Better for Ultralight Backpacking?
A monocular may suit occasional checks when minimal size is the priority. Binoculars provide two-eye viewing, which some people find more comfortable for extended observation. Compare actual products and handling rather than assuming either format always weighs less or works better.
Choose the Binoculars You Will Actually Use
For regular wildlife stops, start with a comfortable mid-size 8x. For weight-conscious daylight trips, look first at pocket-sized 8×25 options. Consider 10x when distant subjects dominate, and lower magnification when steadiness matters more than reach.
The best binoculars for backpacking should fit your eyes, sit comfortably in your hands, and have a practical place in your pack. Before paying for an upgrade, be clear about what you want it to improve: less weight, an easier view, or more detail at distance.
Ready to choose optics for the rest of your adventures? Explore Best Binocular for comparisons that match the way you get outdoors.