Binocular Tripod Adapter Installation: How to Mount Binoculars the Right Way
Installing a binocular tripod adapter looks simple until the binocular starts tilting forward, the screw refuses to catch, or the tripod head shakes every time you touch the focus wheel.
That is why proper binocular tripod adapter installation matters.
A tripod adapter is the small part that connects your binoculars to a tripod. It usually looks like an L-shaped metal or plastic bracket, but it does a lot of work. It keeps your binoculars stable, reduces hand shake, and lets you observe for longer without arm fatigue. For astronomy, long-distance viewing, target spotting, coastal watching, or backyard nature observation, this tiny accessory can completely change the viewing experience.
This guide walks through binocular tripod adapter installation in a real-world way: what fits, what does not, what to check before buying, and how to avoid the annoying mistakes that make binoculars wobble even after mounting.
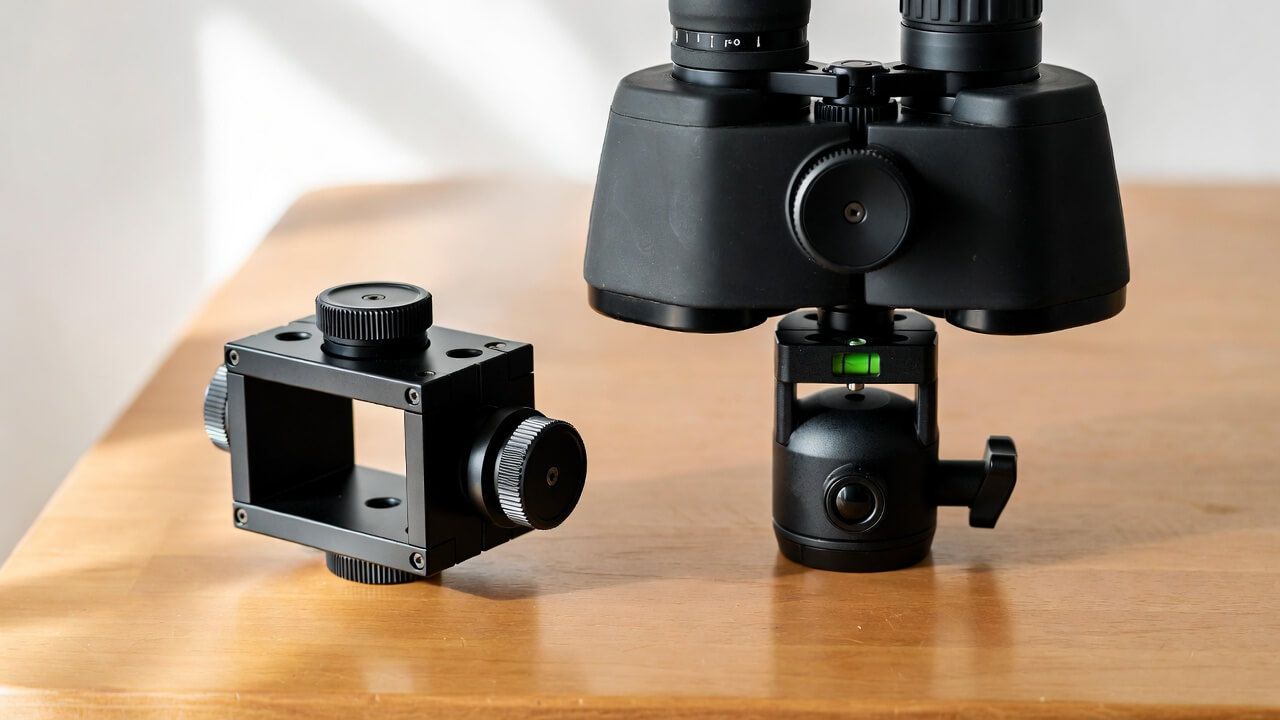
What Is a Binocular Tripod Adapter?
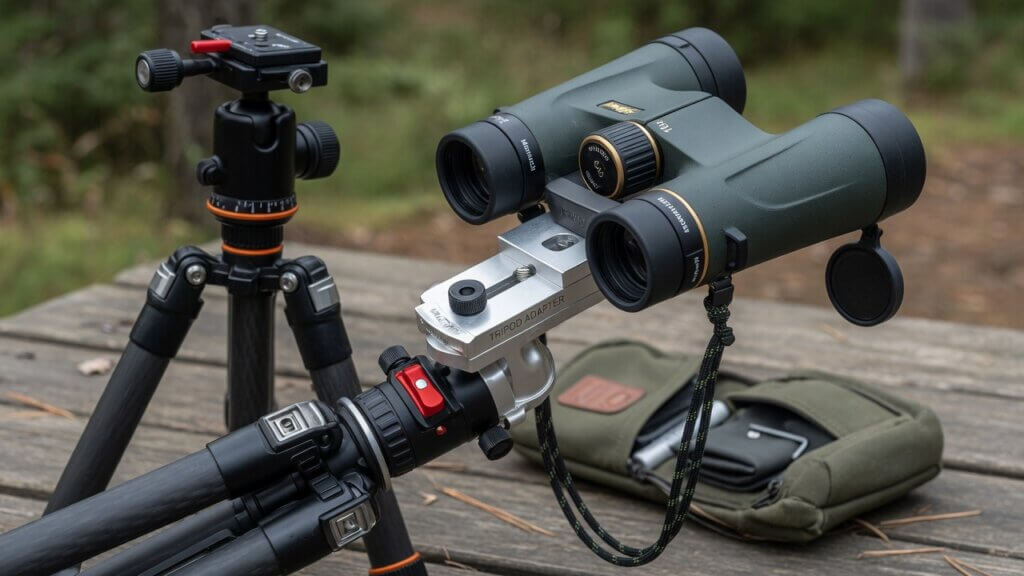
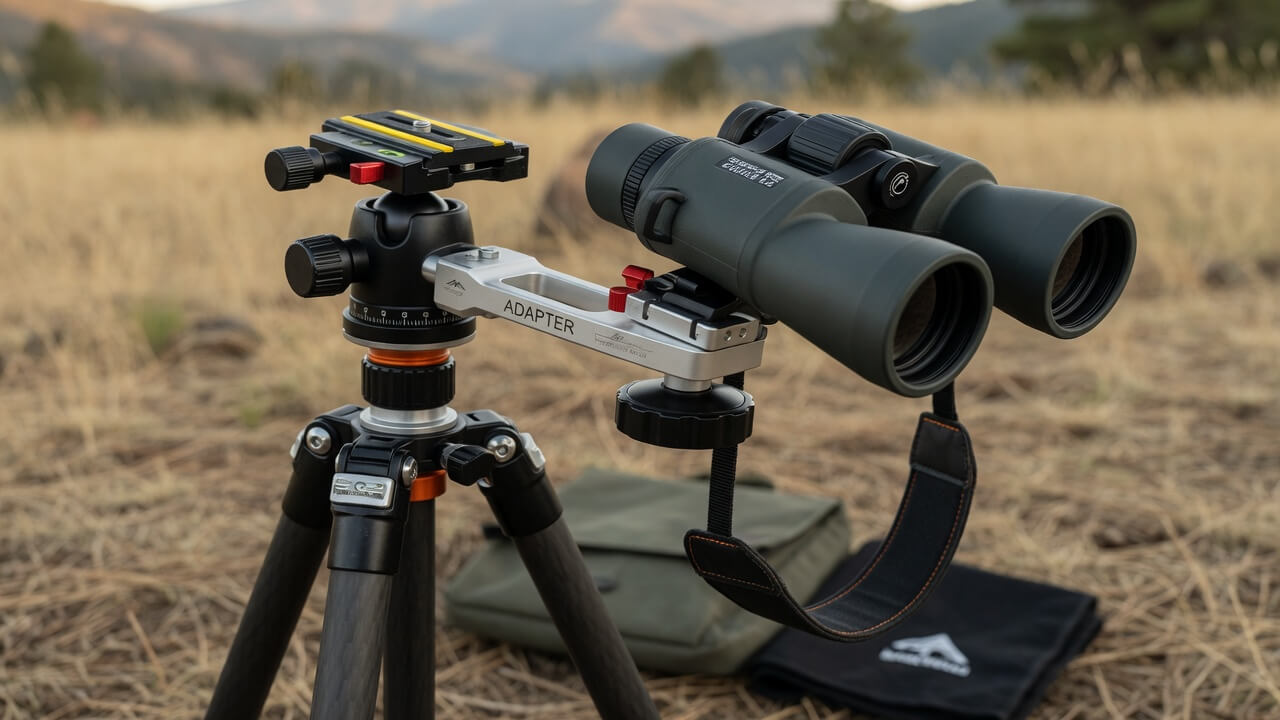
A binocular tripod adapter is a connector that lets tripod-ready binoculars attach to a standard tripod. Most common adapters use a vertical bracket design. The bottom connects to the tripod plate or tripod screw, while the top screw connects to the threaded socket between the binocular barrels.
Many roof prism and Porro prism binoculars have this socket hidden behind a small front cap. On some models, the cap is plastic. On better models, it may be metal. Once you remove that cap, you will usually find a threaded mounting hole.
A good binocular tripod adapter installation should feel firm, balanced, and centered. The binocular should not swing forward, twist sideways, or loosen when you adjust focus.
If you are still comparing the wider setup, read the full pillar guide on how to mount binoculars to a tripod. That page explains the complete mounting system, while this article focuses only on adapter installation.
Before You Install: Check These 4 Things First
Do not start forcing screws yet. Most problems happen because people skip the basic compatibility check.
1. Check If Your Binoculars Are Tripod Adaptable
Look at the front center hinge of your binoculars. You may see a small round cap between the objective barrels. Unscrew it gently.
If there is a threaded hole underneath, your binoculars are tripod adaptable.
If there is no threaded socket, a standard L-adapter will not work. In that case, you may need a strap-style binocular mount or clamp-style mount instead.
2. Check the Tripod Screw Size
Most binocular tripod adapters use the common 1/4″-20 tripod screw standard, which works with many regular photo tripods. Still, always check your binocular and tripod specifications before forcing any connection.
That matters because forcing the wrong thread can damage the binocular socket.
3. Check the Space Between the Barrels
Some roof prism binoculars have very narrow barrels. A thick adapter may not fit between them.
This is one of the most underrated buyer mistakes. People buy a chunky “heavy-duty” adapter, then discover it cannot slide between their binocular barrels.
For narrow roof prism models, a slim metal adapter is usually safer.
4. Check Your Tripod Head
The adapter can be perfect, but a weak tripod head will still make the setup feel cheap.
For 8×42, 10×42, and 10×50 binoculars, a normal photo tripod can work fine. For heavier 15×70, 20×80, or astronomy binoculars, use a stronger tripod with a smooth pan-tilt head.
Binocular Tripod Adapter Installation Step by Step
Here is the clean way to install the adapter without damaging threads or creating wobble.
Step 1: Remove the Front Hinge Cap
Hold the binoculars securely with one hand. With the other hand, unscrew the small cap at the front center hinge.
Do not use pliers unless the cap is badly stuck. Most caps are small and easy to scratch. If it feels tight, use a rubber grip cloth and turn slowly.
Place the cap somewhere safe. People lose these all the time.
Step 2: Attach the Adapter to the Binoculars First
Thread the top screw of the adapter into the binocular socket by hand. This is important.
Do not immediately tighten it with force. Start slowly and make sure the screw is going in straight. If it feels gritty, angled, or stuck after half a turn, back it out and try again.
A proper binocular tripod adapter installation should never feel like you are fighting the screw.
Step 3: Tighten Until Firm, Not Brutal
Tighten the adapter until it is snug.
Avoid over-tightening. The threaded socket inside binoculars is not something you want to strip. Firm is enough. If the adapter has a large thumb knob, use finger pressure only.
A small amount of movement at this stage usually means one of three things: the screw is not fully seated, the adapter is too flexible, or the binocular body shape does not sit cleanly against the bracket.
Step 4: Attach the Adapter to the Tripod Plate
Now connect the bottom of the adapter to your tripod quick-release plate.
Line up the adapter’s base with the tripod plate screw. Tighten it firmly so the adapter does not rotate on the plate.
This bottom connection is where many shaky setups fail. If the adapter can twist on the plate, the binocular will feel unstable even if the top screw is tight.
Step 5: Lock the Plate Into the Tripod Head
Slide or click the quick-release plate into the tripod head.
Make sure the tripod head lock is fully engaged. Then gently hold the binoculars and move the setup left, right, up, and down.
Nothing should rattle.
Step 6: Balance the Binocular Angle
Before serious viewing, adjust the tripod head tension. Heavy binoculars may want to drop forward when angled upward.
For astronomy, this is a common headache. You aim at the moon, let go, and the binocular slowly droops. That is not always the adapter’s fault. It is often the tripod head.
For sky viewing, a fluid head or geared head feels much better than a cheap ball head.
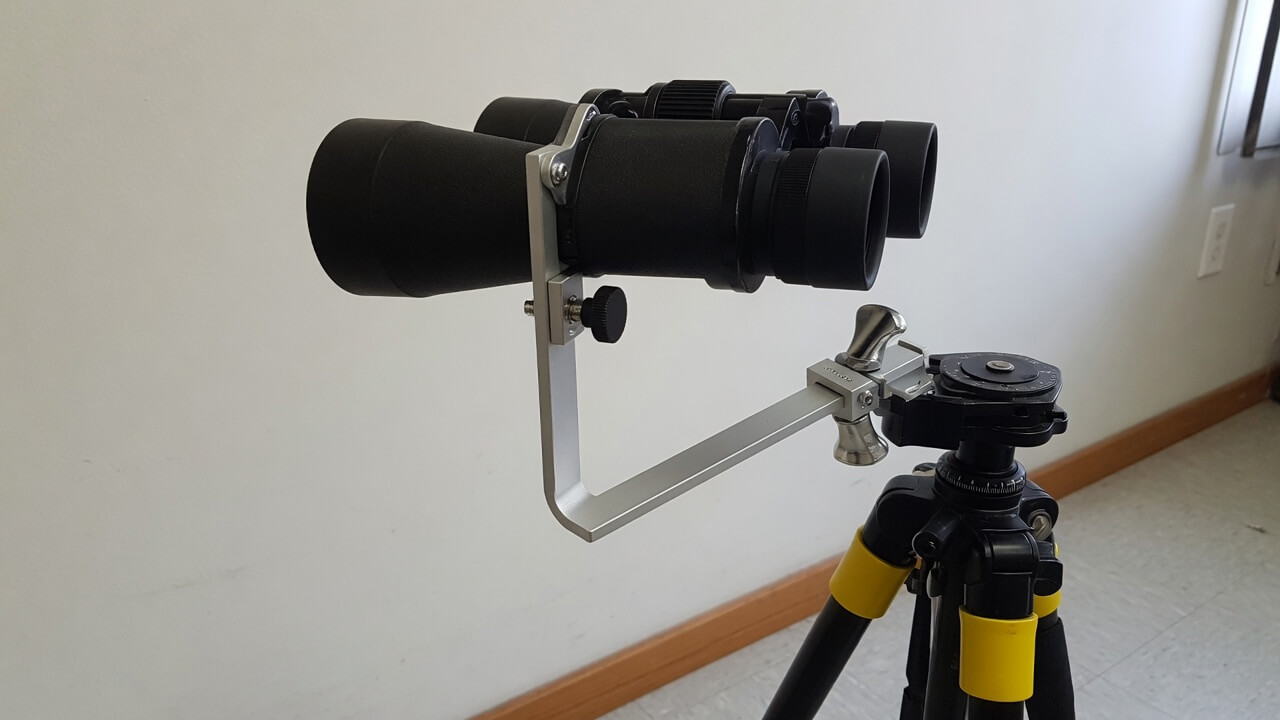
Quick Comparison: Metal vs Plastic Binocular Tripod Adapters
Not every adapter feels the same in real use. A plastic adapter may be okay for compact binoculars, but it can flex with heavier glass.
| Adapter Type | Best For | Main Advantage | Main Weakness |
|---|---|---|---|
| Plastic L-adapter | Lightweight 8×32 or 8×42 binoculars | Cheap and light | Can flex or vibrate |
| Metal L-adapter | 10×42, 10×50, 12×50 binoculars | Stronger and more stable | Slightly heavier |
| Slim metal adapter | Roof prism binoculars | Fits narrow barrels better | May be less comfortable to tighten |
| Heavy-duty adapter | Large astronomy binoculars | Better support for weight | May not fit tight center gaps |
| Quick-release adapter system | Frequent setup and removal | Faster field setup | Costs more |
My honest take: for most people, a slim metal adapter is the safest buy. It handles common binocular sizes well, fits more models, and does not feel flimsy after a few uses.
For a deeper buying comparison, check binocular mount vs tripod adapter. It helps you decide whether a simple adapter is enough or whether you need a different mounting style.
One Product That Makes Sense: Celestron Binocular Tripod Adapter
If you want one practical option, the Celestron Binocular Tripod Adapter is a safe recommendation for most standard tripod-ready binoculars.
It is not fancy. That is the point.
It is designed for both Porro and roof binoculars, and Celestron describes it as an adapter made to mount binoculars to a tripod for better stability and convenience. For typical 8×42, 10×42, and 10×50 binoculars, it does the job without making the setup complicated.
Why It Makes Sense
| Feature | Why It Matters |
|---|---|
| Works with roof and Porro binoculars | Covers most common binocular designs |
| Simple L-bracket design | Easy to install and remove |
| Standard tripod compatibility | Works with most regular photo tripods |
| Lightweight build | Good for travel and casual field use |
| Affordable price range | Easy add-on for beginners |
Would I use it for huge 20×80 astronomy binoculars? Probably not as my first choice. For that, I would look at a heavier mounting solution. But for common handheld binoculars that need tripod stability, it is a practical pick.
Common Installation Mistakes That Cause Wobble
A shaky setup does not always mean the adapter is bad. Most of the time, it is one of these mistakes.
Mistake 1: Mounting the Adapter Crooked
If the screw enters the binocular socket at a slight angle, the adapter may feel tight but still sit unevenly. That creates tiny movement.
Back it out. Start again by hand.
Mistake 2: Using a Weak Tripod
A lightweight travel tripod may hold a phone or small camera, but binoculars place weight higher and farther forward.
That leverage matters.
For 10×50 binoculars, use a tripod that feels slightly stronger than you think you need. For astronomy binoculars, go heavier.
Mistake 3: Leaving the Tripod Plate Loose
The bottom screw between the adapter and quick-release plate must be tight. If that connection slips, the whole setup rotates.
This is the most common issue I see with new users.
Mistake 4: Buying a Thick Adapter for Narrow Roof Binoculars
Some adapters simply do not fit between slim barrels. Always check the center hinge space before buying.
Mistake 5: Over-Tightening the Binocular Socket
More pressure does not always mean more stability. Over-tightening can damage the thread or make the adapter harder to remove later.
Snug and secure is the goal.
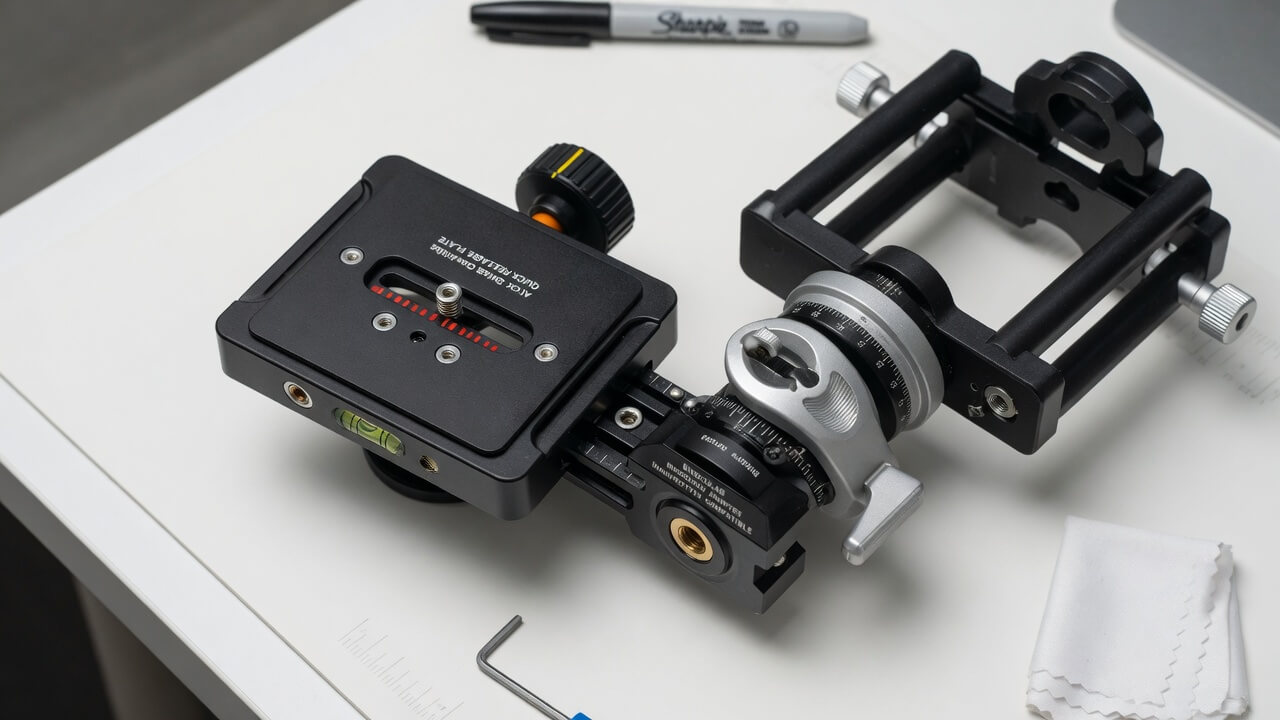
Real-World Use Cases for a Tripod Adapter
Backyard Astronomy
For moon viewing, a tripod adapter makes a huge difference. Handheld binoculars may show the moon clearly, but every tiny movement becomes obvious at higher magnification.
With a tripod, craters, shadow lines, and star fields are easier to study.
For astronomy, binocular tripod adapter installation should focus on balance. Point the binoculars upward and test whether the tripod head holds position before you start observing.
Long-Distance Landscape Viewing
If you are watching mountains, coastlines, city skylines, or distant landmarks, a tripod helps you stay locked on one subject.
This is where even a basic adapter feels useful. You can step away, return, and still have the binoculars pointed at the same area.
Target Spotting and Range Viewing
For spotting impacts or checking distant fixed objects, a tripod-mounted binocular setup can be more comfortable than constantly raising binoculars to your eyes.
Here, quick adjustment matters. A smooth pan head is better than a stiff ball head.
Family or Group Viewing
Tripod-mounted binoculars make shared viewing easier. Once you aim at the subject, another person can look without needing to find it again.
That is a small thing, but in real use, it saves a lot of frustration.
Digiscoping and Phone Adapter Use
If you attach a phone adapter to binoculars, you need stability. Handholding binoculars while aligning a phone camera is painful.
A solid binocular tripod adapter installation gives you a stable base before adding the phone mount.
Pros and Cons of Using a Binocular Tripod Adapter
| Pros | Cons |
|---|---|
| Reduces hand shake | Adds setup time |
| Helps with long viewing sessions | Not all binoculars have tripod sockets |
| Improves high-magnification viewing | Cheap adapters may flex |
| Useful for astronomy and distance viewing | Heavy binoculars need stronger tripods |
| Makes group viewing easier | Narrow binoculars may need slim adapters |
Most people buy an adapter after they get tired of shaky views. But if you already use 10x or stronger binoculars, buying one early is a smart move. It is a small accessory that makes the setup feel much more controlled.
Adapter Installation for Different Binocular Sizes
8×42 Binoculars
Most 8×42 binoculars are easy to mount. They are not too heavy, and a standard metal adapter usually works well.
A lightweight tripod can be enough, but avoid very cheap mini tripods unless you are using them on a table.
10×42 Binoculars
This is where a tripod starts to feel more useful. The extra magnification makes hand shake more visible.
For 10×42 binoculars, binocular tripod adapter installation should be simple, but make sure the adapter is slim enough if you have a roof prism model.
10×50 Binoculars
A 10×50 is heavier and front-loaded. Use a metal adapter and a stable tripod.
Plastic adapters can work, but they often feel less confidence-inspiring with this size.
12×50 and 15×70 Binoculars
At this point, the tripod is no longer optional for long sessions. A metal adapter is strongly recommended.
For 15×70 binoculars, the tripod head becomes just as important as the adapter. If the head droops, upgrade the head before blaming the adapter.
20×80 Binoculars
Large astronomy binoculars need a serious support system. A basic L-adapter may not be enough. Consider a heavy-duty adapter, parallelogram mount, or dedicated binocular mount.
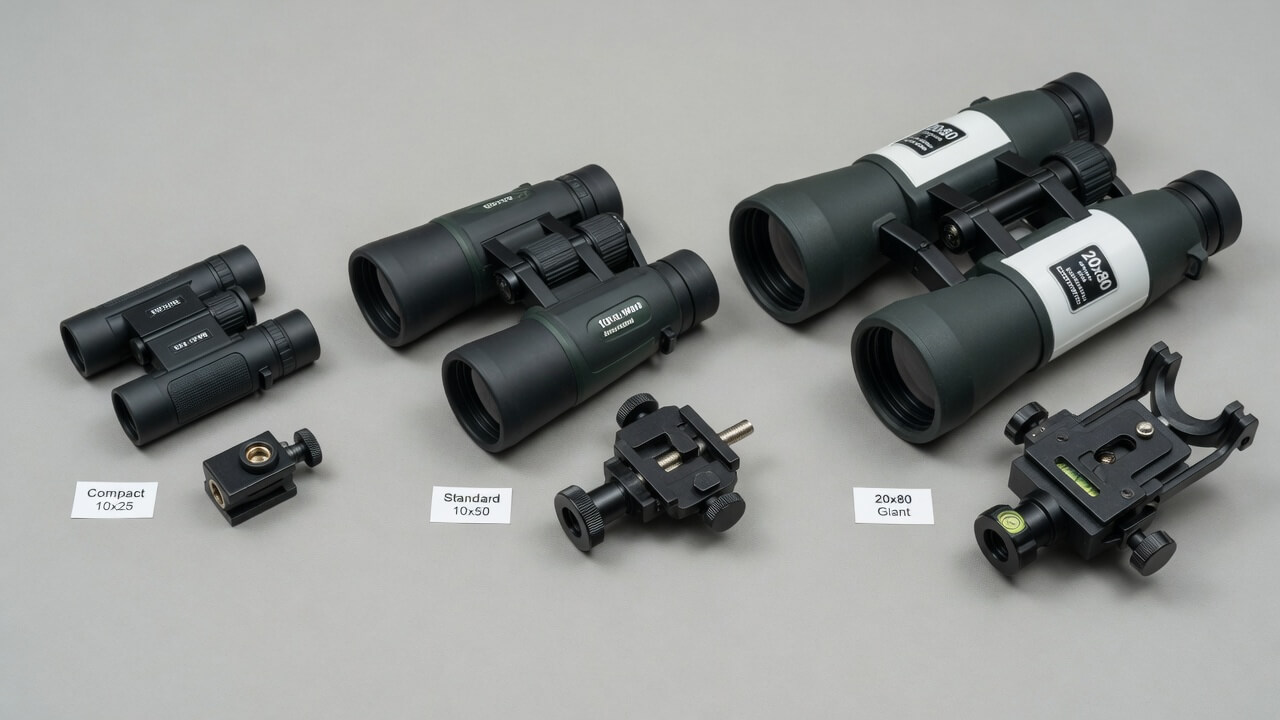
Quick Release Setup: Worth It or Not?
A quick-release plate is worth using if you install and remove your binoculars often.
For example, if you carry binoculars on hikes and only mount them when needed, a quick-release setup saves time. You can keep the adapter attached to the binoculars and click the plate into the tripod when ready.
However, quick-release systems add one more connection point. If the plate is cheap or loose, it can create wobble.
For a full breakdown, read binocular quick release mount setup. It explains when quick-release is genuinely useful and when it is just extra hardware.
Buyer Tips Before You Choose an Adapter
Choose Metal for Most Binoculars
Metal adapters are usually more stable. They are especially better for 10×50 and larger models.
Choose Slim for Roof Prism Binoculars
Roof prism binoculars often have less space around the hinge. A slim adapter avoids fit problems.
Avoid Ultra-Cheap No-Name Plastic Adapters
Some work fine, but many flex too much. If your binoculars cost decent money, do not ruin the experience with a weak adapter.
Check the Height of the Adapter
Some adapters are taller than others. A taller adapter may give better clearance, but it can also increase vibration if the build quality is poor.
Match the Adapter to the Tripod
A good adapter on a bad tripod still feels bad. A stable tripod with a smooth head matters more than people expect.
Best Installation Setup by Activity
| Activity | Best Adapter Type | Tripod Recommendation |
|---|---|---|
| Casual backyard viewing | Basic metal L-adapter | Standard photo tripod |
| Bird feeder watching | Slim metal adapter | Lightweight tripod with pan head |
| Moon viewing | Metal adapter | Stable tripod with smooth tilt |
| Stargazing | Heavy-duty adapter | Tall tripod or parallelogram mount |
| Phone photography | Metal adapter | Firm tripod with locked head |
| Travel use | Slim compact adapter | Lightweight but sturdy tripod |
Maintenance After Installation
A binocular tripod adapter does not need much care, but a few habits help.
Keep the threads clean. Dust or grit in the screw threads can make installation rough. After outdoor use, wipe the adapter before storing it.
Do not leave the adapter tightened to binoculars forever if you store them in a soft case. Pressure inside the case can bend or stress the connection.
Also, keep the front hinge cap in a small pouch. Once lost, it is annoying to replace.
Final Setup Checklist
Before you start viewing, run this quick checklist:
| Checkpoint | What You Want |
|---|---|
| Front cap removed safely | Threaded socket visible |
| Adapter screw aligned | No crooked threading |
| Top screw tightened | Firm, not over-tight |
| Tripod plate locked | No rotation at base |
| Tripod head tension adjusted | Binocular does not droop |
| Focus wheel accessible | Easy to adjust while mounted |
| Tripod legs stable | No shake during viewing |
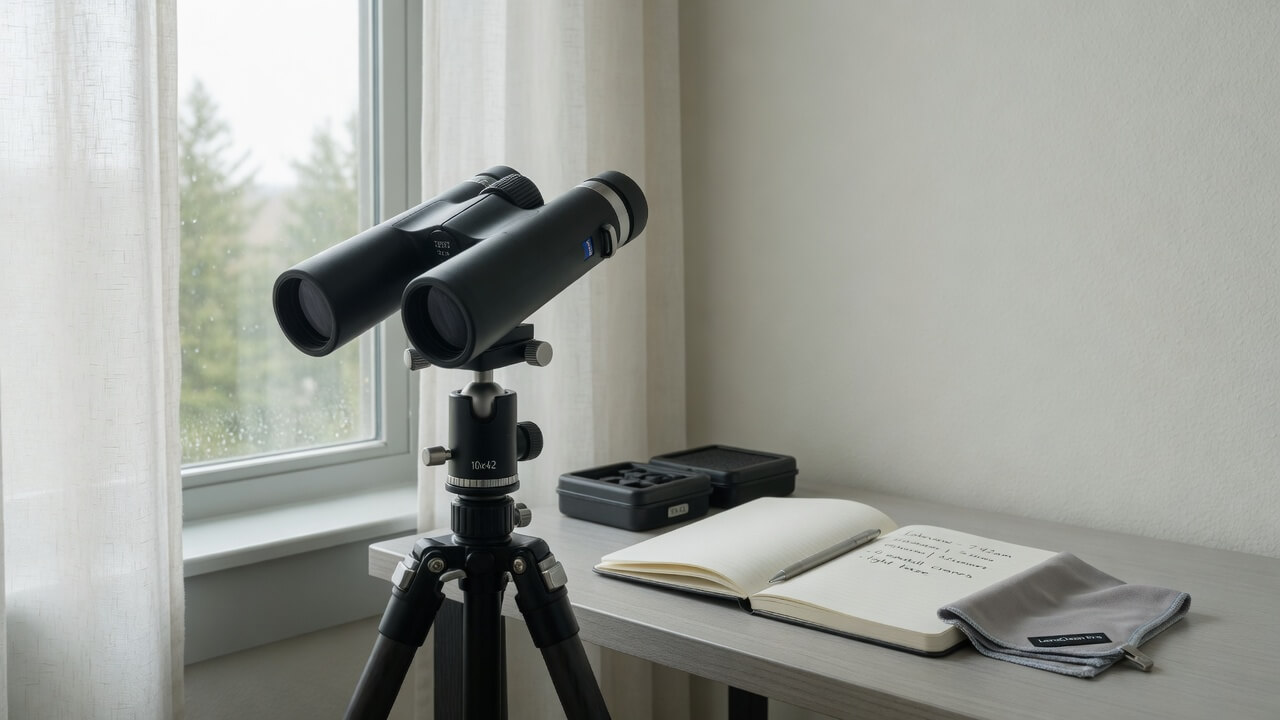
If all of that checks out, your binocular tripod adapter installation is ready.
Final Thoughts
A good binocular tripod adapter installation is not about tightening everything as hard as possible. It is about alignment, fit, balance, and using the right adapter for your binocular size.
For most people, a slim metal L-adapter and a stable photo tripod will solve the problem. For larger astronomy binoculars, the adapter is only one part of the setup — the tripod and head matter just as much.
The big win is comfort. Once your binoculars are mounted properly, you stop fighting hand shake and start actually observing. That is the whole point.
For more practical setup help, visit the bestbinocular.net home page or explore the blog page for more field-tested binocular guides.
FAQs About Binocular Tripod Adapter Installation
What is the easiest way to install a binocular tripod adapter?
The easiest method is to remove the front hinge cap, screw the adapter into the binocular socket by hand, tighten it gently, attach the adapter to the tripod plate, and then lock the plate into the tripod head. Always start the screw by hand to avoid cross-threading.
Why does my binocular tripod adapter wobble?
Wobble usually comes from a loose tripod plate, a flexible plastic adapter, a weak tripod head, or a crooked screw connection. Check each connection point before replacing the adapter.
Do all binoculars fit a tripod adapter?
No. Only tripod-adaptable binoculars have a threaded socket under the front hinge cap. If your binoculars do not have that socket, you need a clamp-style or strap-style mount instead.
Is a metal binocular tripod adapter better than plastic?
For most users, yes. A metal adapter is usually stronger and more stable, especially with 10×50 or larger binoculars. Plastic adapters are lighter but can flex under heavier binoculars.
Can I use a camera tripod for binoculars?
Yes, if the tripod is stable and has a standard mounting screw. For small and medium binoculars, a regular photo tripod works well. For heavy astronomy binoculars, use a stronger tripod and better head.
Should I leave the adapter attached to my binoculars?
You can leave it attached during short sessions, but for storage, it is usually better to remove it. This protects the binocular hinge area and makes the binoculars easier to store safely.
Why can’t my adapter fit between the binocular barrels?
Some roof prism binoculars have narrow spacing around the center hinge. If the adapter is too thick, it will not fit properly. A slim metal adapter is usually better for narrow binocular bodies.
Is a quick-release plate useful for binocular mounting?
Yes, especially if you install and remove binoculars often. A quick-release plate saves time, but it must lock tightly. A loose quick-release system can add shake.
Can I use a binocular tripod adapter with different tripods?
Yes. Most binocular tripod adapters use a standard 1/4″-20 mounting thread, so they can work with many camera and video tripods. However, always check the adapter and tripod specifications before mounting your binoculars.