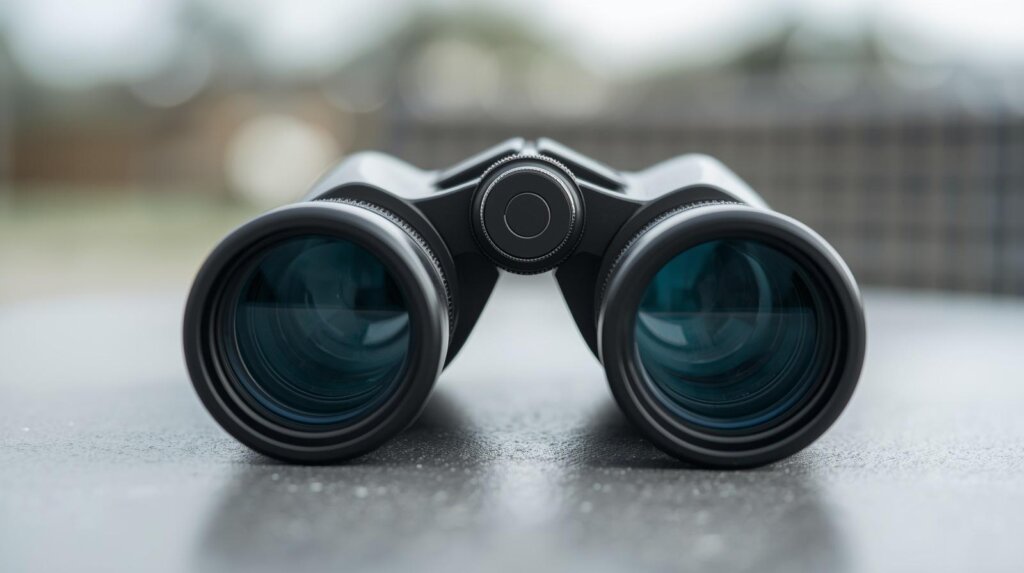
Why Adjusting the Binocular Diopter Matters
Learning how to adjust binocular diopter is one of those small skills that changes everything about using binoculars. A pair can be perfectly good, the lenses can be clean, the coatings can be premium, and the magnification can be right for your activity — but if the diopter is not set for your eyes, the view may still feel slightly soft, tiring, or uneven.
The tricky part is that many people blame the binoculars first. They think the optics are weak, the focus wheel is faulty, or the lenses are blurry. In reality, the right and left eyes often have slightly different focusing needs. The diopter adjustment exists to balance that difference.
Once you set it properly, binoculars feel calmer. The image snaps into focus faster. Your eyes stop fighting each other. Bird details, trail signs, stadium numbers, distant ridgelines, and low-light shapes become easier to read without constantly turning the focus wheel.
This article explains how to adjust binocular diopter in a practical, easy-to-follow way— not as a dry manual, but as something you can actually do at home, in the yard, at a viewpoint, or before a trip.
What Is Binocular Diopter Adjustment?
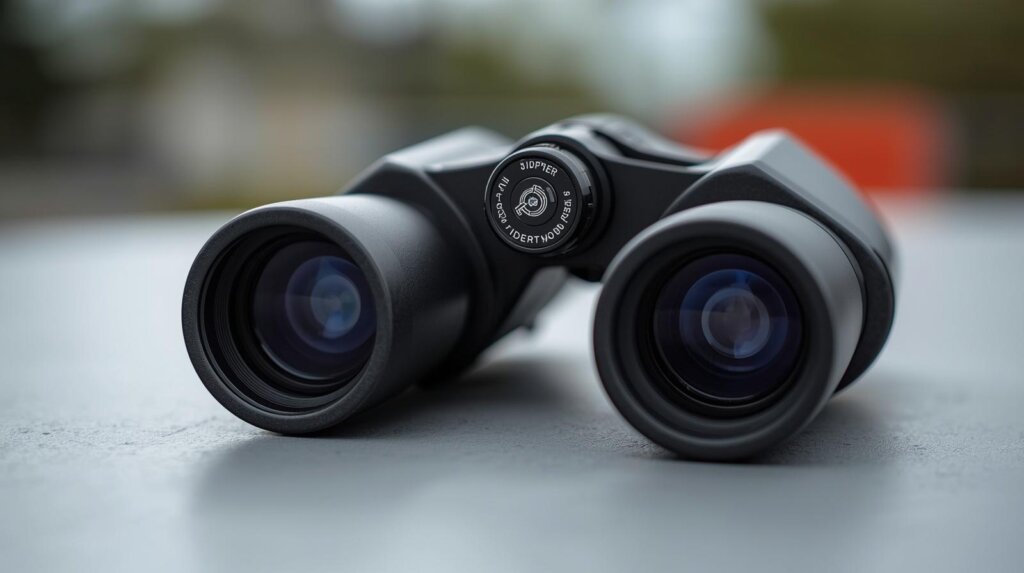
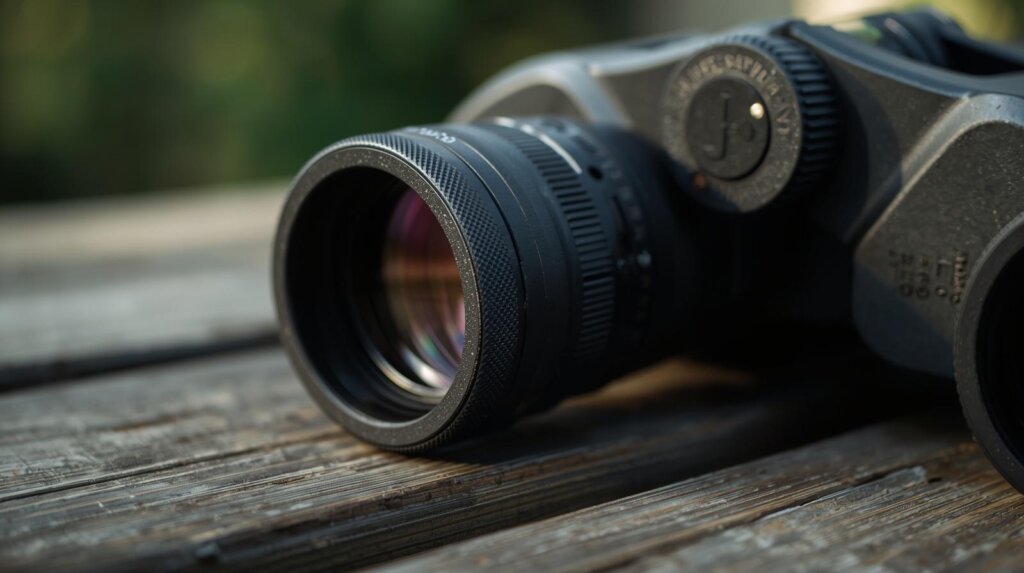
A binocular diopter adjustment is a small focusing control that lets one eyepiece compensate for the difference between your two eyes. Most binoculars place the diopter ring on the right eyepiece, although some premium or marine models place it near the center focus wheel or use a locking mechanism.
The main focus wheel adjusts both barrels together. The diopter adjusts only one side, usually the right side. That means the focus wheel brings the overall image into view, while the diopter fine-tunes the right barrel so both eyes match.
A simple way to think about it:
| Control | What It Does | When You Use It |
|---|---|---|
| Center focus wheel | Focuses both barrels together | Every time viewing distance changes |
| Diopter adjustment | Balances one eye against the other | Usually once, then occasionally recheck |
| Eyecups | Set eye distance from lenses | When using or not using glasses |
| Interpupillary distance | Matches binocular width to eye spacing | Before focusing |
The reason diopter matters is simple: your eyes may not focus equally. Even if your vision feels normal, one eye may need a slightly different correction. Without diopter adjustment, one barrel may look sharp while the other remains soft. Your brain tries to combine both images anyway, and that is when eye strain begins.
Why Diopter Setting Matters More Than Most Buyers Think
When people compare binoculars online, they often focus on magnification, lens size, field of view, prism type, glass quality, and brand reputation. Those things matter. But a poorly set diopter can make even a premium binocular feel average.
I have seen this happen with 8×42 and 10×42 binoculars more than any other size. Someone picks up a good pair, points it toward a tree line, turns the focus wheel, and says, “It’s still not sharp.” Then the diopter gets set properly, and suddenly the same binocular feels cleaner and more expensive.
That is why how to adjust binocular diopter should be one of the first things every binocular owner learns.
A correct diopter setting helps with:
| Viewing Problem | How Diopter Helps |
|---|---|
| One eye looks sharper than the other | Balances focus between both barrels |
| Image feels tiring after a few minutes | Reduces eye strain from mismatched focus |
| Focus wheel never feels “perfect” | Lets both eyes reach the same sharpness point |
| Binoculars seem blurry despite clean lenses | Fixes vision imbalance before blaming optics |
| Fast viewing feels difficult | Makes the image lock in faster |
If your biggest issue is general softness, fogging, dust, or poor technique, you may also want to compare your symptoms with how to fix blurry binoculars before assuming the diopter is the only problem.
Where Is the Diopter on Binoculars?
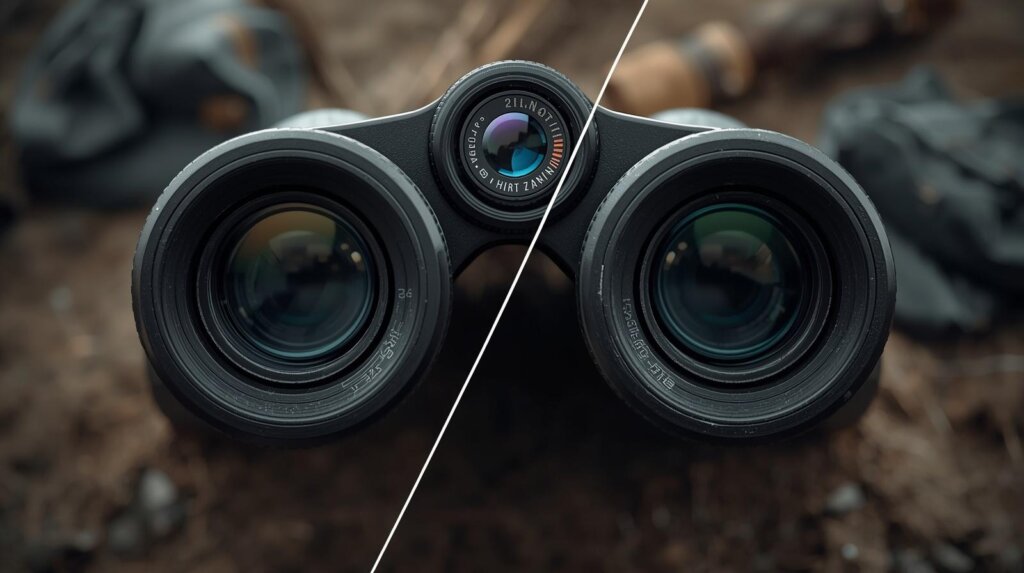
On most modern binoculars, the diopter adjustment is on the right eyepiece. Look for a small ring with markings such as plus, minus, zero, or small tick marks. Some models have a textured ring, while others use a smooth ring that clicks into place.
Common diopter locations include:
| Diopter Type | Where It Is Found | Best For |
|---|---|---|
| Right eyepiece ring | Around the right ocular lens | Most common binoculars |
| Center diopter dial | Near or under the focus wheel | Premium roof prism binoculars |
| Locking diopter | Pull-up or push-lock mechanism | Hunting, hiking, travel |
| Individual eyepiece focus | Each eyepiece focuses separately | Marine, astronomy, tactical use |
A right-eyepiece diopter is easiest to understand. You focus the left barrel first using the center wheel, then adjust the right barrel using the diopter ring.
A locking diopter is better if you carry binoculars in a harness or bag. It prevents accidental movement. For hunters, hikers, and safari travelers, this is more useful than it sounds because a loose diopter can shift while walking.
How to Adjust Binocular Diopter Step by Step
The cleanest way to adjust binocular diopter is to isolate each eye, focus one side first, then balance the second side. Do not rush this. A diopter setting made in five seconds often feels close, but not truly correct.
Step 1: Choose a Clear, Detailed Target
Pick something with fine detail at a medium distance. A street sign, brick wall, roof edge, tree bark, fence label, printed box, or distant license plate shape works well. Avoid moving objects.
The target should be far enough that the binoculars are working normally, but not so far that haze or heat shimmer affects the image. Around 30 to 80 yards is a good starting distance for most users.
Step 2: Set the Diopter to Zero
Before adjusting, rotate the diopter ring to the zero mark or center mark. This gives you a neutral starting point.
If your binocular has no visible numbers, place the ring in the middle of its rotation range. Some cheaper binoculars have loose markings, so don’t worry if the zero is not perfect. You are only creating a baseline.
Step 3: Adjust the Width Between the Barrels
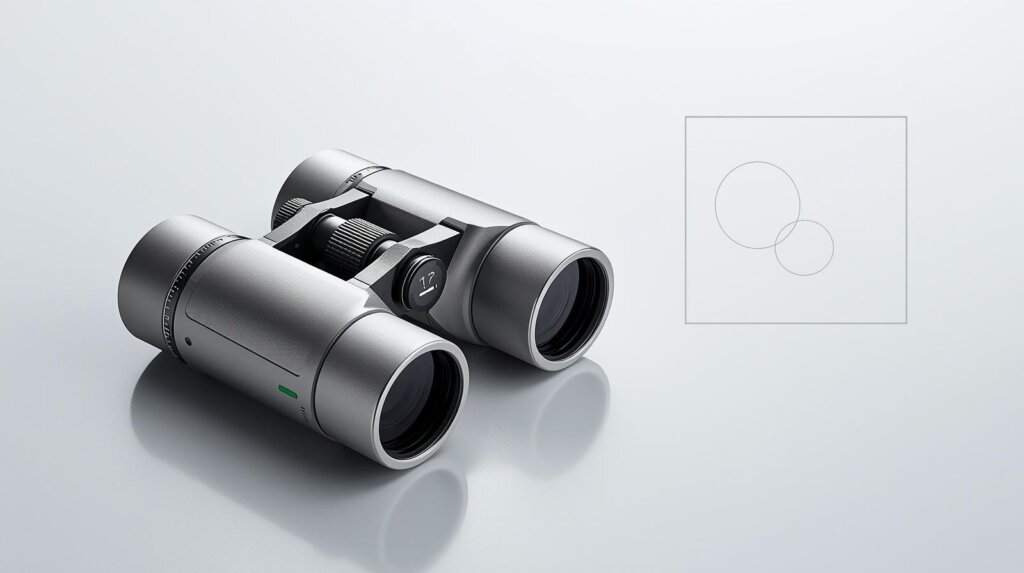
Hold the binoculars naturally and fold the barrels inward or outward until you see one clean circular image. If you see two circles, black shadows, or a figure-eight view, your interpupillary distance is not set correctly.
This step matters because poor barrel spacing can mimic focus problems. Many beginners try to adjust the diopter while the binoculars are not aligned with their eyes, and then nothing feels right.
Step 4: Cover the Right Objective Lens
Cover the right front lens with the lens cap or your hand. Do not close your right eye tightly. Closing one eye can slightly strain your face and change how your open eye focuses.
Now look only through the left barrel with your left eye.
Step 5: Focus the Left Eye Using the Center Focus Wheel
Turn the center focus wheel until the target looks as sharp as possible through the left barrel. Take your time. Move slightly past sharp focus, then come back to the clearest point.
This “past and back” method helps because your eye naturally tries to compensate. You want the binocular focus to do the work, not your eye muscles.
Step 6: Cover the Left Objective Lens
Now cover the left front lens and look through the right barrel with your right eye. Do not touch the center focus wheel anymore.
This is the part where many people make the mistake. Once the left side is focused with the center wheel, leave the center wheel alone.
Step 7: Adjust the Diopter Ring for the Right Eye
Turn the diopter ring until the same target looks sharp through the right barrel. Again, move slowly. If your diopter ring has clicks, test one click at a time.
When it looks sharp, pause. Look away for a few seconds. Then look again. If it still looks sharp without your eye trying to “pull” the image into focus, you are close.
Step 8: Use Both Eyes and Fine-Tune
Remove the cover and look through both barrels. The image should feel relaxed and unified. If it looks sharp but your eyes feel like they are working, repeat the process.
A correct diopter setting should not feel dramatic. It should feel calm. That is the best sign.
After setting the diopter, follow these binocular focus adjustment steps to move from calibration to everyday viewing.
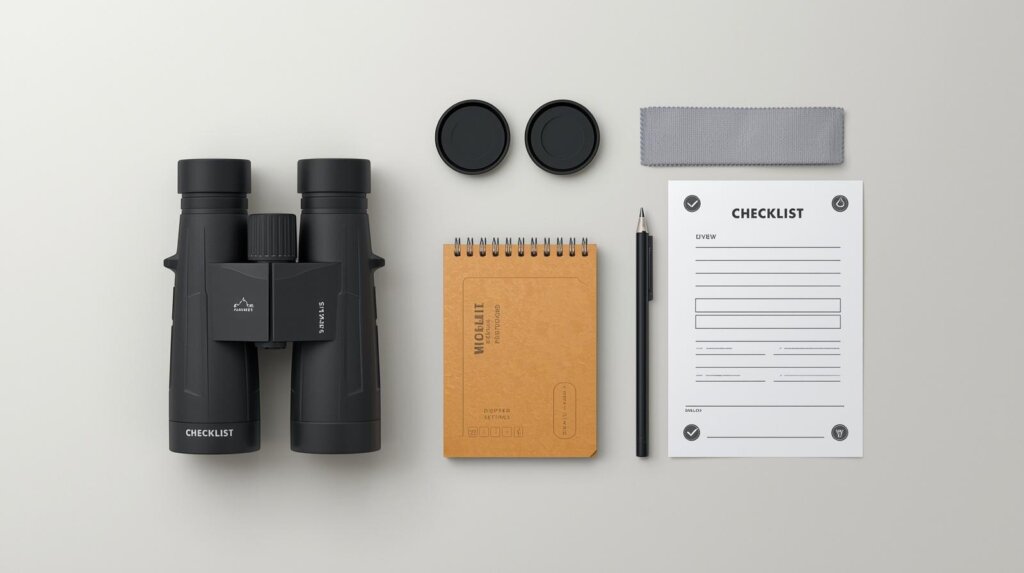
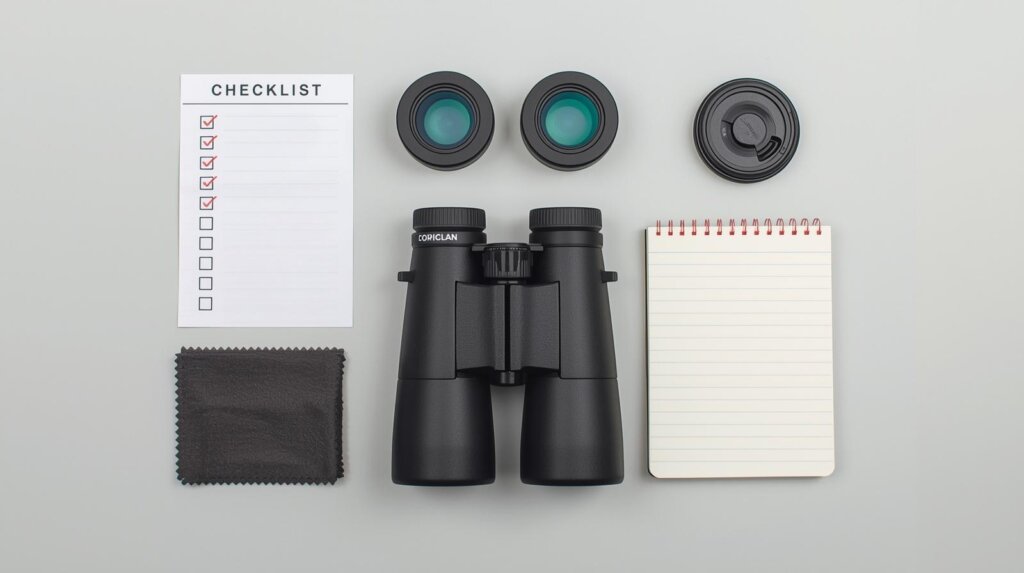
Quick Diopter Adjustment Checklist
| Step | Action | Mistake to Avoid |
|---|---|---|
| 1 | Pick a detailed stationary target | Avoid moving birds, cars, or people |
| 2 | Set diopter to zero | Don’t start from a random position |
| 3 | Adjust barrel width | Don’t focus while seeing two circles |
| 4 | Cover right lens | Don’t close one eye tightly |
| 5 | Focus left eye with center wheel | Don’t touch diopter yet |
| 6 | Cover left lens | Don’t move center wheel now |
| 7 | Focus right eye with diopter | Turn slowly |
| 8 | Check with both eyes | Repeat if eye strain remains |
How to Adjust Binocular Diopter If You Wear Glasses
Glasses change the focusing experience because your lenses already correct your vision. If you wear glasses while using binoculars, set the diopter with your glasses on. If you remove your glasses when viewing, set the diopter without them.
Do not switch back and forth and expect the same diopter setting to work perfectly.
With Glasses On
Twist the eyecups down or fold them down, depending on your binocular design. This gives your glasses enough eye relief so you can see the full field of view.
Then follow the same diopter process: left barrel first, right barrel second.
Without Glasses
Twist the eyecups up and set the diopter based on your unaided eyes. This works well for some users, especially if they are nearsighted or farsighted but do not have strong astigmatism.
However, if you have noticeable astigmatism, using binoculars without glasses may still leave the image slightly distorted. The diopter can correct focus difference, but it cannot fully correct astigmatism the way prescription lenses do.
| User Type | Best Setup |
|---|---|
| Mild nearsightedness | Try with and without glasses |
| Strong astigmatism | Usually better with glasses |
| Progressive lenses | Test carefully; eye position matters |
| Sunglasses users | Use long eye relief binoculars |
| Shared binocular users | Mark your personal diopter setting |
If glasses are part of your regular viewing setup, the next useful read is [how to adjust binocular focus for glasses], especially for eye relief, eyecups, and field-of-view comfort.
How Often Should You Reset the Diopter?
You do not need to adjust binocular diopter every time you use your binoculars. Once it is set for your eyes, it should stay there unless something changes.
Reset the diopter when:
| Situation | Why It Matters |
|---|---|
| Someone else used your binoculars | They may have moved the diopter |
| You dropped or bumped the binoculars | The ring may have shifted |
| Your glasses prescription changed | Your correction changed |
| The image suddenly feels uneven | Diopter may have moved |
| You switch from glasses to no glasses | Eye correction changes |
| You buy used binoculars | Previous owner’s setting remains |
One practical habit is to remember your diopter number. If your setting is +1, -2, or one mark past zero, note it somewhere. Some users place a tiny removable mark near the ring, but avoid permanent markings on expensive binoculars.
Common Diopter Adjustment Mistakes
Diopter adjustment is easy once you understand it, but it is also easy to do slightly wrong. These small mistakes can make a good binocular feel frustrating.
Mistake 1: Using the Center Focus Wheel for Both Eyes
After focusing the left side with the center wheel, many people accidentally keep using the center wheel while checking the right side. That ruins the comparison.
The rule is simple: center wheel for the left eye first, diopter for the right eye second.
Mistake 2: Choosing the Wrong Target
A plain wall or cloudy sky does not give your eyes enough detail. Choose edges, letters, textures, or high-contrast patterns. A rooftop antenna, sign lettering, or brick line works better.
Mistake 3: Adjusting While Tired
Your eyes change during the day. If you adjust binocular diopter after hours of screen time, late at night, or when your eyes feel dry, your setting may not feel right later.
Morning or early outdoor light is often better.
Mistake 4: Pressing Binoculars Too Hard Against the Face
Pressing too hard can shift your viewing angle and create blackouts. Hold the binoculars gently. Let your eyes sit naturally behind the eyepieces.
Mistake 5: Forgetting About Eyecups
Eyecup position affects the view. If eyecups are too high with glasses, you may see shadows. If they are too low without glasses, your eye placement may feel unstable.
Mistake 6: Assuming Diopter Fixes Every Problem
Diopter adjustment helps eye balance. It does not fix damaged prisms, internal fogging, poor collimation, scratched lenses, or a defective focus mechanism.
If the image still refuses to come together after proper setup, our guide on why binoculars are not focusing can help you separate user error from equipment issues.
Diopter Adjustment vs Focus Adjustment
People often use “focus” and “diopter” as if they mean the same thing, but they serve different jobs.
| Feature | Focus Adjustment | Diopter Adjustment |
|---|---|---|
| Main purpose | Changes viewing distance | Balances eye difference |
| Used how often | Constantly | Occasionally |
| Controls | Center focus wheel | Right eyepiece or center diopter |
| Affects | Both barrels together | Usually one barrel |
| Beginner mistake | Overturning focus wheel | Ignoring diopter completely |
| Best setup time | During every viewing session | Before regular use |
The focus wheel is what you turn when a bird moves from a nearby branch to a far tree. The diopter is what you set so your right and left eyes agree on what sharp means.
That difference is important. Once the diopter is correct, focusing becomes much easier because both eyes respond together.
If you are still learning the basics, you may also find our guide on [how to focus binoculars for both eyes] helpful. It explains how to use the center focus wheel and diopter together so both eyes see a sharp, balanced image.
How to Set Diopter on Different Types of Binoculars
Not every binocular uses the same diopter design. The adjustment method is similar, but the details change.
Standard Roof Prism Binoculars
Roof prism binoculars are common for birding, hiking, hunting, safari, and travel. Most have a center focus wheel and a right-eyepiece diopter.
For these, the classic method works perfectly: focus left with the center wheel, then focus right with the diopter.
Porro Prism Binoculars
Porro prism binoculars often have a wider body shape and excellent depth perception. Many budget and mid-range Porro models also place the diopter on the right eyepiece.
Because Porro binoculars can feel more forgiving in depth, some users think they do not need diopter adjustment. They do. The image may look acceptable without it, but it becomes more comfortable once balanced.
Compact Binoculars
Compact binoculars are convenient but less forgiving. Smaller exit pupils make eye placement more sensitive, especially in 10×25 or 12×25 models.
When adjusting diopter on compact binoculars, stabilize your hands and choose bright light. Small binoculars can exaggerate shake, making focus harder to judge.
Marine Binoculars
Many marine binoculars use individual focus eyepieces rather than a center focus wheel. In that case, each eyepiece is adjusted separately. The process is closer to calibrating both eyes independently.
Marine binoculars are often used at longer distances, so once set, they may not need constant refocusing.
Astronomy Binoculars
Large astronomy binoculars may use individual focus or center focus depending on the model. For stars, diopter adjustment must be extra precise because tiny points of light reveal focus errors quickly.
A star should look like a clean point, not a fuzzy dot or small flare. If one side looks different, refine the diopter.
For a more focused step-by-step guide, read how to set diopter on binoculars.
Best Binocular Features for Easy Diopter Adjustment
When buying binoculars, most people do not ask about the diopter ring until after they have a problem. But diopter design affects daily usability more than many spec sheets admit.
Look for these features:
| Feature | Why It Helps |
|---|---|
| Locking diopter | Prevents accidental movement |
| Clear scale markings | Makes your setting easy to remember |
| Firm resistance | Stops loose rotation |
| Smooth adjustment | Helps fine-tune focus |
| Central diopter placement | Easier on some premium models |
| Long eye relief | Better for glasses wearers |
| Quality focus wheel | Helps both eyes settle faster |
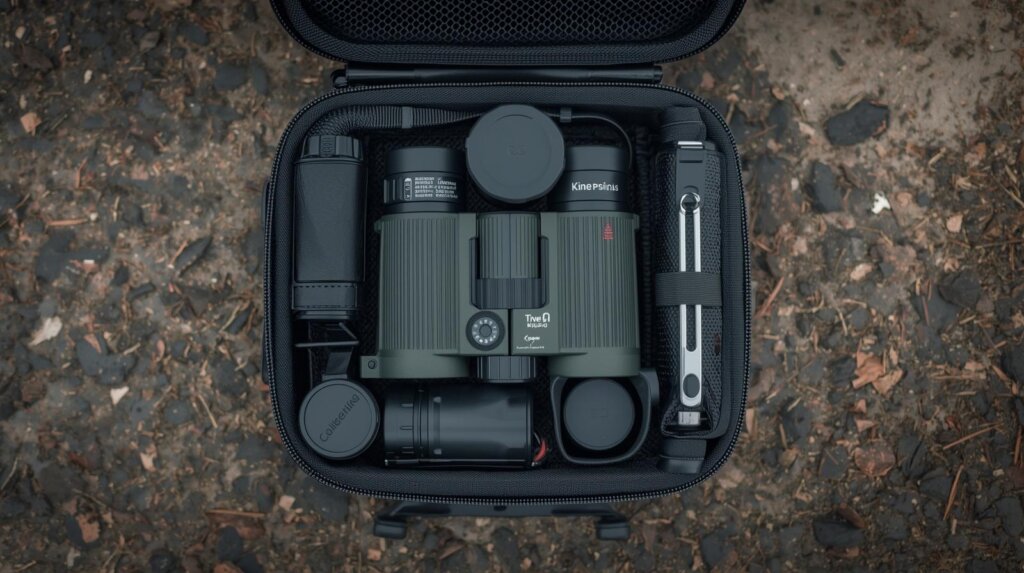
Recommended Product Types
For beginners, a mid-range 8×42 binocular with a clear diopter scale is usually the easiest to use. It gives a steadier image than 10x, more light than compact models, and a forgiving exit pupil.
For hunters and rough outdoor users, a waterproof 10×42 with a locking diopter is more practical. The higher magnification helps with detail, and the locking ring keeps the setting from shifting inside a pack.
For travelers, an 8×32 binocular with a firm right-eye diopter can be a sweet spot. It is lighter than 8×42 but still easier to use than tiny pocket models.
Pros and Cons of Diopter Adjustment Systems
Not all diopter systems feel the same. Here is how the main types compare.
| Diopter System | Pros | Cons |
|---|---|---|
| Right eyepiece ring | Simple, common, easy to learn | Can move accidentally |
| Locking right eyepiece | Secure for field use | Slightly slower to adjust |
| Center diopter dial | Clean design, often premium | May confuse beginners |
| Individual eyepiece focus | Very precise for distance use | Slower for changing distances |
| No clear scale marking | Cheaper, minimal design | Hard to repeat your setting |
My Practical Take
For most outdoor users, a locking diopter is worth paying a little more for. Not always a huge premium, but enough to matter. If you carry binoculars on a harness, inside a backpack, or in a truck console, small knocks happen. A loose ring can ruin the first few minutes of viewing before you realize what changed.
For casual backyard use, a standard right-eyepiece diopter is fine as long as it has enough resistance.
Real-World Use Cases: Why Diopter Setup Changes the Experience
Bird Watching
Birding exposes poor diopter setup quickly. Feather edges, eye rings, wing bars, and beak shape all demand fine detail. If your diopter is slightly off, you may still identify large birds, but small differences become harder.
With a correct diopter setting, the focus wheel feels faster. You can move from a nearby fence to a distant branch without your eyes arguing over sharpness.
Hunting and Scouting
In hunting, the issue is not just sharpness. It is fatigue. Long glassing sessions across hillsides can wear your eyes out if the diopter is wrong. A mismatched image may feel okay for ten seconds but uncomfortable after twenty minutes.
For this use, a locking diopter and tripod-compatible binocular can be worth it.
Hiking and Travel
Trail users often pass binoculars between people. That is where diopter confusion starts. One person changes the setting, the next person thinks the binoculars are blurry, and nobody knows why.
If you share binoculars often, teach each person to reset the diopter or buy a model with clear markings.
Sports and Concert Viewing
Fast viewing means you do not want to fight with focus. A properly set diopter helps you lock onto jersey numbers, stage details, scoreboards, and movement more smoothly.
For stadium use, 8x or 10x binoculars with simple center focus are usually easier than high magnification models.
Astronomy
At night, your eyes are more sensitive to small optical errors. A slightly wrong diopter can make stars look bloated. Set your diopter carefully before judging whether your binoculars are good for sky viewing.
Why People Think Their Binoculars Are Bad
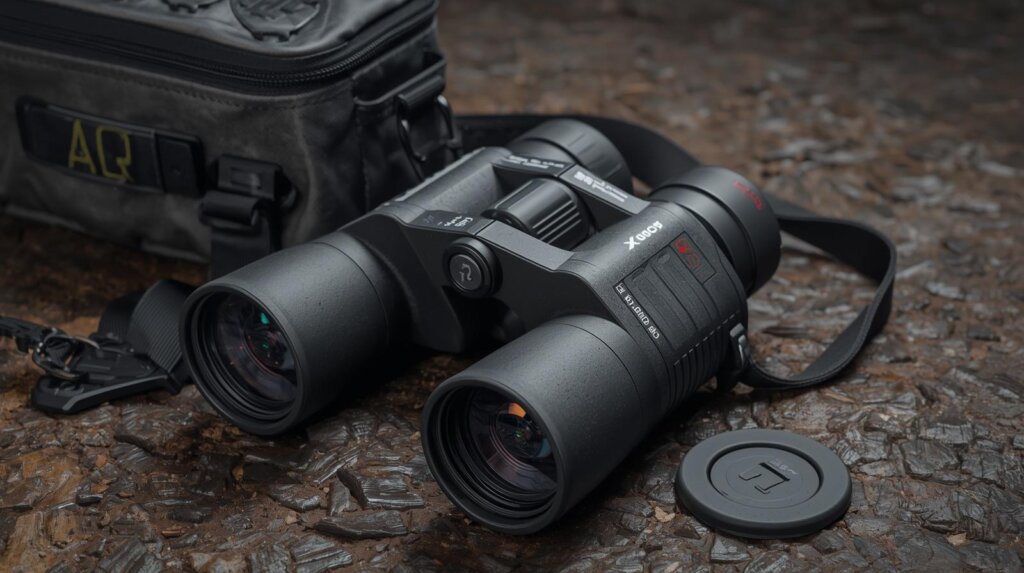
Some binocular returns may happen simply because the diopter was never adjusted properly. That sounds blunt, but it is true. A buyer opens the box, looks through the binoculars, turns the focus wheel, sees a view that is not crisp, and assumes the product is poor.
Sometimes the product really is poor. Cheap coatings, weak alignment, stiff focus wheels, and narrow eye relief can all cause problems. But before deciding, the buyer should set the diopter properly.
Here is the useful mental checklist:
| Question | What It Reveals |
|---|---|
| Did I adjust the eyecups? | Eye relief issue |
| Do I see one circle or two? | Barrel spacing issue |
| Did I focus each eye separately? | Diopter issue |
| Is only one side blurry? | Diopter or alignment issue |
| Is the image still doubled? | Possible collimation problem |
| Is the view hazy in both barrels? | Lens, coating, fogging, or quality issue |
A buyer who understands how to adjust binocular diopter becomes harder to fool by marketing and less likely to reject a good pair for the wrong reason.
How to Calibrate Binoculars After Diopter Setup
Diopter adjustment is part of a broader calibration routine. Calibration simply means setting the binoculars to match your eyes and viewing style.
A practical calibration flow looks like this:
- Clean lenses gently if needed.
- Adjust eyecups for glasses or no glasses.
- Set barrel width until the view becomes one circle.
- Set diopter using the left-eye/right-eye method.
- Focus on near, mid-range, and far targets.
- Check for eye strain after several minutes.
- Save or remember your diopter position.
The word “calibration” can sound technical, but for binoculars it is mostly careful setup. Once done, your binoculars become more personal to your eyes.
For a more complete setup process, you can also read our guide on [how to calibrate binoculars]. It explains how to align the binoculars with your eyes, set the diopter correctly, and test the view for consistent sharpness.
Troubleshooting After You Adjust the Diopter
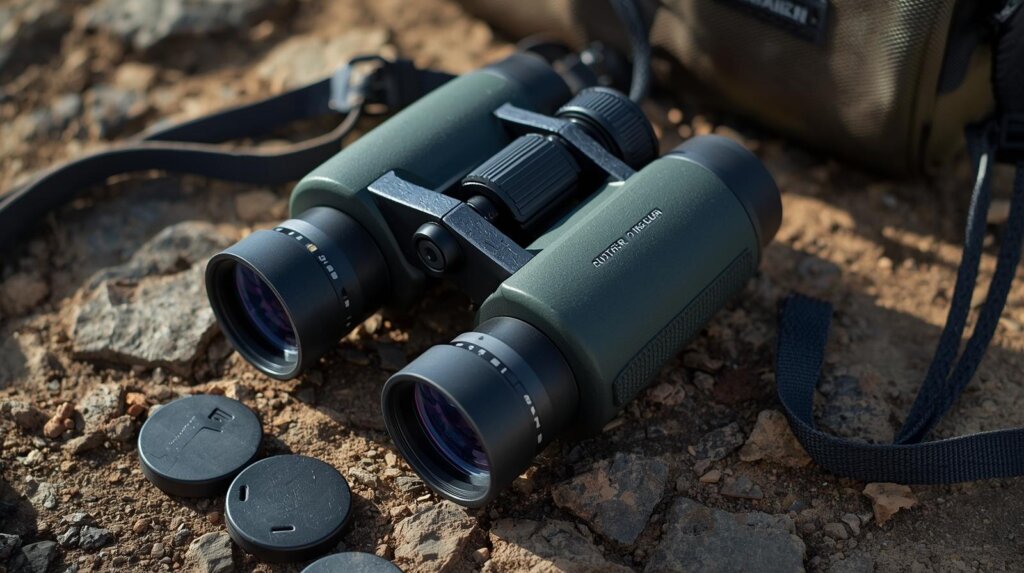
If you follow the correct method and the binoculars still do not feel sharp, use the symptoms below.
| Symptom | Possible Cause | What to Try |
|---|---|---|
| One side is still blurry | Diopter not set correctly | Repeat setup slowly |
| Both sides are blurry | Wrong focus, dirty lenses, poor optics | Clean lenses and refocus |
| Image doubles | Collimation issue | Test with another target |
| Black shadows appear | Eye relief or eyecup issue | Adjust eyecups and eye position |
| Focus wheel feels useless | Target too close or mechanical issue | Test at longer distance |
| Sharpness changes constantly | Eyes tired or heat shimmer | Try in better light |
| Diopter ring moves easily | Loose diopter system | Consider locking diopter model |
One small tip: test in good daylight before testing at dusk. Low light makes pupils larger and can make focusing feel less precise. If the binoculars work well in daylight but feel weaker at dusk, the issue may be lens size, coatings, or exit pupil rather than the diopter.
Recommended Accessories That Help With Better Focus
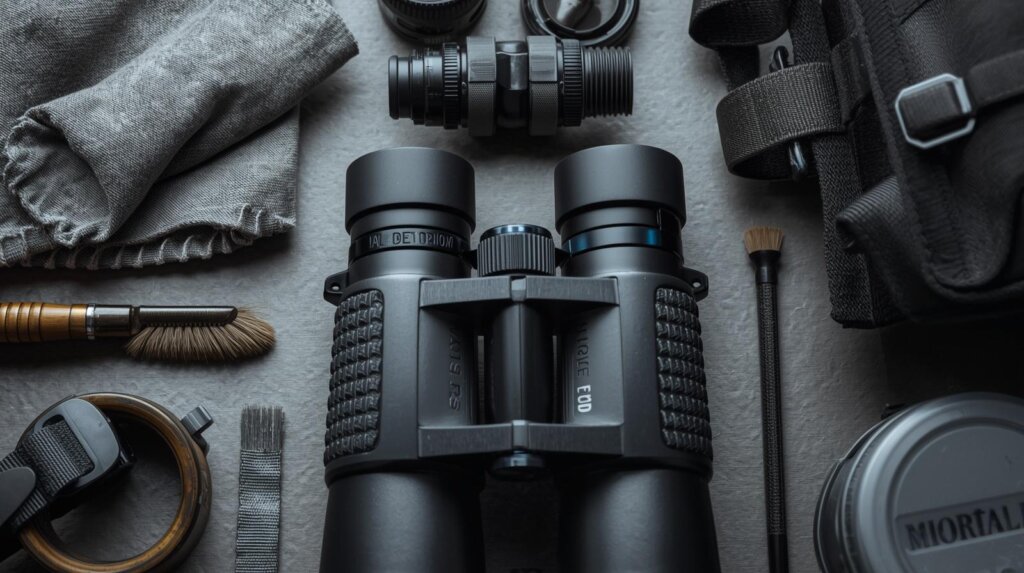
You do not need many accessories to adjust binocular diopter, but a few can make the process easier and protect the setup.
Microfiber Lens Cloth
A clean lens makes focusing easier. Never use a shirt sleeve or rough tissue on coated lenses. A proper microfiber cloth is cheap and prevents small scratches.
Lens Cleaning Kit
Dust, fingerprints, and dried water spots can mimic focus problems. Use a blower, brush, and lens-safe solution when needed.
Tripod Adapter
For high-magnification binoculars, hand shake can make diopter adjustment harder. A tripod helps you judge true sharpness.
Binocular Harness
A harness protects binoculars from swinging, dropping, and accidental knocks. If your diopter ring is not locking, a stable harness can reduce unwanted movement during long outdoor use.
Protective Case
A padded case prevents the diopter ring and eyecups from getting bumped in storage.
Best Practice for Shared Binoculars
Shared binoculars need a slightly different approach. Families, travel groups, hunting partners, and classroom users often pass one pair around. The focus wheel can be adjusted quickly, but the diopter is personal.
Here is a simple sharing method:
| User Situation | Best Practice |
|---|---|
| One main owner | Keep diopter set for owner |
| Two regular users | Remember each person’s diopter mark |
| Group use | Reset to zero between users |
| Kids using binoculars | Start at zero and help with focus |
| Guided tours | Use binoculars with clear diopter scale |
If multiple people use the same binoculars, do not judge sharpness based on someone else’s diopter setting. Always reset.
How to Know Your Diopter Is Correct
A correct diopter setting has a few clear signs:
- Both eyes feel equally sharp.
- The image does not pull or strain.
- You can focus quickly at different distances.
- You do not feel pressure around one eye.
- Fine details look clean through both barrels.
- The view feels natural after several minutes.
The most underrated sign is comfort. Sharpness matters, but comfort tells you whether both eyes are working together. If the image looks sharp for three seconds but feels tiring after a minute, the diopter may still be slightly off.
What to Buy If Diopter Adjustment Keeps Frustrating You
If your current binoculars have a loose diopter ring, vague markings, short eye relief, or a focus wheel that never feels precise, upgrading may be reasonable. You do not always need the most expensive model. You need one that fits your eyes and stays consistent.
For most users, I would look for:
| User | Smart Choice |
|---|---|
| Beginner | 8×42 binocular with clear right-eye diopter |
| Glasses wearer | Long eye relief binocular with twist-up eyecups |
| Hunter | Waterproof 10×42 with locking diopter |
| Traveler | Lightweight 8×32 with firm focus control |
| Stargazer | Stable 10×50 or tripod-friendly binocular |
| Shared family use | Simple diopter scale and easy center focus |
FAQs About How to Adjust Binocular Diopter
What is the easiest way to adjust binocular diopter?
The easiest way is to cover the right objective lens, focus the left eye with the center focus wheel, then cover the left objective lens and focus the right eye using only the diopter ring. After that, look with both eyes and fine-tune if needed.
Should I adjust binocular diopter with both eyes open?
You check the final view with both eyes open, but the actual setup is easier when you isolate one barrel at a time. Cover one objective lens instead of closing one eye tightly.
Do all binoculars have a diopter adjustment?
Most quality binoculars have a diopter adjustment, usually on the right eyepiece. Some very basic or toy-like models may not. Marine and astronomy binoculars may use individual eyepiece focus instead.
Why is my binocular still blurry after diopter adjustment?
The issue may be dirty lenses, poor eyecup position, wrong interpupillary distance, low-quality optics, internal fogging, collimation problems, or eye fatigue. Diopter adjustment fixes eye balance, not every optical problem.
Should the diopter be set to zero?
Zero is only a starting point. If both eyes focus the same, zero may be correct. If one eye needs more correction, your proper setting may be plus or minus.
Can someone else use my binoculars after I set the diopter?
Yes, but they may need to adjust the diopter for their own eyes. If they change it, you will need to return it to your personal setting afterward.
How do I adjust binocular diopter if I wear glasses?
Set the diopter while using binoculars the same way you normally view. If you wear glasses while viewing, keep them on and twist the eyecups down. If you remove glasses while viewing, set the diopter without them.
Is diopter adjustment the same as binocular calibration?
Not exactly. Diopter adjustment is one part of calibration. Full binocular calibration also includes eyecup position, barrel width, focus testing, and checking comfort over time.
Why does only one side of my binocular look blurry?
A blurry side often means the diopter is not balanced, but it can also indicate lens dirt, internal damage, or alignment issues. Start by resetting the diopter carefully.
How often should I adjust binocular diopter?
You usually set it once and leave it. Recheck it if someone else used your binoculars, your glasses prescription changed, the ring moved, or the image starts feeling uneven.
Final Thoughts on How to Adjust Binocular Diopter
Learning how to adjust binocular diopter makes binoculars feel less mysterious. It gives you control over sharpness instead of leaving you guessing whether the problem is your eyes, your focus wheel, or the binoculars themselves.
The process is simple: set the barrel width, focus the left eye with the center wheel, focus the right eye with the diopter, then check the image with both eyes. Once you do it a few times, it becomes automatic.
The real benefit is not just a sharper image. It is confidence. You know when your binoculars are properly set. You know when the focus issue is something else. And you can judge binocular quality more fairly before buying, returning, or upgrading.
For more binocular setup, buying help, and field-tested optics advice, explore bestbinocular.net and build a cleaner, sharper viewing setup from the start.