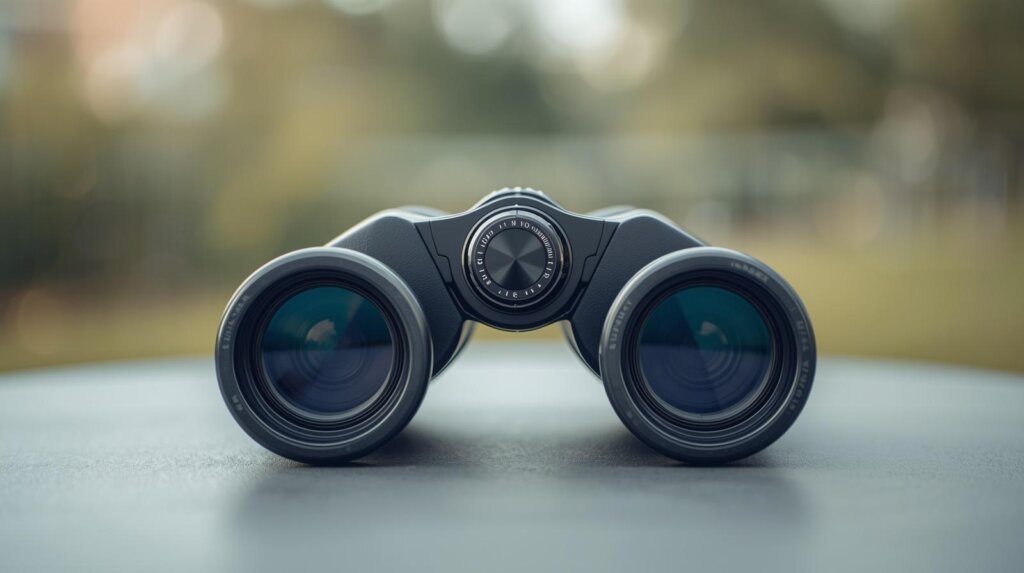
Why Proper Binocular Focus Adjustment Matters
Getting a sharp view through binoculars should not feel like a guessing game. Yet many people twist the center wheel, adjust the eyecups, move the hinge, and still wonder why one side looks clearer than the other. The truth is simple: clear viewing depends on following the right binocular focus adjustment steps in the correct order.
A good pair of binoculars can still look blurry if the interpupillary distance, eyecups, center focus, and diopter are not set properly. That is why two people can use the same binoculars and have completely different experiences. One sees a crisp landscape. The other sees eye strain, double vision, or soft detail.
These binocular focus adjustment steps are written for real-world use: hiking, bird watching, hunting, travel, stadium viewing, marine use, and backyard observing. No complicated optics talk. Just a clean, practical process that helps your binoculars match your eyes.
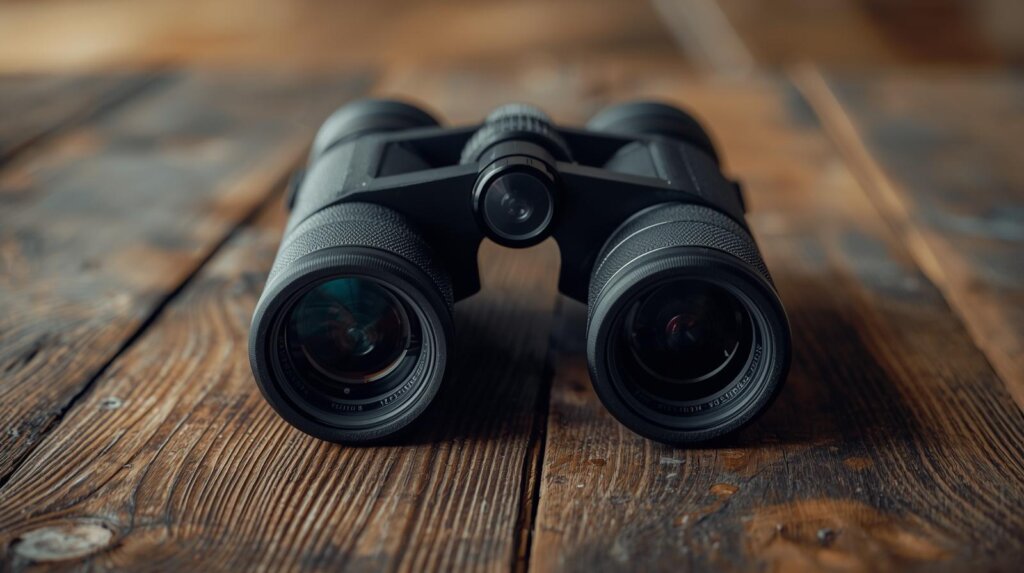
Why Binocular Focus Feels Difficult at First
Most beginners assume the center focus wheel does all the work. It does not.
The center focus wheel adjusts both barrels together after the binoculars are already matched to your eyes. The diopter adjustment fine-tunes one side, usually the right eyepiece, because most people do not have identical vision in both eyes.
That small difference matters. Your left eye may be slightly stronger than your right eye. Your glasses may correct both eyes differently. Your eyes may also behave differently in low light, when tired, or when switching between close and distant objects.
Proper binocular focus adjustment steps fix three common problems:
| Problem | Likely Cause | What to Adjust |
|---|---|---|
| One side looks sharper | Diopter is not matched to your eye | Diopter ring |
| Image feels doubled | Hinge width is wrong | Interpupillary distance |
| Edges look shadowy | Eyecups or eye relief are wrong | Eyecup position |
| View is sharp, then quickly blurry | Center focus is not set for distance | Focus wheel |
| Eye strain after a few minutes | Several settings are slightly off | Full adjustment reset |
A lot of users blame the binoculars too early. Sometimes the optics are fine. The setup is the real problem.
If one barrel still feels softer than the other, the diopter setting is usually the next place to check. Our guide on how to adjust binocular diopter explains that step in more detail.
Step 1: Set the Binocular Hinge Width First
Before touching the focus wheel, adjust the hinge. Hold the binoculars naturally and move both barrels closer or farther apart until you see one clean circular image.
Not two circles. Not a figure-eight shape. Not dark edges cutting into the view.
A single round image means the binoculars are aligned with the distance between your pupils. This is called interpupillary distance. It sounds technical, but in use it feels simple: the view should relax into place without forcing your eyes inward or outward.
Real-World Tip
When people rush this step, they often think the binoculars are out of focus. They keep turning the wheel, but the image never feels comfortable. That is because focus cannot fix poor eye alignment.
For travel binoculars, compact models can be more sensitive to hinge position because the barrels are smaller. For full-size 8×42 binoculars, the view usually feels more forgiving, but you still need to set the hinge carefully.
Step 2: Adjust the Eyecups for Your Eyes
Eyecups control how far your eyes sit from the eyepiece. This distance is called eye relief.
If you do not wear glasses, twist the eyecups up. If you wear glasses, keep them down or only slightly raised. The goal is to see the full field of view without blackouts around the edges.
People with glasses often struggle here. They press the binoculars too hard into their frames, then wonder why the image disappears at the edges. Back off slightly. Let the eyecups and eye relief do the work.
Eyecup Position Comparison
| User Type | Eyecup Position | Why It Works |
|---|---|---|
| No glasses | Fully raised | Keeps eyes at the correct distance |
| Glasses wearer | Fully lowered | Allows full field of view through lenses |
| Sunglasses user | Lowered or halfway | Prevents edge shadowing |
| Long viewing sessions | Test halfway positions | Reduces pressure around eyes |
These binocular focus adjustment steps work best when your eyes are relaxed. If you feel like you are “fighting” the binoculars, the eyecups are probably wrong.
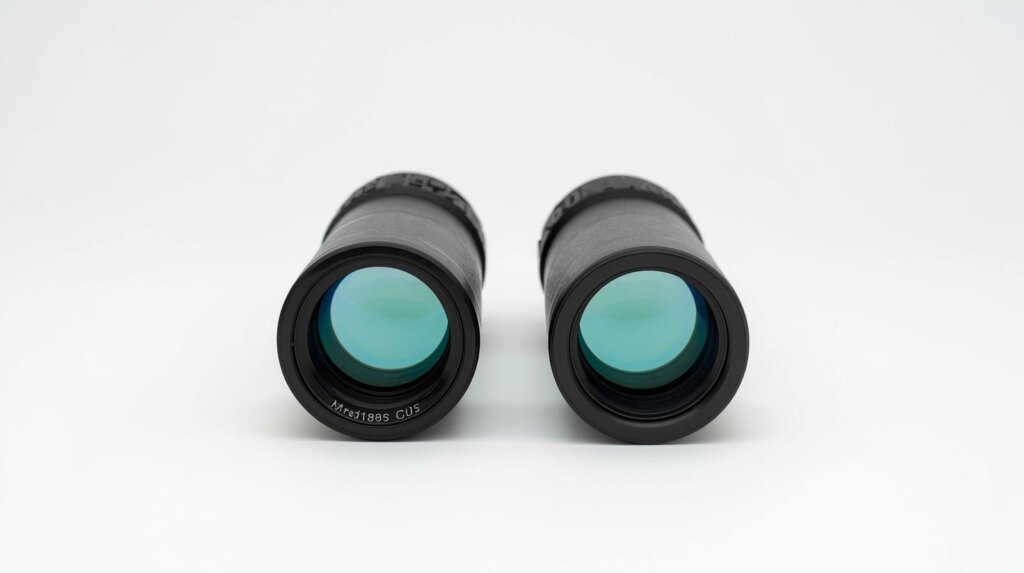
Step 3: Choose a Detailed Object at Medium Distance
Pick a target with texture. A signboard, brick wall, tree bark, fence post, roofline, or distant building edge works well.
Avoid the sky, plain walls, water surfaces, or anything moving too fast. Your eyes need detail to judge sharpness. A flat surface gives your brain too little information.
A medium-distance object is better than something very close. Around 50 to 100 yards is ideal for most users. It gives enough detail without making the focus overly sensitive.
Best Test Targets
Use objects with clear edges and contrast:
- Printed signs
- Window frames
- Fence lines
- Roof tiles
- Rock surfaces
- Tree bark
- Utility poles
The sharper the detail, the easier the binocular focus adjustment steps become.
Step 4: Close or Cover the Right Barrel
Now set the left side first.
Look through the left eyepiece with your left eye only. Keep the right barrel covered with a lens cap or your hand. Do not close your right eye tightly because squinting can slightly change your facial tension and make focusing less accurate.
Turn the center focus wheel until the left-side image looks crisp.
Take your time. Turn slightly past sharp, then come back. The sharpest point is often easier to find when you move through it slowly instead of stopping too early.
What Sharp Focus Should Look Like
A properly focused image should have clean edges, readable details, and no “almost clear” softness. If you are looking at a sign, the letters should snap into view. If you are looking at bark, the texture should separate instead of blending together.
This is where binocular focus adjustment steps become more about patience than force. Tiny wheel movements can make a big difference, especially on 10x binoculars.
Step 5: Close or Cover the Left Barrel and Adjust the Diopter
Once the left barrel is sharp, leave the center focus wheel alone.
Now cover the left barrel and look through the right eyepiece with your right eye. Rotate the diopter ring until the right-side image becomes equally sharp.
The diopter ring may be located on the right eyepiece, near the center hinge, or integrated into the focus wheel depending on your binocular model. Most common roof prism binoculars place it near the right eyepiece.
Do not use the center wheel during this step. That is the mistake that ruins the whole setup.
The center wheel has already focused the binoculars for your left eye. The diopter now balances the right eye to match it.
For users still struggling with uneven clarity, the supporting article on how to focus binoculars for both eyes gives a more detailed two-eye focusing method that works well for beginners and glasses wearers.
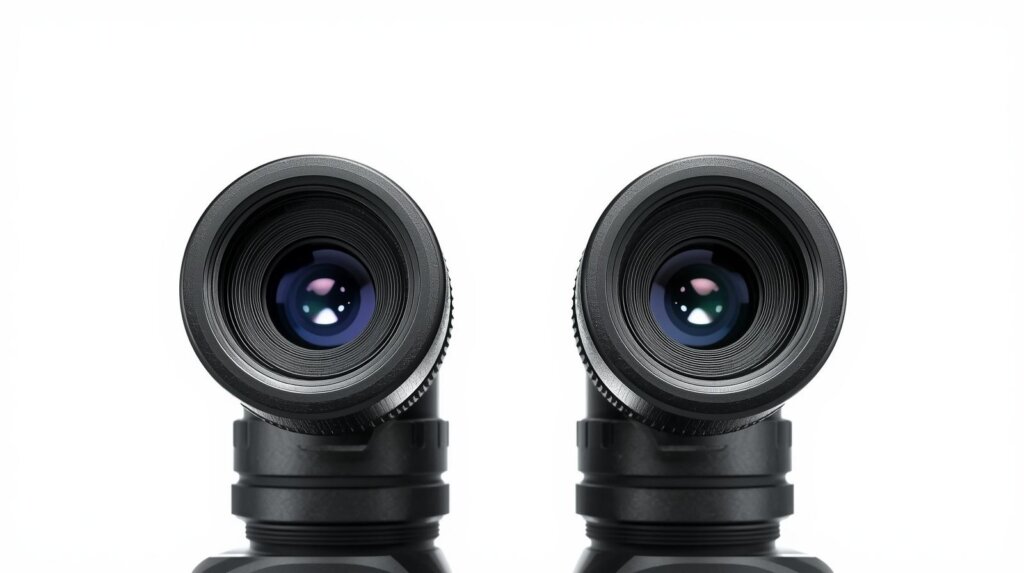
Step 6: Open Both Eyes and Test the View
After setting the diopter, look through both eyepieces together. The image should feel balanced, sharp, and relaxed.
Move from your test object to another object at a different distance. Now use only the center focus wheel. The diopter should stay fixed unless someone else uses your binoculars or your eyesight changes.
A good test is to shift between a nearby tree, a distant rooftop, and a far landscape. The center wheel should bring each target into focus without one eye feeling weaker than the other.
Signs You Got It Right
- Both eyes feel relaxed
- The image appears as one clean circle
- No side looks noticeably softer
- You can scan without eye strain
- Fine details appear quickly after focusing
If the view still feels off, restart the binocular focus adjustment steps from the hinge width. Many focus problems begin before the focus wheel is even touched.
Common Mistakes That Make Binoculars Look Blurry
Small mistakes can make good binoculars feel cheap. I have seen users return binoculars that only needed a proper diopter reset.
Adjusting the Diopter First
The diopter should not be your first move. Set hinge width, eyecups, and left-eye center focus first. Then adjust the diopter.
Using a Moving Target
Trying to focus on birds in flight, moving cars, or players on a field is a poor first test. Use a still object first. After the binoculars are set, moving subjects become easier.
Pressing Too Hard Against the Eyes
Too much pressure creates blackouts, discomfort, and unstable viewing. Hold the binoculars lightly. Let your hands stabilize them without pushing them into your face.
Forgetting the Diopter Position
Once the diopter is set, remember the mark. Some users place a tiny removable reference mark near the setting. That helps if the ring gets moved in a bag.
Sharing Binoculars Without Resetting
If another person uses your binoculars and changes the diopter, your view may look wrong afterward. Always check the diopter before blaming the focus wheel.
For troubleshooting persistent softness, read how to fix blurry binoculars. It helps separate user adjustment issues from real optical problems.
Pros and Cons of Manual Binocular Focus Adjustment
Manual focus gives you control, but it also asks for a little patience.
| Pros | Cons |
|---|---|
| More accurate for your eyesight | Takes practice at first |
| Better long-distance sharpness | Diopter can be moved accidentally |
| Works for glasses and non-glasses users | Shared binoculars need resetting |
| Improves comfort during long viewing | Cheap focus wheels may feel stiff |
| Helps diagnose blurry image problems | Low light makes fine tuning harder |
My honest take: manual focusing is worth learning. Once you understand these binocular focus adjustment steps, you stop blaming the binoculars every time the image looks soft. You also become much better at choosing your next pair.
Buyer Tip: One Binocular That Makes Focusing Easier
If you are buying binoculars and want something beginner-friendly, look for long eye relief, a smooth central focus wheel, clear diopter markings, and comfortable eyecups.
One solid option is the Nikon PROSTAFF P3 8×42. Nikon lists it with central focusing, 8x magnification, 42mm objective lenses, 20.2mm eye relief, and a 9.8 ft close focus distance, which makes it practical for glasses wearers, general outdoor use, and learning proper focus control.
I would choose the 8×42 version over many 10x models for beginners because it is usually easier to hold steady. Less hand shake means less confusion when judging sharpness.
Real-World Use Cases for Focus Adjustment
Bird Watching
Bird watching demands quick focus, but the setup should happen before the action starts. Set the diopter at home or on a still branch. Once birds appear, use only the center wheel.
Hiking and Travel
For landscapes, start with distant objects like ridgelines or building edges. A well-set diopter makes scenic viewing feel more open and less tiring.
Hunting and Low Light
Low light exposes bad adjustment. If the diopter is slightly off, your eyes work harder at dawn and dusk. Set focus in daylight first, then fine-tune before serious use.
Sports and Stadium Viewing
Fast action requires a smooth center wheel. Set your binoculars on a fixed sign or scoreboard first, then track the field.
Marine Viewing
On water, avoid focusing only on waves. Use boats, buoys, docks, or shoreline objects because they provide stronger detail.
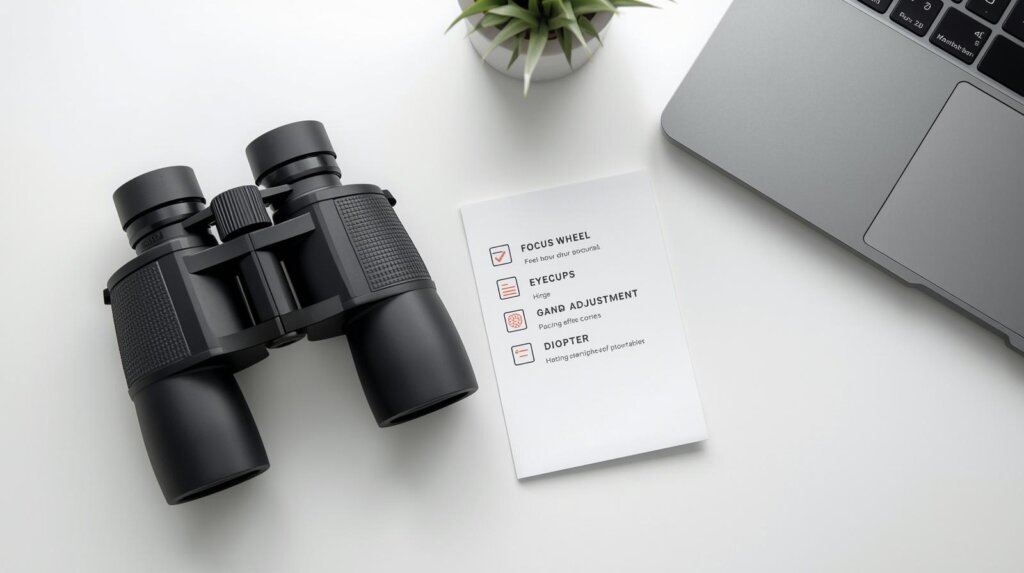
Quick Reset Method When the View Feels Wrong
If your binoculars suddenly feel uncomfortable, reset everything.
Start with the hinge. Get one circular image. Set eyecups for glasses or no glasses. Cover the right barrel. Focus the left side with the center wheel. Cover the left barrel. Adjust the right side with the diopter. Open both eyes and test.
That reset takes less than two minutes once you know the rhythm.
For more beginner-friendly binocular guides, you can explore our latest binocular tips and setup tutorials.
FAQs About Binocular Focus Adjustment Steps
What are the basic binocular focus adjustment steps?
The basic binocular focus adjustment steps are: set the hinge width, adjust the eyecups, choose a detailed target, focus the left barrel with the center wheel, adjust the right barrel with the diopter, then use both eyes and test the view.
Why do my binoculars look blurry even after focusing?
Your binoculars may look blurry because the diopter is not set correctly, the eyecups are in the wrong position, the hinge width does not match your eyes, or the lenses are dirty. Start with a full focus reset before assuming the binoculars are defective.
Should I adjust the diopter every time I use binoculars?
No, not usually. Once the diopter matches your eyesight, leave it in place. You only need to adjust it again if someone else changes it, your eyesight changes, or the ring gets moved during storage.
Do glasses change the binocular focus adjustment steps?
The steps are mostly the same, but glasses wearers should usually keep the eyecups lowered. This helps maintain the correct eye relief and allows a fuller field of view.
Why is one side of my binoculars clearer than the other?
One side is usually clearer because the diopter is not balanced for your eyes. Focus the left side first with the center wheel, then adjust the right side using the diopter ring without touching the center focus wheel.
Can poor focus cause eye strain?
Yes. Poor focus forces your eyes to compensate. Over time, that can lead to tired eyes, headaches, and an uncomfortable viewing experience. Correct binocular focus adjustment steps reduce that strain.
Are 8x binoculars easier to focus than 10x binoculars?
For many users, yes. 8x binoculars usually show less hand shake and offer a steadier view, making it easier to judge sharpness. 10x binoculars can show more detail, but they are less forgiving if your hands are unsteady.
How far away should the target be when adjusting binocular focus?
Choose a clear, detailed target at least 30 to 50 feet away. A distant sign, tree branch, or building edge works well because fine details make it easier to judge sharpness and balance the diopter accurately.
Final Thoughts
Sharp binocular viewing is not about twisting the focus wheel until something looks “good enough.” It is about setting the binoculars to your eyes first.
Once the hinge, eyecups, center focus, and diopter are working together, the view changes completely. Details snap into place. Your eyes relax. You stop fighting the binoculars and start enjoying the scene.
Learn these binocular focus adjustment steps once, and every future viewing session becomes easier. Whether you are watching a distant ridgeline, scanning a stadium, checking a trail, or testing a new pair before buying, proper focus setup is the difference between average viewing and a clean, confident image.