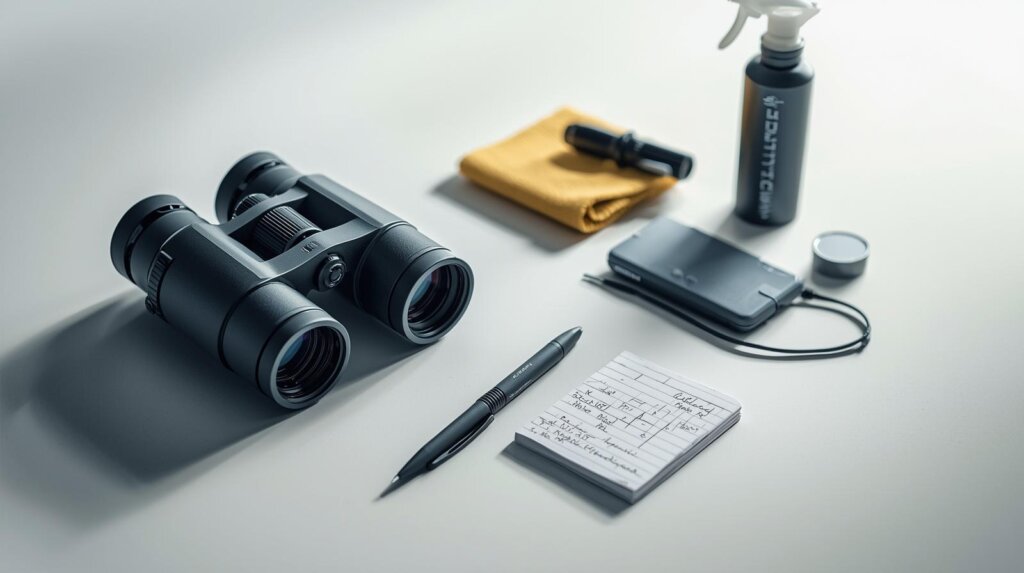
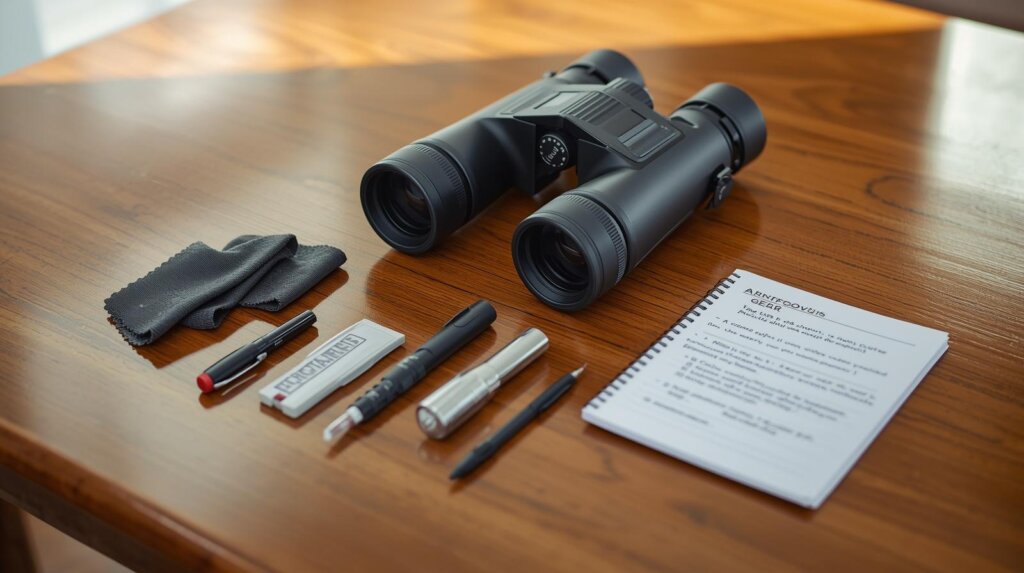
Why Binoculars Look Blurry and How to Fix Them
Blurry binoculars are annoying because the problem does not always come from the binoculars themselves. Sometimes the lenses are dirty. Sometimes the diopter is off. Sometimes both barrels are not aligned with your eyes. And yes, sometimes the binoculars are genuinely damaged.
The good news? Most blur problems can be fixed at home without opening the binoculars or paying for repair.
This article breaks down how to fix blurry binoculars in a practical way, based on real field use: bird watching from a balcony, checking distant signs on a road trip, watching sports from distant stadium seats, or trying to use older binoculars that have been sitting in a drawer for years.
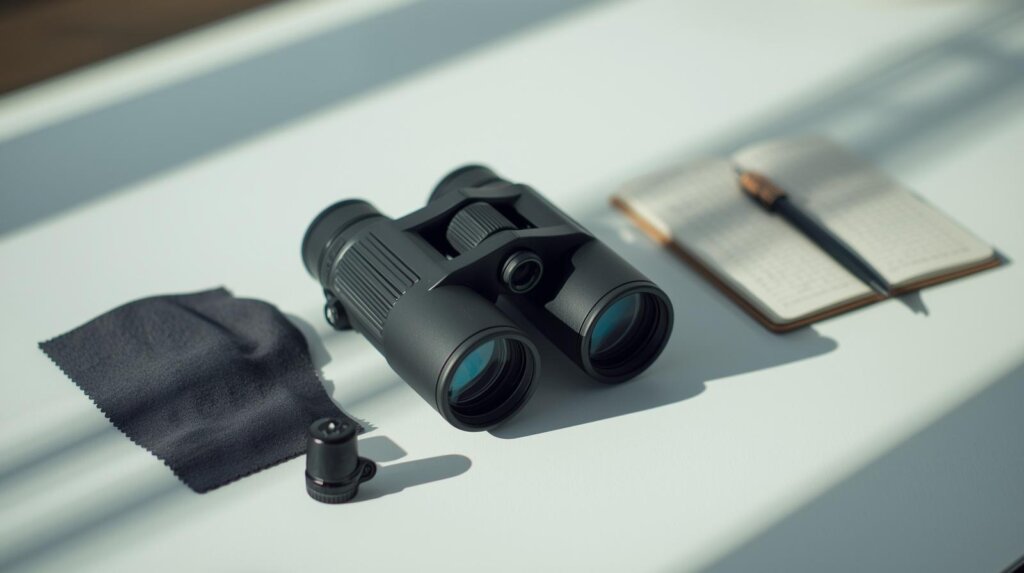
Why Binoculars Look Blurry in the First Place
Before you assume your binoculars are broken, check the common causes first. Blurry vision usually comes from one of these issues:
| Cause of Blur | What It Looks Like | Easy Fix? |
|---|---|---|
| Dirty lenses | Hazy, cloudy, low-contrast image | Yes |
| Wrong center focus | Everything looks soft at distance | Yes |
| Incorrect diopter setting | One eye looks sharper than the other | Yes |
| Wrong eyecup position | Black edges, shadowing, uneven view | Yes |
| Eye spacing not adjusted | Double image or eye strain | Yes |
| Fogging inside lenses | Milky blur that does not wipe off | Sometimes |
| Misalignment/collimation issue | Double image, headache, impossible focus | Usually needs repair |
| Low-quality optics | Soft edges, weak clarity, poor sharpness | Not fully fixable |
Most people searching for how to fix blurry binoculars are dealing with focus, diopter, or dirty glass — not a serious mechanical failure.
First: Check If the Blur Is in One Eye or Both Eyes
This is the fastest way to diagnose the problem.
Pick a clear target about 100–200 feet away. A signboard, chimney, window frame, or utility pole works well. Avoid moving objects because they make testing harder.
Look through the binoculars normally. Then close your right eye and check the left barrel. After that, close your left eye and check the right barrel.
What the result means
| What You Notice | Likely Problem |
|---|---|
| Left side is sharp, right side blurry | Diopter is wrong |
| Both sides blurry | Center focus, dirty lenses, or poor optics |
| Image looks doubled | Alignment problem or incorrect interpupillary distance |
| Only edges are blurry | Normal in budget binoculars |
| Image is cloudy even after cleaning outside lenses | Internal fog, fungus, or coating damage |
This step matters because many people keep turning the center focus wheel when the real issue is the diopter. That is why a full diopter setup is worth learning. For a deeper walkthrough, read the pillar guide on how to adjust binocular diopter so both eyes get a balanced, sharp view.
Clean the Lenses Before Blaming the Focus
A surprising number of blurry binocular complaints are just dirty lenses.
Fingerprints, dried water spots, dust, sunscreen, and pocket lint can make even decent binoculars look cheap. The blur often appears like a soft haze rather than a focus problem.
The safe cleaning order
Do not start by rubbing the lens with your shirt. That is how tiny scratches happen.
Use this order instead:
- Blow loose dust away first.
- Brush gently if particles remain.
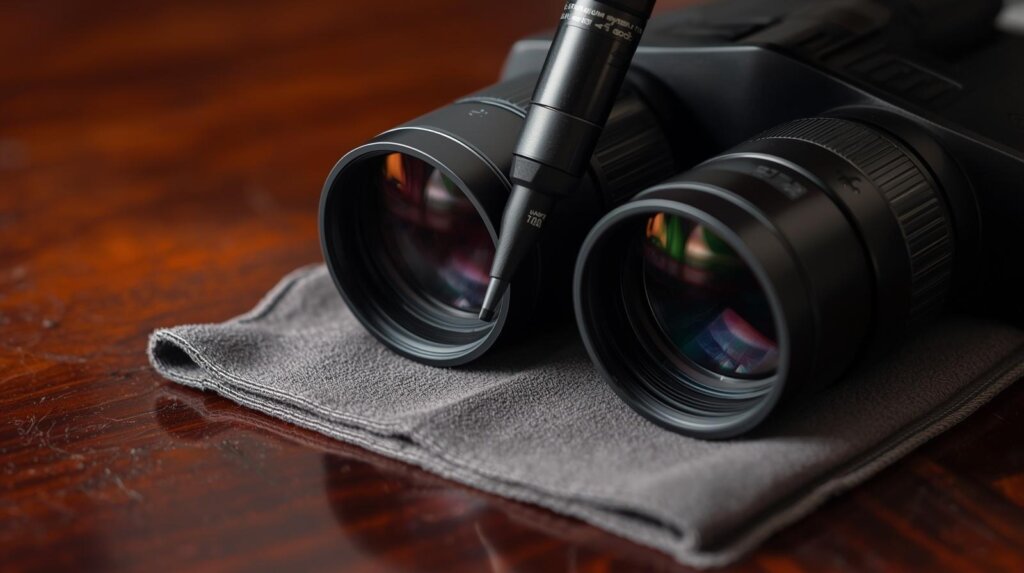
- Use a microfiber cloth or lens pen for smudges.
- Use lens-safe cleaning fluid only when needed.
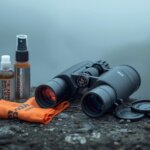
Recommended Cleaning Tool: Lens Pen. It is small, affordable, and useful for binoculars because one side has a retractable brush and the other side helps remove fingerprints without soaking the lenses. It is not magic, but for field cleaning, it is one of the few accessories that actually earns a spot in a binocular case.
Pros and cons of using a lens pen
| Pros | Cons |
|---|---|
| Easy to carry in a binocular case | Must be kept clean |
| Good for fingerprints and light smudges | Not for mud or heavy grime |
| Safer than random cloth or tissue | Needs gentle use |
| Works well for quick outdoor fixes | Does not fix internal fog |
Adjust the Center Focus the Right Way
The center focus wheel controls the main sharpness for both barrels. But if you rush this step, you can end up chasing focus forever.
Here is the real-world method:
Set your binoculars to a distant fixed object. Turn the focus wheel slowly past the sharp point, then roll it back. Do this two or three times until the edges of the object look crisp.
Do not focus on trees or grass first. Leaves have too much texture and movement. A roofline, sign, antenna, or fence post gives you a cleaner test.
This is also where cheaper binoculars show their limits. Some budget models never snap into sharp focus. They look “almost sharp” but not clean. That does not always mean they are defective. It may just be weak optical resolution.
For a more detailed focus routine, check the supporting article on how to focus binoculars for both eyes. It is useful if your binoculars keep looking sharp for one eye but not the other.
Reset the Diopter If One Side Is Still Blurry
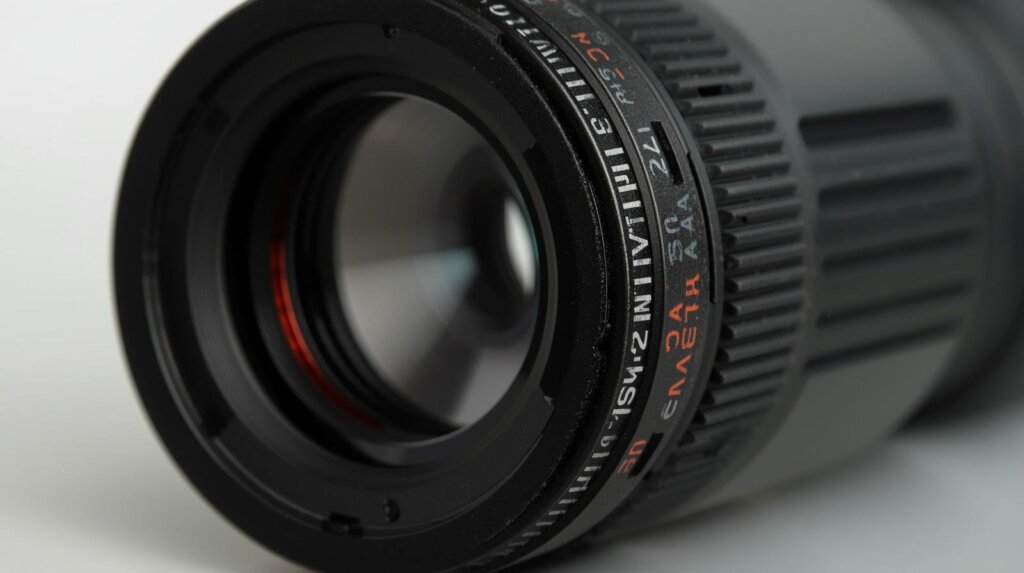
The diopter is usually the small adjustment ring near the right eyepiece, though some binoculars place it elsewhere. Its job is to compensate for the difference between your left and right eye.
This is one of the biggest reasons people search for how to fix blurry binoculars after buying a new pair.
Signs your diopter is wrong
| Symptom | What It Feels Like |
|---|---|
| One eye is always blurry | You keep closing one eye to check |
| Image looks sharp for a second, then uncomfortable | Your eyes are fighting the focus |
| You get eye strain quickly | The binoculars feel tiring |
| You keep adjusting the center wheel | Nothing stays sharp for both eyes |
To reset it, turn the diopter ring back to zero or the center mark. Then focus the left eye using the main wheel. After that, keep the main wheel still and adjust the diopter for the right eye.
Small detail: do this slowly. A tiny diopter movement can make a big difference.
Set the Eye Spacing Correctly
If the binocular barrels are too wide or too narrow for your eyes, the image may look blurry, doubled, or uncomfortable.
This adjustment is called interpupillary distance. Fancy name, simple fix.
Hold the binoculars to your eyes and move the two barrels closer or farther apart using the center hinge. Stop when the two circles merge into one clean round image.
If you see two separate circles, the spacing is wrong. If you see black shadows on the sides, the spacing or eyecup position may be wrong.
This is especially common when sharing binoculars with someone else. Their setting will not always match your face.
Check the Eyecups, Especially If You Wear Glasses
Eyecups control the distance between your eyes and the eyepiece lenses.
If you do not wear glasses, twist the eyecups up. If you wear glasses, twist them down.
Wrong eyecup position can create blackouts, shadowy edges, and a weird “I can’t find the image” feeling. People often describe this as blur, but it is actually bad eye placement.
Eyecup settings quick table
| User Type | Eyecup Position |
|---|---|
| No glasses | Usually fully extended |
| Glasses | Usually fully down |
| Sunglasses | Fully down or halfway |
| Long eyelashes | Try halfway first |
| Kids or narrow face users | Adjust spacing and test slowly |
This is one of those small adjustments that makes binoculars feel instantly better.
Foggy Binoculars: Outside Fog vs Inside Fog
Fog is tricky because not all fog means the same thing.
If the outside lenses fog up because of cold weather or humidity, you can wipe them carefully and let the binoculars adjust to the temperature. That is normal.
But if the fog is inside the binoculars, the problem is more serious. Internal fog usually means moisture got into the body. It can happen with old binoculars, cheap non-waterproof models, or units that were stored in damp places.
How to tell the difference
| Fog Type | What You Can Do |
|---|---|
| Outside lens fog | Wipe gently and let temperature equalize |
| Inside lens fog | Dry storage may help, but repair may be needed |
| Repeated fogging | Waterproof seal may be damaged |
| White cloudy patches | Possible fungus or coating damage |
Do not put binoculars in an oven, on a heater, or under harsh direct heat. That can damage seals, glue, and coatings.
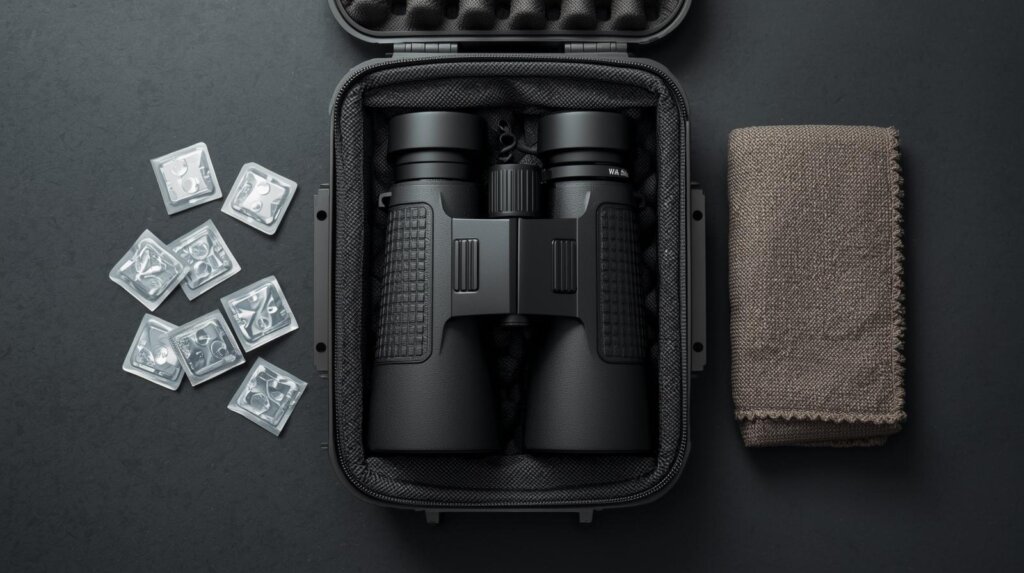
A safer move is to place them in a dry box or sealed container with silica gel packets. It may reduce moisture, but it will not fix fungus or damaged coatings.
When Blurry Binoculars Are Actually Misaligned
Sometimes cleaning and focusing do nothing. The image still looks doubled, stretched, or uncomfortable.
That may be a collimation problem, which means the two optical barrels are not properly aligned. This can happen if binoculars are dropped, knocked around in luggage, or stored badly for years.
Signs of misalignment
| Symptom | Likely Issue |
|---|---|
| Double image | Collimation problem |
| Headache after a few minutes | Eye strain from alignment |
| One barrel points slightly differently | Mechanical shift |
| You cannot merge the view | Serious alignment issue |
Do not try to open the binoculars unless they are cheap and you are okay with possibly ruining them. Internal adjustment screws are easy to mess up. Waterproof binoculars can also lose their seal if opened.
If the binoculars are expensive, send them to the manufacturer or a repair shop. If they are a low-cost pair, replacement may make more sense than repair.
Why Cheap Binoculars Stay Blurry Even After Adjustment
Not every blurry image is user error.
Some binoculars are soft because the optics are limited. Budget models often have weaker coatings, poor edge sharpness, loose focusing wheels, or low-quality prisms. They may look acceptable in bright daylight but fall apart in low light.
This is why two binoculars with the same magnification can look completely different.
A 10×42 from a trusted optics brand may look cleaner than a random 20×50 pair with huge zoom claims. More magnification does not automatically mean more detail. In fact, high magnification can make shakiness and blur worse.
What matters more than big numbers
| Feature | Why It Matters |
|---|---|
| Good lens coatings | Better contrast and brightness |
| Stable focus wheel | Easier fine-tuning |
| Proper diopter ring | Better eye matching |
| Waterproof build | Less internal fog risk |
| Realistic magnification | Less shake and blur |
This is also why “20x, 30x, 60x” marketing should be treated carefully. For handheld use, 8x and 10x binoculars are usually easier to keep sharp.
Real-World Use Cases: What to Fix First
For bird watching
Start with cleaning, then diopter adjustment. Bird watching demands quick focus changes, so even a slightly wrong diopter can make the view feel soft. For more help, the article on why are my binoculars not focusing explains common focus failures in plain language.
For sports and stadium use
Check eye spacing and eyecups first. Stadium users often share binoculars, which means the hinge and eyecups are rarely set for one person. A quick reset can make a cheap pair feel much better.
For hiking
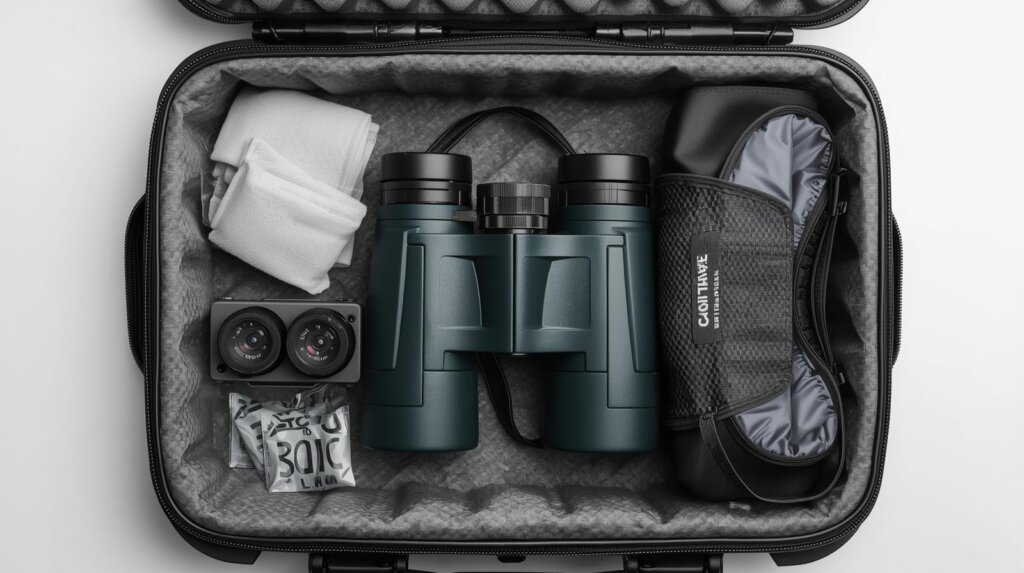
Look for dust, sweat marks, and fogging. Hiking binoculars get exposed to weather, backpack dirt, and temperature changes. Keep a small lens cleaner and silica gel in your case.
For old binoculars
Check for internal haze. If the view looks milky even after outside cleaning, the issue may be inside the optics. Older binoculars can still work well, but fungus and coating damage are deal-breakers.
Common Mistakes That Make Binocular Blur Worse
The biggest mistake is over-adjusting everything at once. People turn the center focus, twist the diopter, move the hinge, wipe the lenses, and then wonder what changed.
Fix one thing at a time.
Another mistake is using tissue paper, paper towels, or shirt fabric on lenses. These can drag dust across the coating and leave micro-scratches. One scratch may not ruin your binoculars, but repeated bad cleaning slowly lowers clarity.
Also, do not judge sharpness through a window. Window glass can distort the image, especially at an angle. Step outside or open the window when testing.
When It’s Better to Replace Instead of Repair
Sometimes learning how to fix blurry binoculars leads to an honest answer: the binoculars are not worth saving.
Replace them if:
- The image is doubled after every adjustment.
- Internal fog keeps coming back.
- The focus wheel slips or feels loose.
- The lenses have fungus or coating damage.
- The binoculars are very cheap and repair costs more than replacement.
- The view is always soft compared with a decent pair.
Repair makes more sense for premium binoculars from brands with strong warranties. For entry-level models, it is usually smarter to buy a better pair than sink money into repairs.
For more buying and care advice, visit the blog tips section where practical binocular guides are grouped by real use cases. You can also explore the main site at bestbinocular.net for more binocular comparisons, care tips, and beginner-friendly optics advice.
FAQs About How to Fix Blurry Binoculars
Why are my binoculars blurry even after focusing?
Your binoculars may still be blurry because the diopter is not adjusted for your eyes, the lenses are dirty, the eyecups are in the wrong position, or the binoculars are misaligned. If one side looks sharper than the other, check the diopter first.
How do I fix blurry binoculars quickly?
Clean the outer lenses, adjust the eye spacing, set the center focus on a fixed distant object, then reset the diopter. This fixes most common blur problems without tools or repair.
Can dirty lenses make binoculars look blurry?
Yes. Fingerprints, dust, dried water marks, and oil can reduce sharpness and contrast. Always blow dust away first before wiping the lenses with microfiber or a lens-safe cleaner.
Why is only one side of my binoculars blurry?
One blurry side usually means the diopter setting is wrong. Focus the left eye with the main focus wheel, then adjust the diopter for the right eye without moving the center wheel.
Can blurry binoculars be repaired?
Some can. Misalignment, loose focus wheels, and internal fog may need professional repair. But if the binoculars are low-cost, replacement may be more practical than repair.
Why do my binoculars show a double image?
A double image usually comes from incorrect eye spacing or internal misalignment. Try adjusting the hinge first. If the double image remains, the binoculars may have a collimation issue.
Do high magnification binoculars look blurrier?
They can. Higher magnification makes hand shake more visible and can reduce image stability. For handheld use, 8x or 10x binoculars are often easier to keep sharp than very high-power models.
Why do binoculars look blurry at long distances?
Binoculars may look blurry at long distances if the focus is slightly off, the magnification is too high for steady handheld use, or heat haze affects the image. Try refocusing slowly and resting your arms or using a tripod for better stability.
Final Thoughts: Fix the Simple Stuff First
The best way to fix blurry binoculars is to start with the boring checks: clean glass, correct eye spacing, proper eyecup position, center focus, and diopter adjustment. These small settings solve most blurry-view problems.
But do not ignore the warning signs. If the image is doubled, cloudy from the inside, or never becomes sharp no matter what you do, the binoculars may have a real optical or mechanical issue.
My honest take: most people give up on binoculars too early. A proper diopter reset alone can make an “unusable” pair feel normal again. But if the optics are poor or damaged, no adjustment will turn them into a premium glassing tool.
Start simple, test slowly, and change one setting at a time. That is the cleanest path to a sharper view.