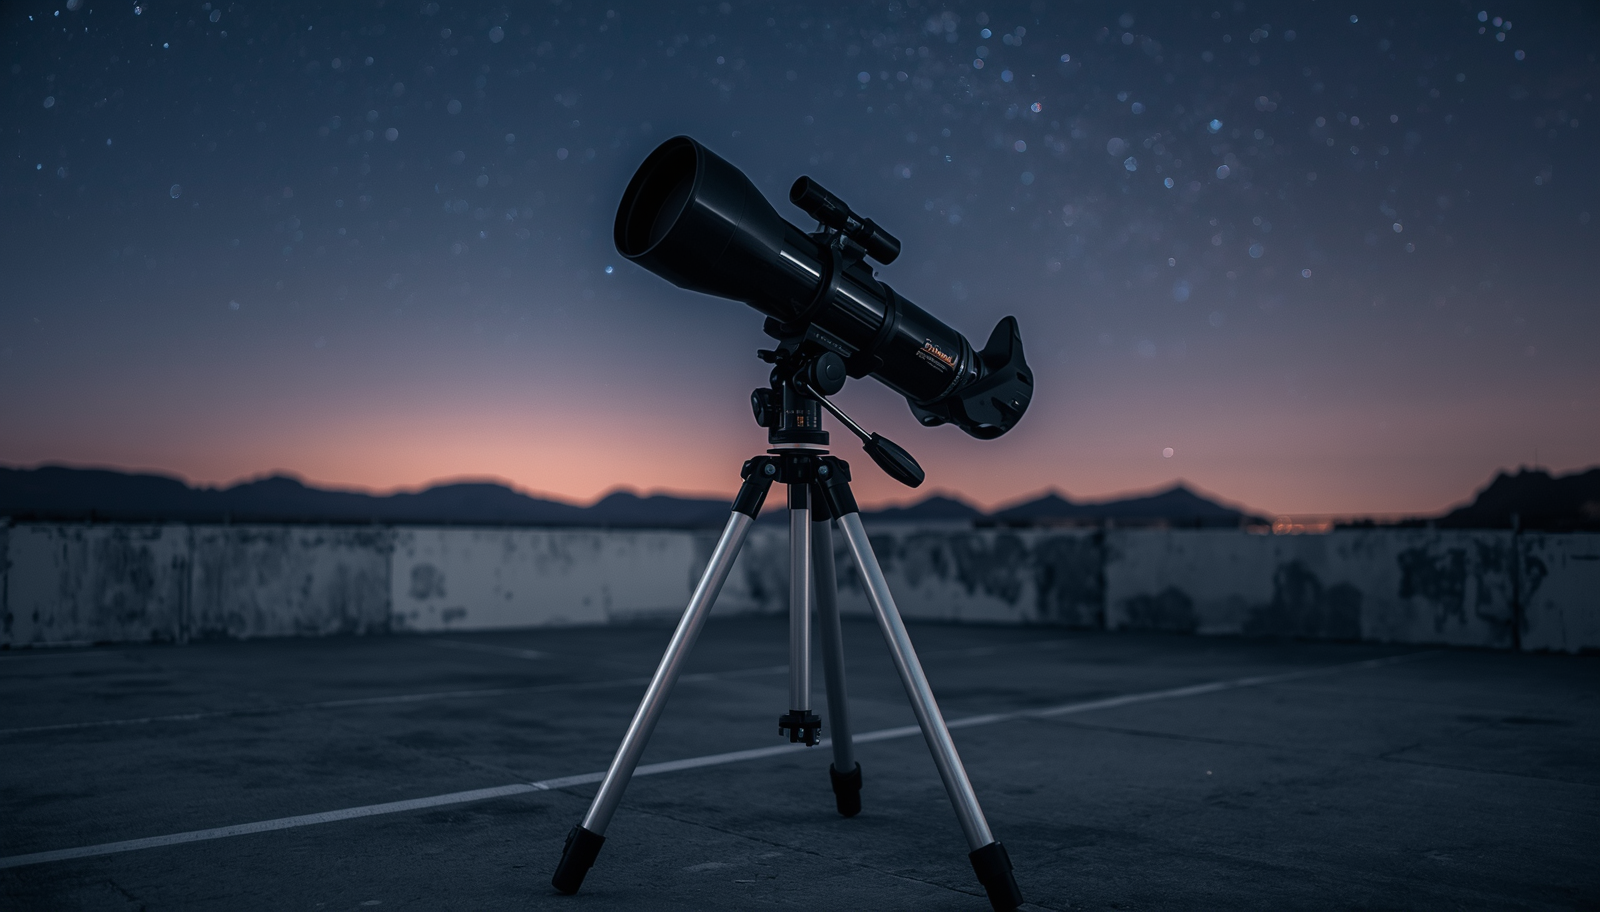
Why the Best Tripod for Celestron Binoculars Matters More Than Most Buyers Expect
If you’ve ever tried holding a pair of high-magnification binoculars steady for more than 30 seconds, you already know the problem.
Your arms start to shake. The image jitters. And suddenly that sharp view of Saturn or a distant ridgeline turns into a blurry, distracting mess.
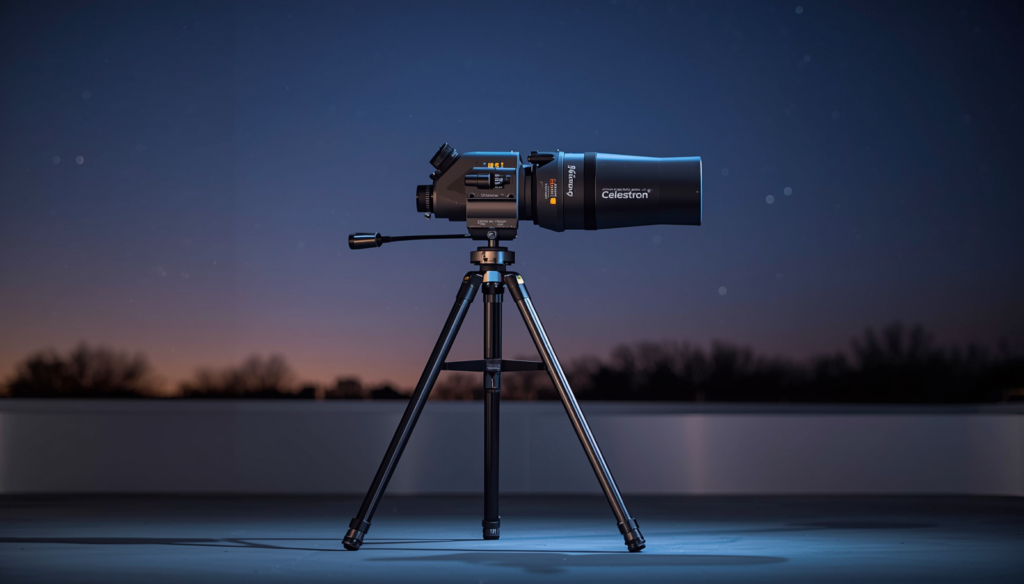
That is exactly where the best tripod for Celestron binoculars makes a real difference.
A proper tripod does not just hold your binoculars in place. It helps you see more detail, stay comfortable longer, and actually enjoy what your binoculars are capable of—especially if you use popular models like the Celestron Nature DX or the SkyMaster series.
In this guide, I’ll break down the best tripod setups for Celestron binoculars based on real-world use, practical comfort, and the kind of stability that matters when you are birding at dawn or scanning the night sky for more than a few minutes.
Why You Actually Need a Tripod for Celestron Binoculars
Let’s be honest—tripods feel optional… until they aren’t.
If you’re using:
- 8x or 10x binoculars → you can go handheld
- 12x and above → you should stabilize
- 15x, 20x (SkyMaster range) → tripod is non-negotiable
Real-world scenario 👇
You’re using SkyMaster 20×80 on a clear night. You spot Jupiter. Without a tripod, it’s just a bouncing bright dot.
Mount it? Suddenly you see bands and moons.
That’s not a small upgrade—that’s a completely different experience.
Types of Tripods That Work Best
Before we jump into recommendations, let’s clear something up:
Not all tripods are built for binoculars.
1. Standard Camera Tripods
Good for:
- Nature DX (8×42, 10×42)
- Lightweight setups
Limitations:
- Can struggle with heavier SkyMaster models
2. Heavy-Duty Tripods (Best for SkyMaster)
Designed for:
- 15×70, 20×80 binoculars
- Astronomy use
What matters:
- Stability over portability
- Strong center column
- Smooth pan/tilt head
3. Tripod + Binocular Adapter Combo
This is what most people actually need.
Because:
👉 Binoculars don’t mount directly—you need an adapter.
Best Tripod Setup for Nature DX (Lightweight Users)
If you’re using the Nature DX series, your needs are very different.
What matters here:
- Portability
- Quick setup
- Smooth tracking for birds or landscapes
Ideal Setup:
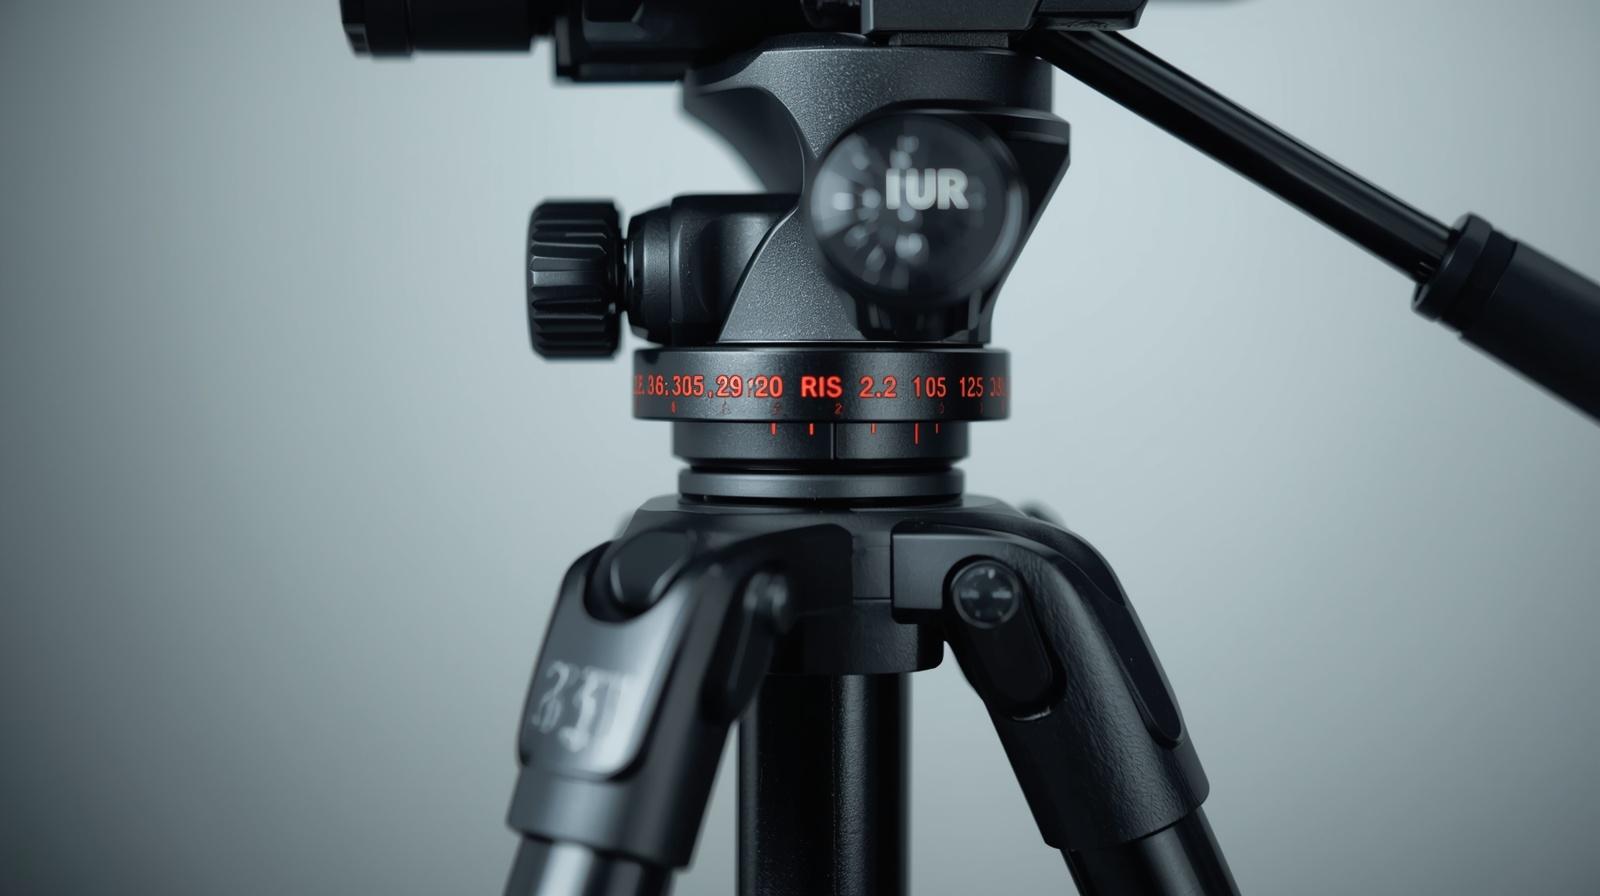
- Lightweight aluminum tripod
- Compact fluid head
- Standard L-adapter
Why?
Nature DX is built for:
- Birding
- Hiking
- Casual stargazing
You don’t want to carry a bulky tripod into the field.
Pros 👍
- Easy to carry
- Quick adjustments
- Great for daytime use
Cons 👎
- Not ideal for high magnification
- Can vibrate in wind
Best Tripod Setup for SkyMaster Series (Serious Stability)
This is where things get serious.
The SkyMaster series (15×70, 20×80) is heavy, powerful, and unforgiving.
If your tripod isn’t solid:
👉 You’ll hate using your binoculars.
What you need:
- Load capacity: at least 5–7 kg
- Wide stance legs
- Metal construction (not cheap plastic)
- Smooth pan head (critical for astronomy)
Real Use Case 🌌
When scanning the Milky Way, you don’t just “look”—you pan slowly across the sky.
A bad tripod = jerky movement
A good tripod = buttery smooth tracking
Recommended Setup
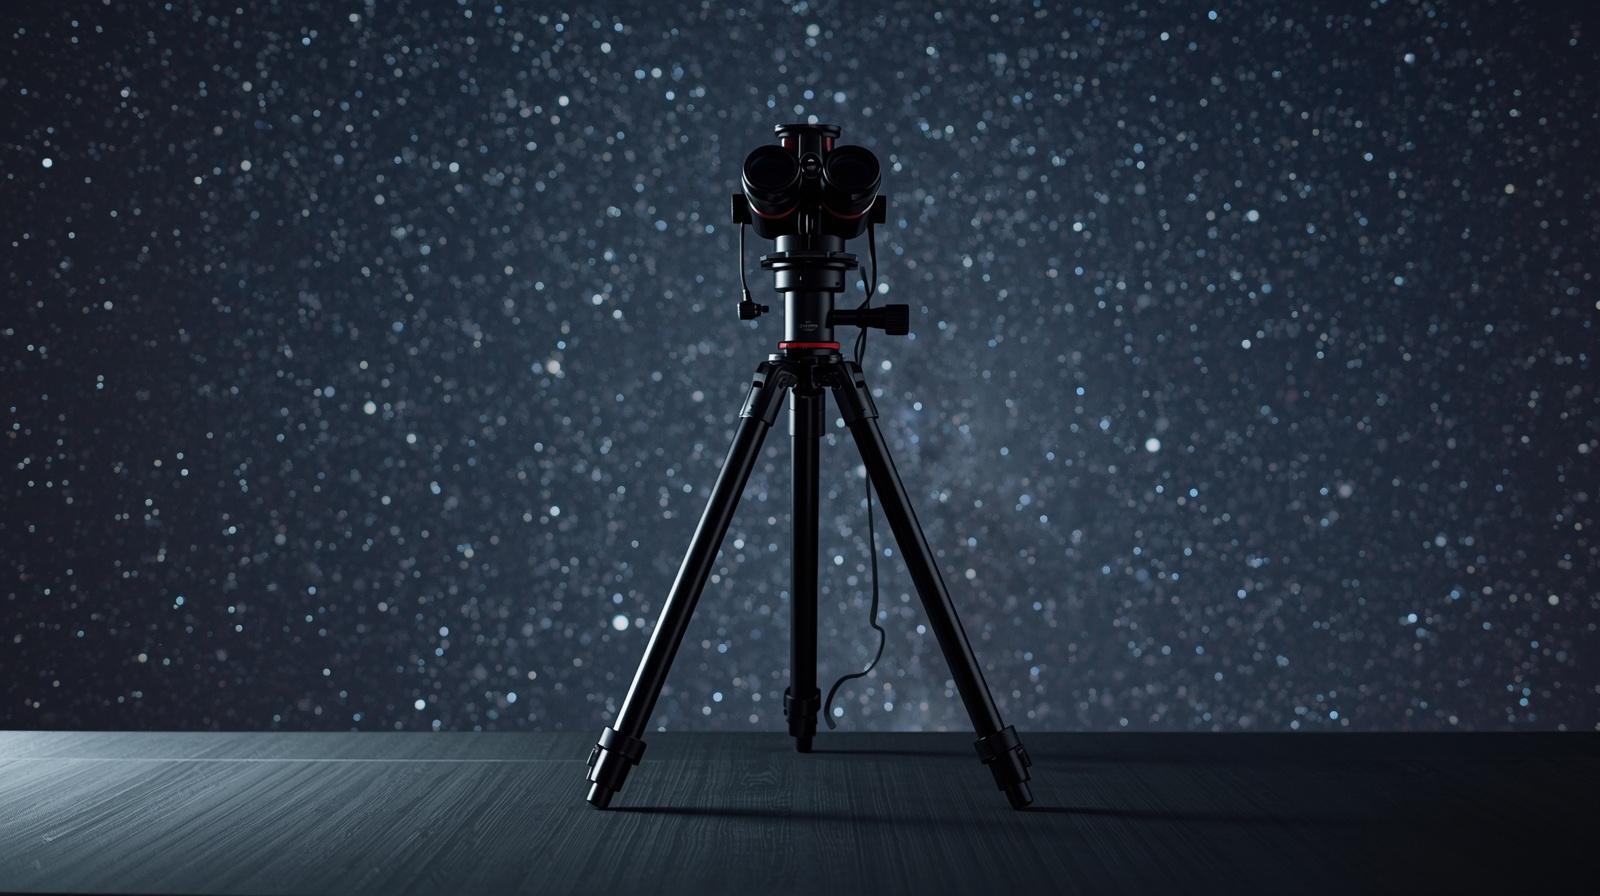
If you want a reliable, no-regret setup, go with:
👉 Celestron SkyMaster Tripod Adapter + Heavy-Duty Tripod Combo
Why this works:
- Designed specifically for Celestron binoculars
- Fits SkyMaster perfectly
- Budget-friendly compared to pro rigs
When to choose this:
- You own 15×70 or 20×80
- You mainly stargaze
- You want plug-and-play simplicity
Tripod Comparison Table (Quick Decision Guide)
| Feature | Lightweight Tripod | Heavy-Duty Tripod |
|---|---|---|
| Best for | Nature DX | SkyMaster |
| Weight | Light | Heavy |
| Stability | Medium | High |
| Portability | Excellent | Limited |
| Astronomy Use | Basic | Serious |
| Wind Resistance | Low | Strong |
Adapter Matters More Than You Think
Here’s something beginners often overlook:
👉 The adapter can make or break your setup.
Cheap adapters:
- Flex under weight
- Cause micro vibrations
- Feel unstable
Good adapters:
- Solid metal build
- Tight grip
- No wobble
Common Mistakes People Make (Avoid These)
❌ 1. Buying a cheap tripod
It looks fine… until you use it.
Result:
- Shaky view
- Frustration
- Wasted money
❌ 2. Ignoring weight capacity
Your tripod must handle:
👉 binocular weight + adapter + movement
❌ 3. Skipping the fluid head
For astronomy:
👉 smooth motion = everything
❌ 4. Using travel tripods for SkyMaster
They’re not built for this.
You’ll regret it instantly.
Real-World Setup Scenarios
🌄 Scenario 1: Hiking + Birding (Nature DX)
- Lightweight tripod
- Compact adapter
- Quick-release plate
Perfect for:
- Forest trails
- Coastal views
- Daytime wildlife
🌌 Scenario 2: Backyard Stargazing (SkyMaster)
- Heavy-duty tripod
- Stable ground placement
- Adjustable height
Perfect for:
- Planet viewing
- Moon observation
- Deep-sky scanning
🏕 Scenario 3: Travel Stargazing
This is tricky.
You need balance:
- Medium-weight tripod
- Foldable legs
- Strong enough for 15×70
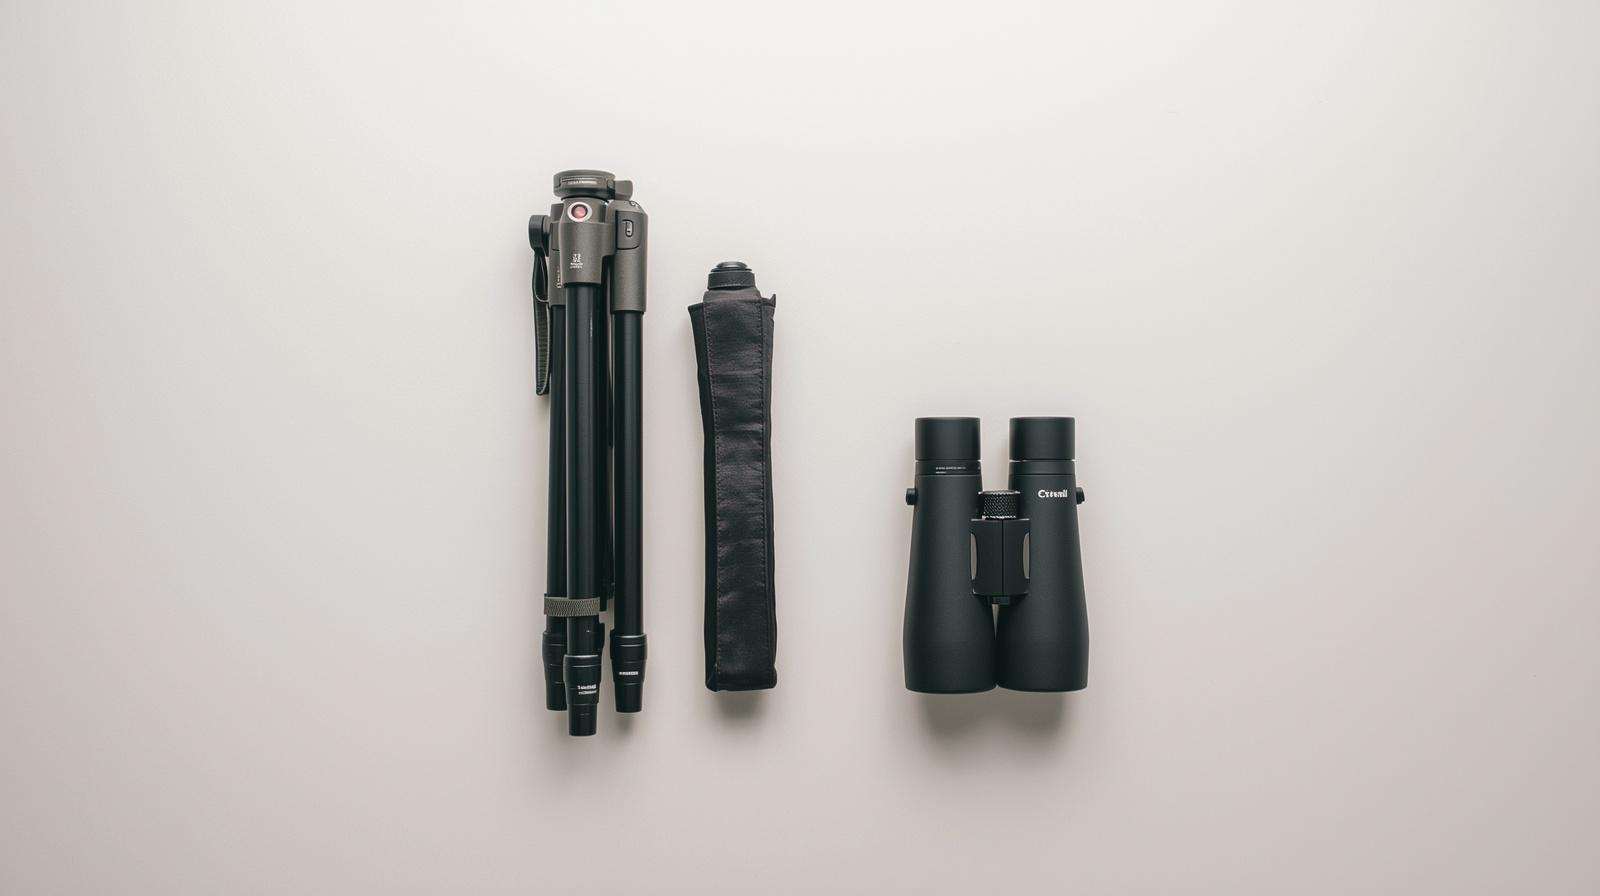
How This Fits Into Your Celestron Setup
If you’re building a full binocular setup, don’t treat the tripod as an accessory.
It’s part of the core experience.
For deeper guidance:
- Read the full breakdown here: Best Celestron Binoculars for Stargazing (2026 Guide)
If you’re just starting:
- Start here → Best Celestron Binoculars for Astronomy Beginners (2026 Guide)
Want to understand magnification limits?
- This helps a lot → Best Magnification for Stargazing Binoculars (Complete 2026 Guide)
And if you’re considering a serious upgrade:
- Don’t miss → Celestron SkyMaster 20×80 Review (2026): Is It Worth It?
For more tips and gear insights, you can always explore the blog and homepage at:
👉bestbinocular.net
Buyer Psychology: What Actually Matters
People often overthink specs.
But in reality, your decision comes down to:
1. How long will you use it?
- Short sessions → lighter tripod
- Long sessions → comfort & stability
2. Where will you use it?
- Backyard → heavy-duty is fine
- Travel → compromise needed
3. What binoculars do you own?
This is the biggest factor.
Nature DX ≠ SkyMaster needs
Pros & Cons of Using a Tripod
Pros 👍
- Sharper image
- Reduced fatigue
- Better detail visibility
- Essential for astronomy
Cons 👎
- Less portable
- Setup time
- Extra cost
How to Choose the Best Tripod for Celestron Binoculars
By this point, the biggest mistake would be choosing a tripod the same way people buy a phone stand—just based on height and price.
That approach fails fast with binoculars, especially with the SkyMaster series.
A tripod for Celestron binoculars has to do three things well:
- hold the weight without flexing
- stay steady when you touch the binoculars
- move smoothly when you scan the sky or track a distant subject
That sounds simple, but in real use, this is where cheap setups fall apart.
Start with your binocular model first
This is the part many buyers skip.
They look for the “best tripod” in general, when what they really need is the best tripod for their specific Celestron binoculars.
For example:
- Nature DX 8×42 or 10×42 users usually need a tripod for comfort, long observation sessions, or digiscoping-style stability
- SkyMaster 15×70 or 20×80 users need a tripod because the binoculars are simply too large and too powerful to enjoy properly by hand
That difference matters a lot.
A light tripod that feels perfectly fine with a Nature DX can become frustratingly shaky with a SkyMaster 20×80. So instead of chasing a universal answer, match the tripod to the binocular.
What Makes a Tripod Feel “Good” in Real Use?
Specs matter, sure. But real-world comfort matters more.
A good tripod setup for Celestron binoculars usually feels like this:
You mount the binoculars, let go, and the image settles quickly. When you adjust the angle, the movement feels controlled, not jerky. When you stop, the view stays where you left it.
A bad tripod feels like this:
You touch the binoculars and the image keeps trembling. You tighten one knob, another part shifts. You try to follow the Moon or a distant ridge, and the head either sticks or flops.
That’s why experienced users talk less about “maximum height” and more about stability, damping, and head control.
The 5 features that matter most
1. Load capacity
Always leave headroom.
If your binoculars and adapter weigh around 2.5 kg, don’t buy a tripod rated for exactly 2.5 kg. In practice, that usually feels underbuilt. A tripod with extra capacity feels calmer and more secure.
2. Leg stiffness
Thin legs save weight, but they also transmit vibration more easily.
For SkyMaster binoculars, thicker aluminum legs usually make more sense than ultra-light travel legs.
3. Head type
A tripod is only half the story. The head matters just as much.
For binoculars, especially astronomy binoculars, a pan-and-tilt head or a fluid video head usually feels better than a ball head. Ball heads are fast, but they can be annoying with binoculars because the setup may shift when you lock it down.
4. Working height
You should not have to hunch over every time you use the binoculars.
A tripod that reaches comfortable eye level without maxing out the center column is usually the better choice. Extending the center column too far often reduces stability.
5. Setup speed
This gets overlooked. But if the tripod is annoying to carry, slow to open, or awkward to adjust, you’ll use it less.
That matters more for Nature DX owners, because birding and daytime viewing often involve quick position changes.
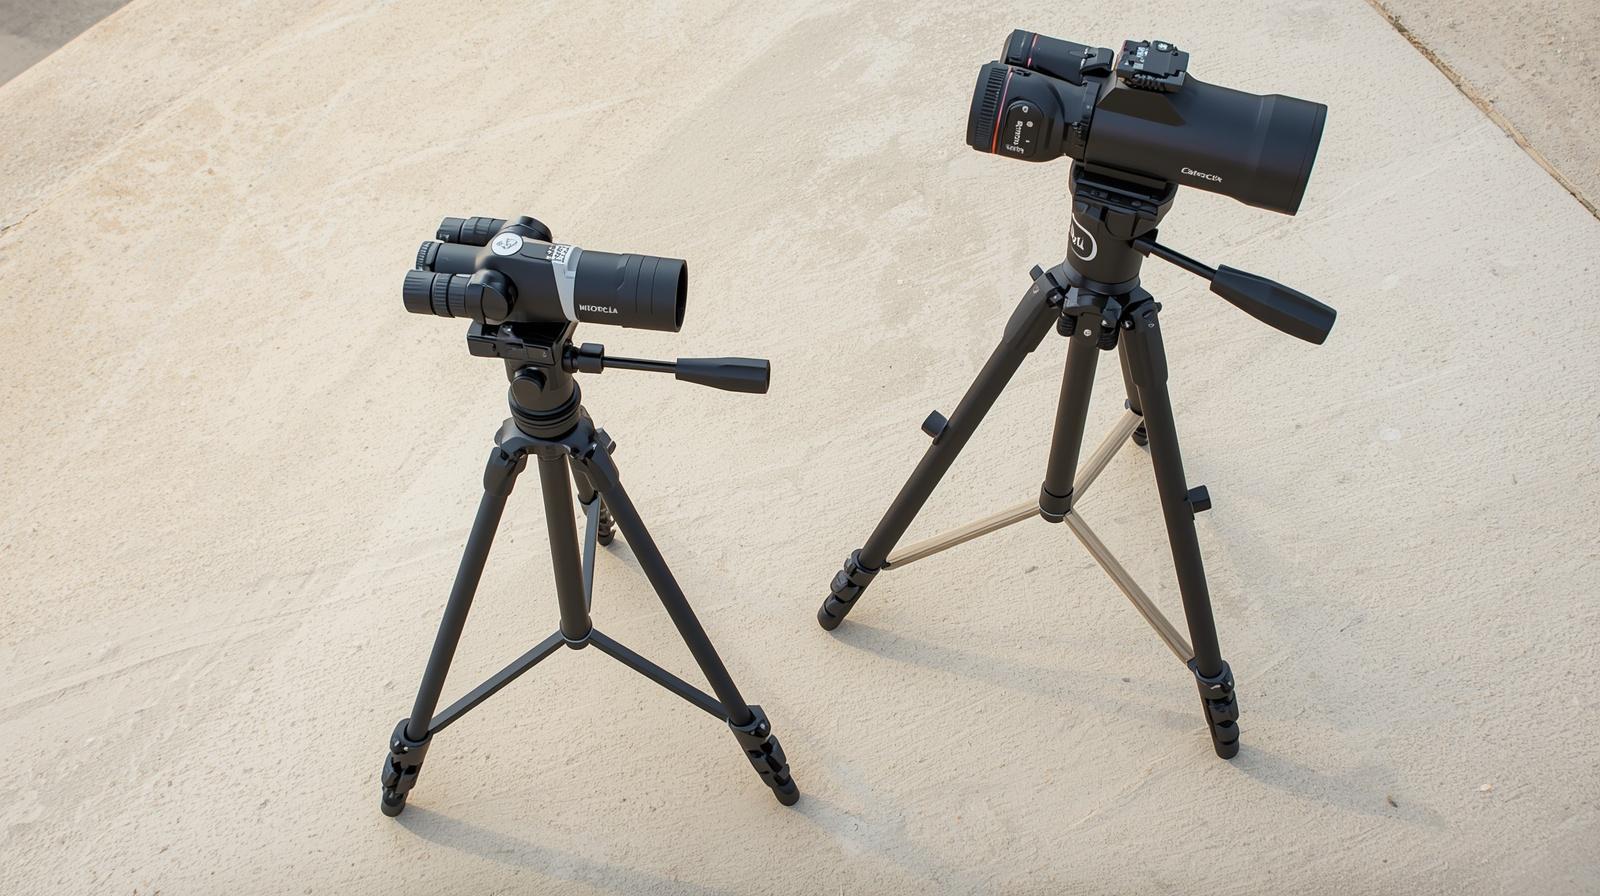
Lightweight vs Heavy-Duty Tripods for Celestron Binoculars
This is where most buyers get stuck, so let’s simplify it.
Lightweight tripod: better for mobility
A lightweight tripod makes sense if you:
- use Nature DX binoculars
- walk a lot during birding sessions
- need something easy to pack in a car or carry on trails
- mostly observe in daylight or calm conditions
This kind of setup feels practical. It won’t fight you. It’s the tripod you actually bring along.
Heavy-duty tripod: better for image quality
A heavier tripod makes sense if you:
- use the SkyMaster series
- stargaze from the backyard, rooftop, or campsite
- observe for longer sessions
- care more about image steadiness than portability
This kind of tripod is not glamorous. It’s not the one you brag about carrying. But it’s the one that makes a 15×70 or 20×80 binocular enjoyable instead of tiring.
That’s the tradeoff in plain English:
lighter is easier to carry
heavier is easier to look through
If your main use is astronomy, stability usually wins.
Best Use-Case Matches
Sometimes the easiest way to choose is to think in scenarios, not specs.
Best tripod style for Nature DX birding
If you use Nature DX 8×42 or 10×42 for parks, wetlands, woodland edges, or coastal lookout points, a medium-height lightweight tripod with a smooth pan head is usually the sweet spot.
Why? Because birding is dynamic. You’ll be adjusting often. You need something responsive, not bulky.
Best tripod style for SkyMaster backyard astronomy
If you use SkyMaster 15×70 or SkyMaster 20×80 mainly for Moon viewing, star fields, bright nebulae, and wide-sky scanning, a tall heavy-duty tripod with a stable pan head is the safer choice.
This is not where you want to cut corners.
If you’re already considering the 20×80, the detailed strengths and compromises are easier to understand in Celestron SkyMaster 20×80 Review (2026): Is It Worth It?.
Best tripod style for mixed use
Some people use binoculars for both occasional stargazing and daytime scenic viewing. In that case, a medium-weight tripod is usually the practical middle ground.
Not perfect at either extreme, but good enough in both.
That kind of buyer should also read Best Magnification for Stargazing Binoculars (Complete 2026 Guide) because magnification affects tripod needs more than most beginners expect.
A Few Practical Buyer Tips That Save Money
A lot of tripod regret comes from small buying mistakes, not big ones.
Buy the tripod for your next six months, not your next six minutes
People often buy for the binocular they have today, then upgrade later and realize the tripod is now the weak point.
If you think there’s a decent chance you’ll move from Nature DX to a SkyMaster, it can make sense to buy slightly more tripod than you currently need.
Don’t obsess over folded size if you mostly observe at home
Portability sounds attractive in product listings. In real life, if your stargazing happens in the backyard or from a fixed spot, stability matters more.
Avoid ultra-cheap bundle tripods
They often look fine in photos, but in use they flex, vibrate, and wear out quickly. This is especially frustrating with astronomy binoculars, where every small shake becomes obvious.
Check adapter compatibility before ordering
Most Celestron binoculars that support tripod mounting use a standard front-thread adapter point, but it’s still smart to confirm. The adapter is not an afterthought—it’s part of the stability chain.
One Smart Celestron Add-On That Actually Makes Sense
I wouldn’t force accessories into every guide, but one genuinely useful addition here is the Celestron binocular tripod adapter.
It makes sense because:
- it’s directly relevant
- it’s affordable
- it solves a real problem
- it pairs naturally with both Nature DX and many SkyMaster setups
This is the rare accessory that feels less like upselling and more like basic setup insurance.
How This Guide Fits Into Your Bigger Buying Decision
A tripod guide makes the most sense when viewed as part of the full binocular setup.
If your main goal is astronomy, this article pairs naturally with Best Celestron Binoculars for Stargazing (2026 Guide) because the right tripod often depends on which binocular model you choose.
If you’re newer to astronomy and still deciding between easier, more forgiving models, Best Celestron Binoculars for Astronomy Beginners (2026 Guide) will help narrow that down.
And for broader tips, comparisons, and practical binocular advice beyond this one topic, the Best Binocular home page and blog are useful places to keep exploring.
FAQs
Q1: Do all Celestron binoculars need a tripod?
No. Models like Nature DX (8x–10x) can be handheld.
But anything above 12x benefits greatly from a tripod.
Q2: Can I use any tripod for SkyMaster binoculars?
Not recommended.
You need a heavy-duty tripod with high load capacity for stability.
Q3: What is a binocular tripod adapter?
It’s a small mount that connects binoculars to a tripod.
Without it, you can’t attach binoculars properly.
Q4: Is a fluid head necessary?
For stargazing—yes.
It allows smooth tracking across the sky.
Q5: What’s the best budget setup?
A sturdy aluminum tripod + Celestron adapter is a great starting point.
Final Thoughts
A good tripod doesn’t just “hold” your binoculars.
It unlocks their full potential.
If you’re using:
- Nature DX → go light, stay mobile
- SkyMaster → go stable, prioritize strength
And remember:
The difference between a shaky view and a breathtaking one…
is often just three legs and a solid mount.